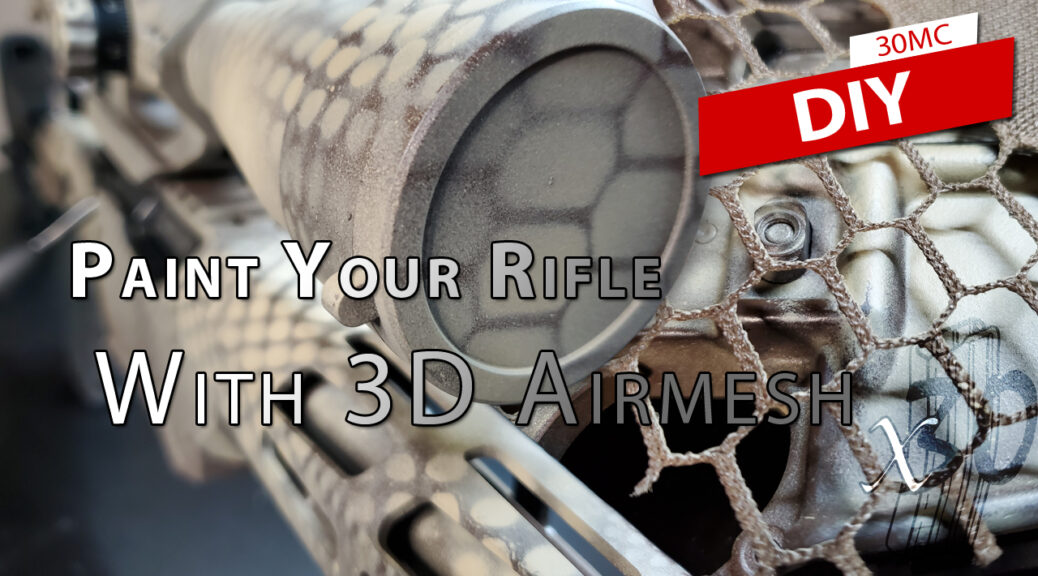
Guns look cool. Painted guns look better. Rattle canned guns look even better-er. I don’t know why. Something about character or whatever. I think most shooters (and even some gun-guys) out there have used the burlap method. Putting down a base coat of tan paint and then spraying that “snake skin” like pattern using the burlap as a stencil. It’s cool and can look great but is there something else?
I have to tell you a quick story. I design tactical gear for a living. While at the SHOT Show: Supplier Showcase a couple of years ago I stopped by the APEX Mills booth to take a look at the new nits, meshes, and 3D spacers that they would be offering. As is the norm at trade shows I got some samples (below). In this case, a booklet. A short while after returning home I received a second booklet at the office. Once a vendor scans your badge at SHOT Show they pretty much have all your information including your address and some of them just starting mailing stuff. At the time we were only ordering DNB138 Airmesh from APEX Mills and didn’t need to add another material to the inventory. So, on the shelf the booklets sat.
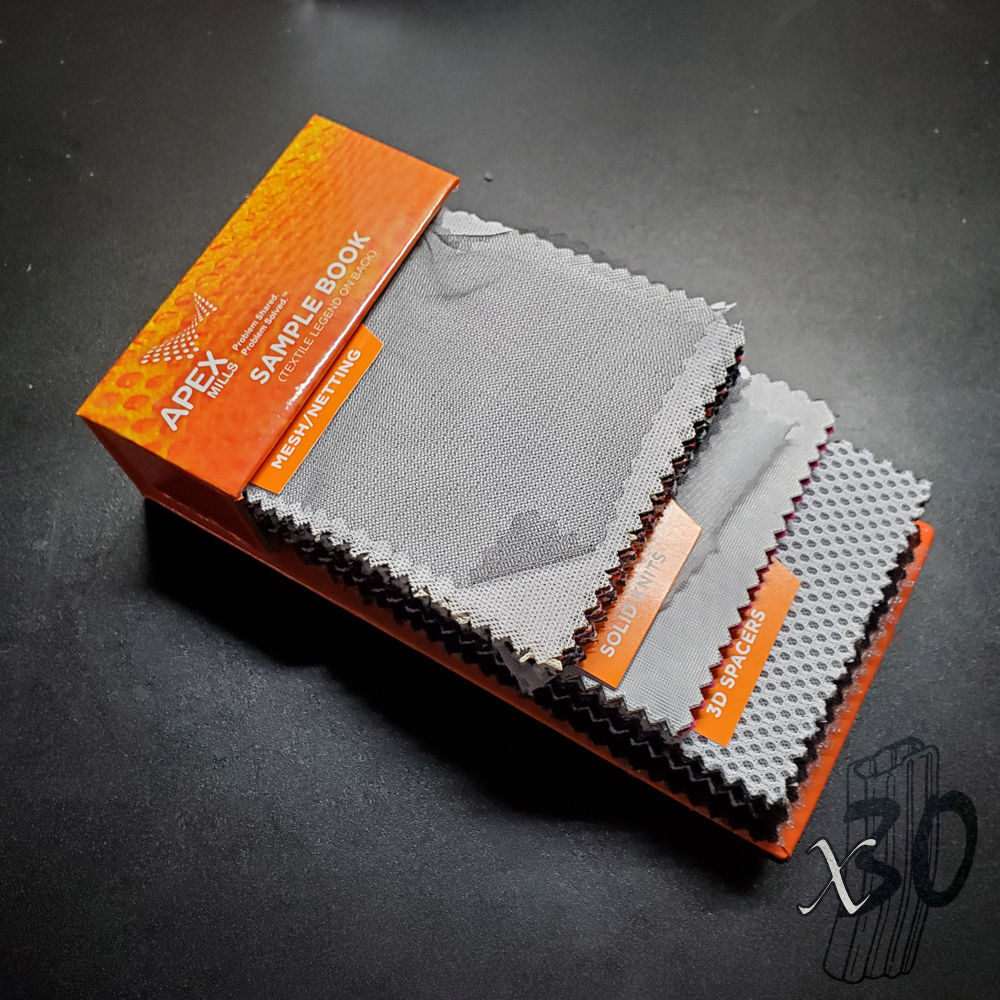
About a year and a half later I had put together a new AR and it needed some paint. But I didn’t have any burlap. Working in the office a few months ago I was looking through samples I had received in the past and came across these two booklets again. I started flipping through and wondered why different meshes [spacers, knits too] from the same mill had different patterns. Why not just find a good one and stick with it? Somehow my mind jumped to that AR I had been meaning to paint for months and I realized I was holding several different “stencils” in my hand. If I wanted to get a varying pattern on the rifle then this could be a way to do it.
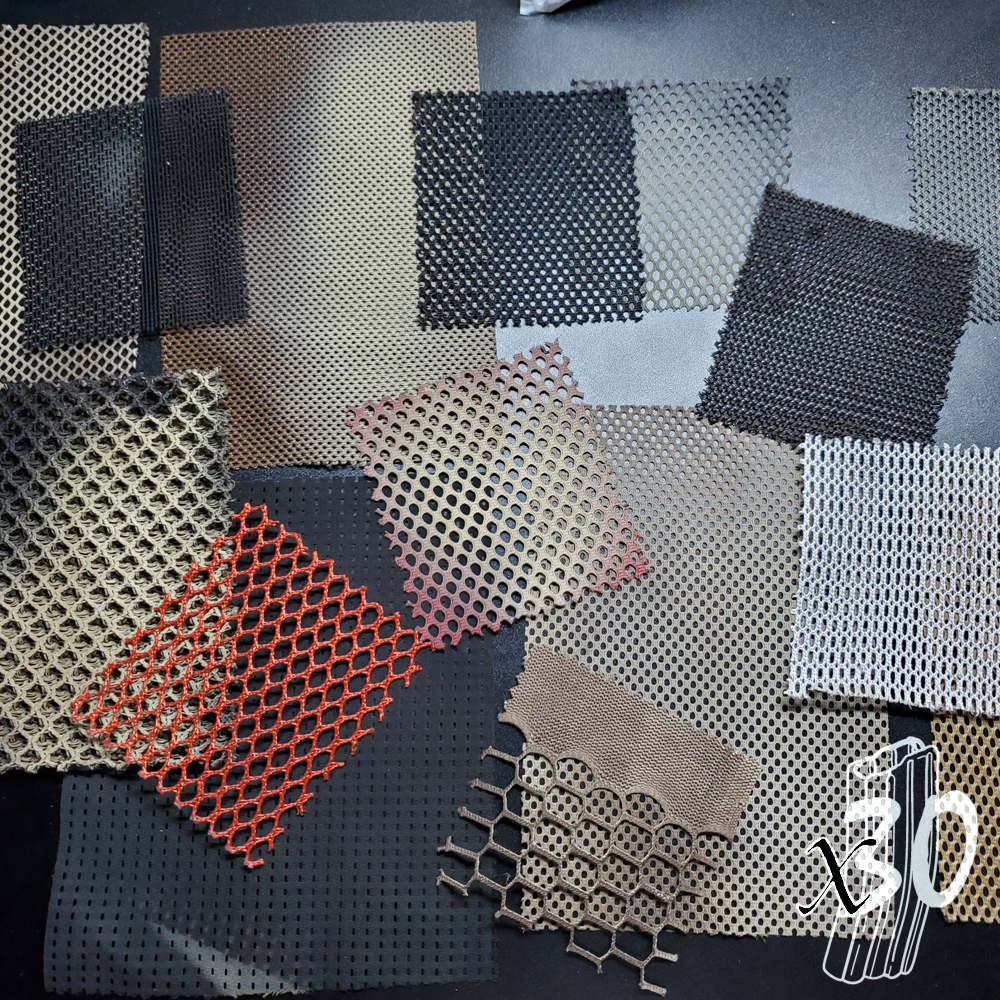
So I dismantled one of the booklets and was left with a bunch of different individual pieces. About half of them were not suitable for spray painting but it left me with these pictured below.
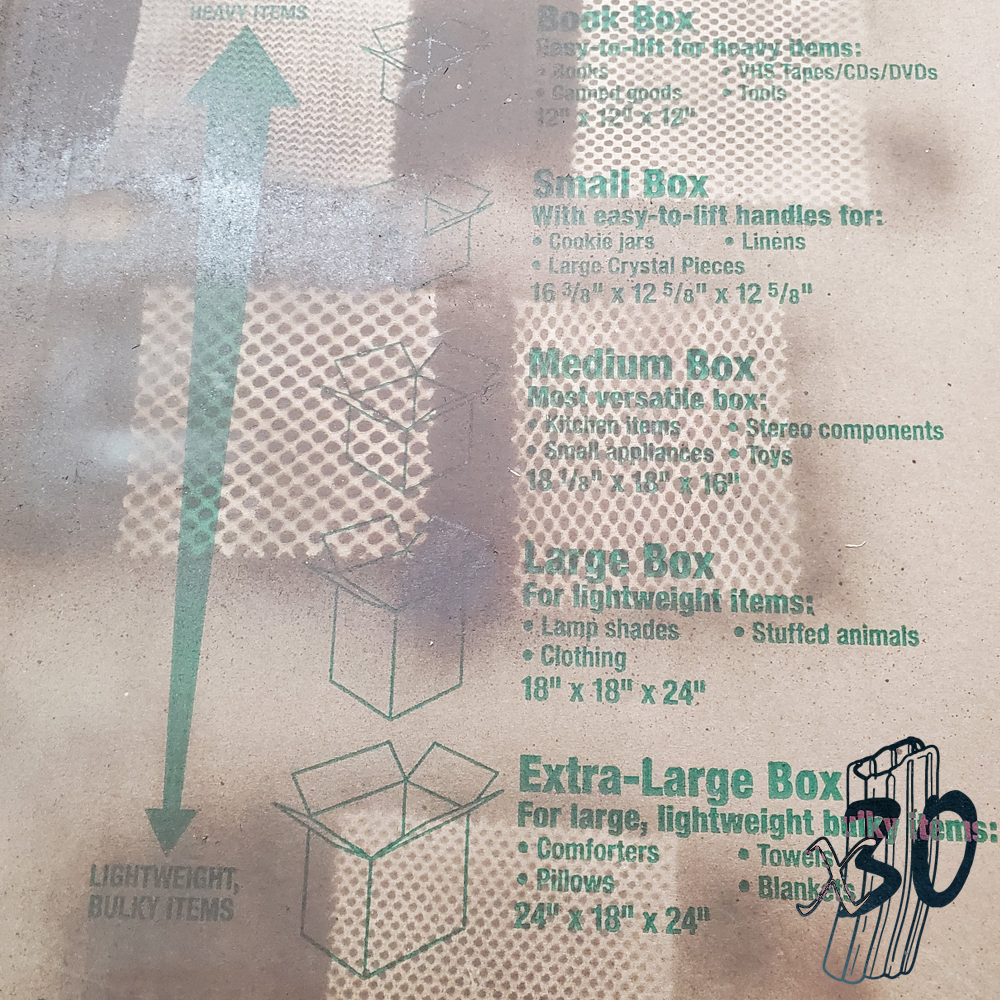
I did some testing on cardboard just to see how the different patterns would look and was greatly encouraged by the result. No pools of paint or issue with the mesh pieces sticking after drying. Just a bunch of very clean and different patterns. I was ready to commit.
It was about this time that I realized I also had a Ruger Precision Rimfire rifle that I had wanted to paint. I decided to hit it first. The results are below.
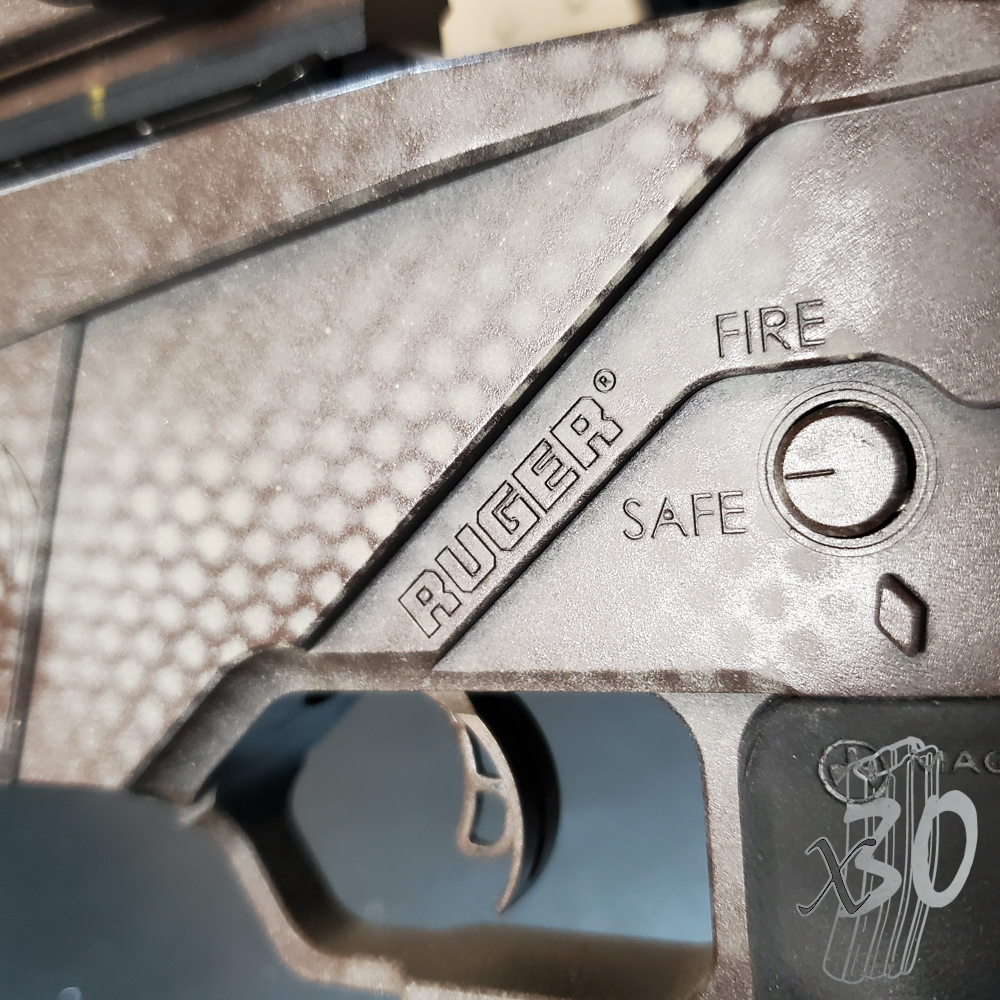
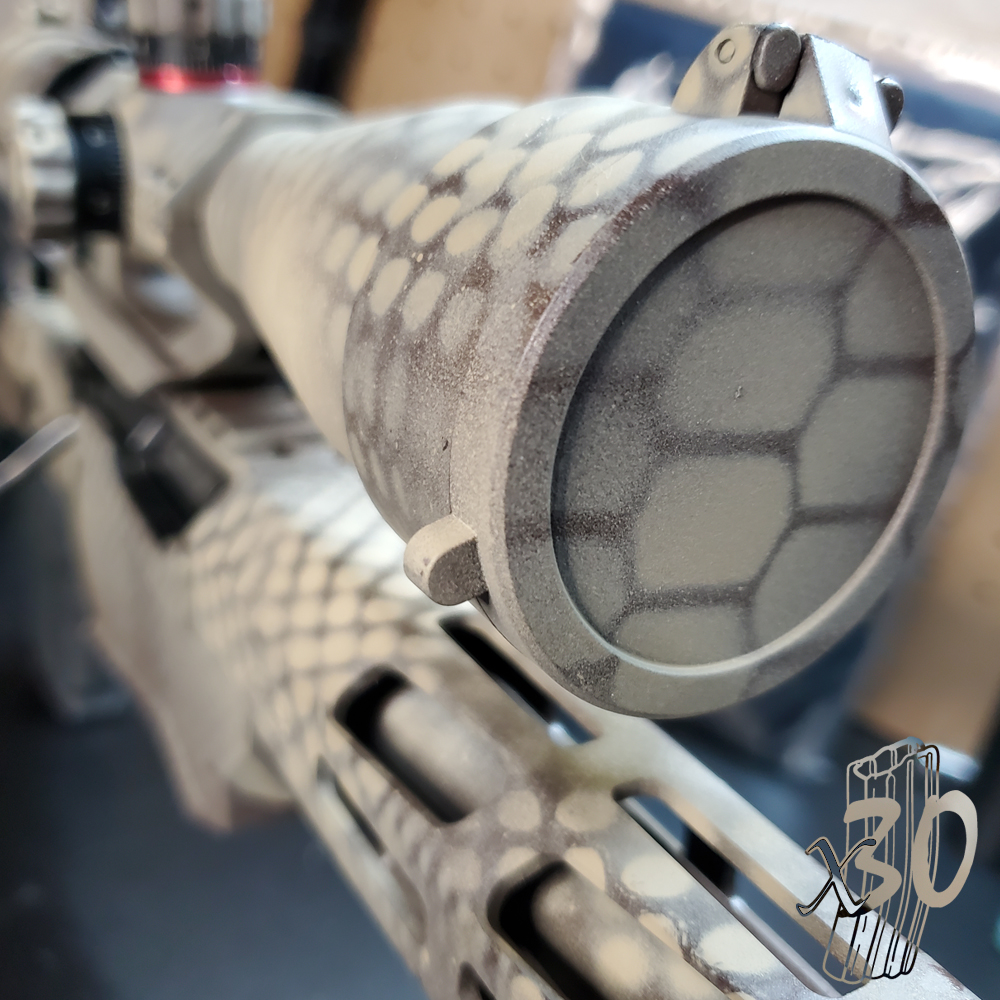
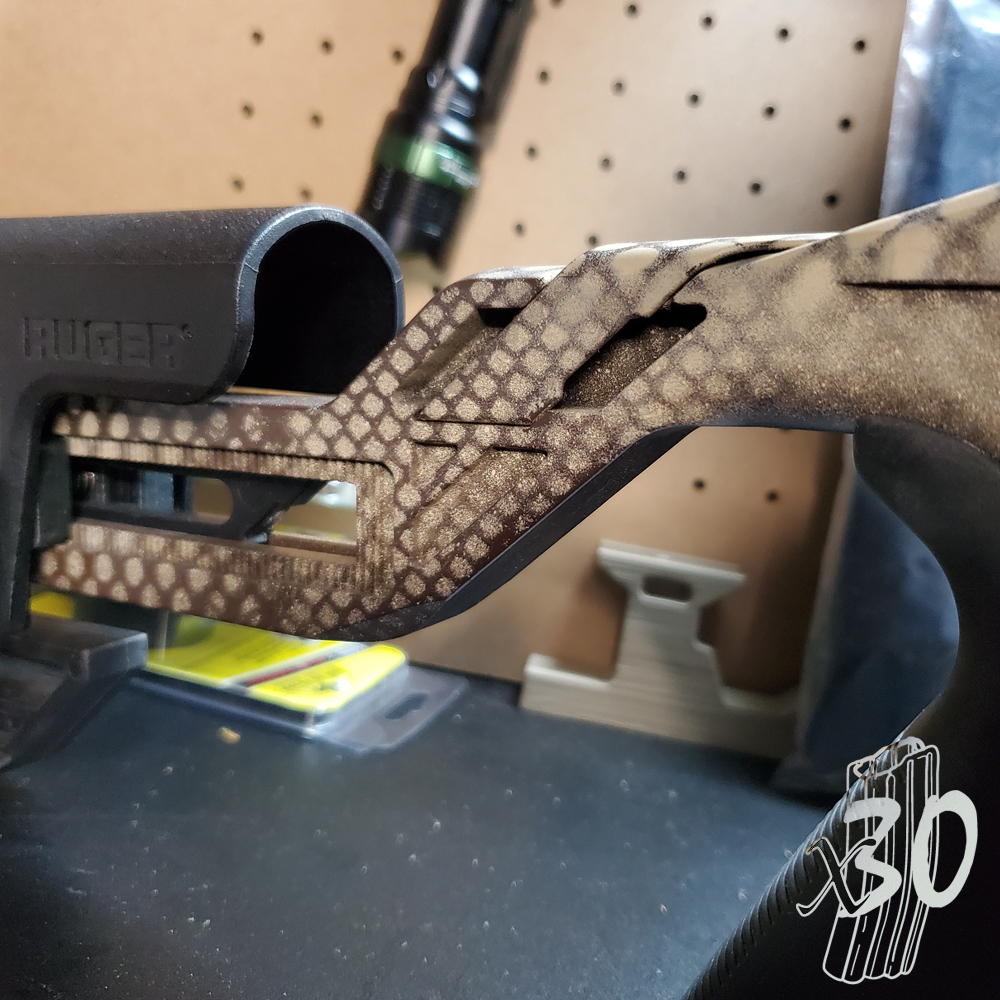
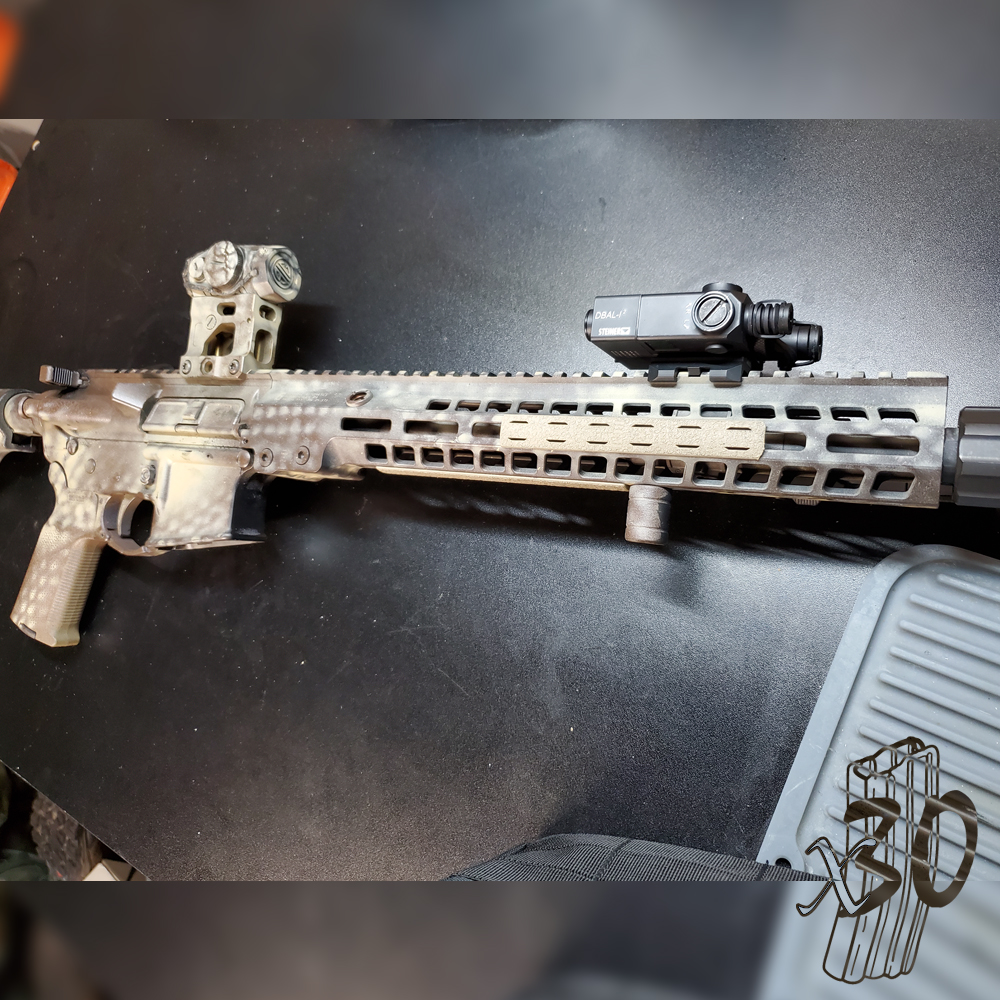
I was happy with the way it ended up on the Ruger so it was time to move onto the AR. All of the images below are after the fact. So don’t worry.. I did remove the Dbal (laser) first. I put down a base coat (green this time) and let it dry over 24 hours. Then I pretty much wrapped the entire rifle in different types of meshes, knits, and spacers. Do be careful with how your spray hits the materials. It can blow them around and smear the result. I learned that it was best to shoot straight down on the fabric with the spray.
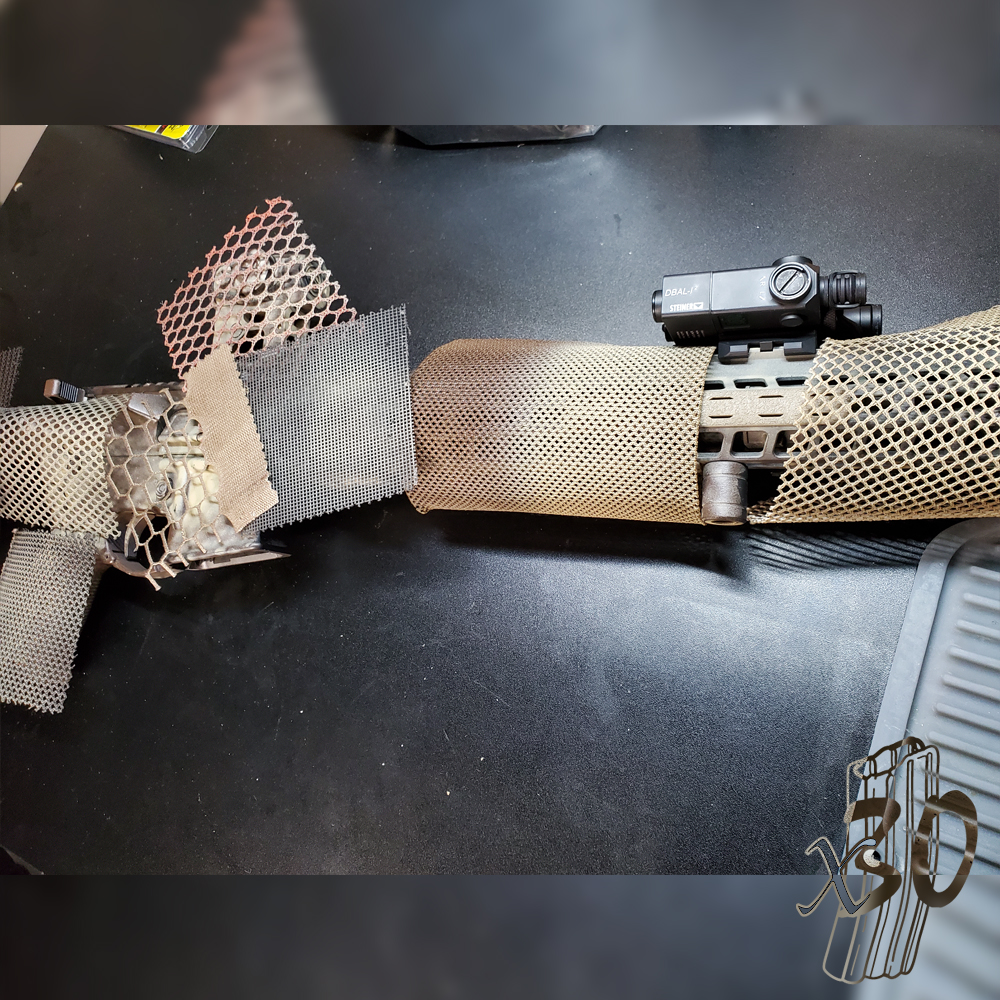
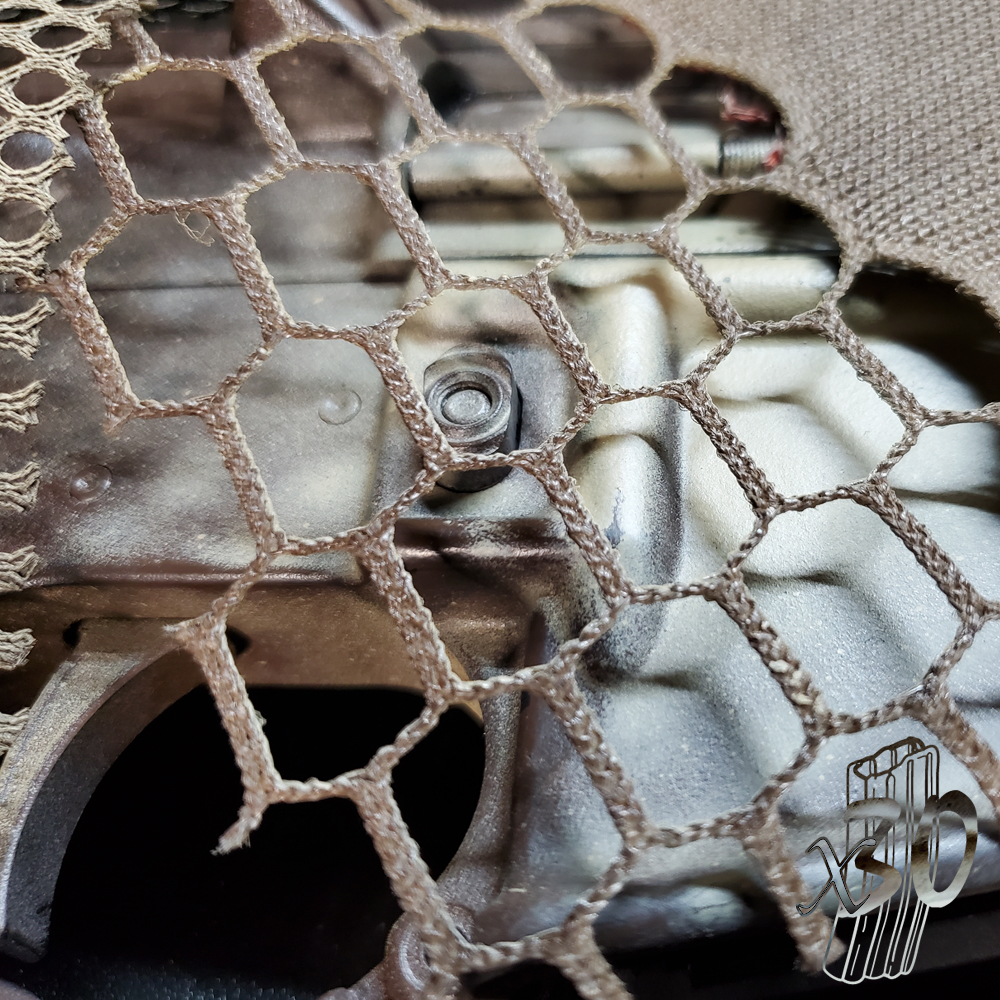
I was again very happy with the results. The pattern varied just as I had planned. Giving it a chaotic and natural feel.
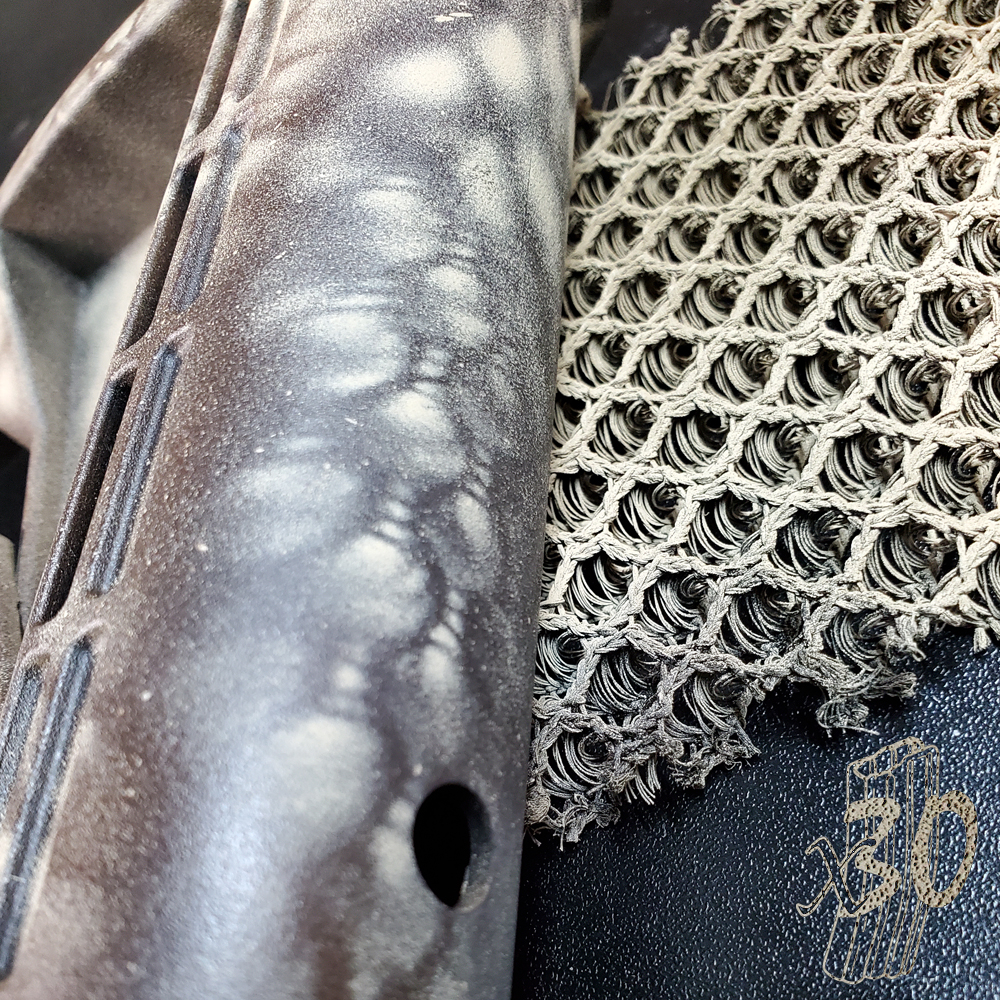
I tried something a little different with the stock. I had noticed that on the spacer mesh (specifically the DNB118 material) there was a HUGE difference between the two layers (the area between these layers is the “space” in spacer). One side was a very fine weave and the other fairly coarse. Perhaps if I laid the coarse side on the rifle (the side that would normally be in contact with the human body if this mesh was being made into a piece of gear like a plate carrier) and sprayed through the fine side it would diffuse some of the paint and give a 3D look. You can be the judge from the pic below but I think it turned out great. I might end up doing a whole other rifle in this style.
Some people will hate this right from the start. Either they think rifle painting should be done professionally with a coating or perhaps that they shouldn’t be painted at all. I have always loved the look of a rattle canned rifle and the purpose of this blog is to simply share things that I like.
Where can you get some airmesh?
Well, I don’t think APEX Mills would be to happy if all of a sudden a bunch of non-customers start contacting them asking for sample booklets and I can understand why. But lucky for you there are tons of places on the internet where you can purchase small amounts of airmesh. You also shouldn’t overlook just heading out to your local fabric store and taking a look at the meshes there. There is no reason your paint stencil needs to be milspec and/or berry compliant. If you need some web suggestions for materials such as this you can take a look at the DIY Materials and Sources section of this website. There, I am compiling an ever-expanding table of materials.

