
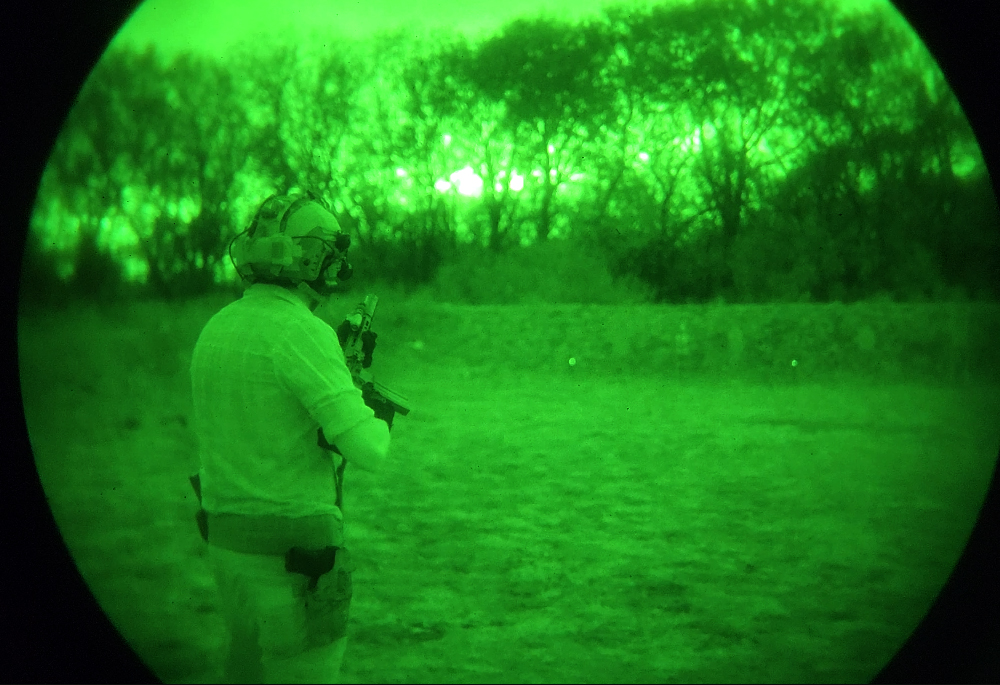
You want to see in green? Of course, who doesn’t? Night Vision is awesome. I’ll just say that up front. It’s a super-power that is available for purchase. But, I must warn you right from the start… Night Vision is expensive. You might try to cut corners here and there, but you will regret it if you do. Below are my thoughts and my thoughts alone. I have a lot more experience with NOD (Night Observation/Optic Devices) than the average person, but there are those who have more knowledge than I. To keep things straight, in this write-up I will be speaking ONLY of Ambient Light Image Intensifying Night Optics (basically that green vision you see in movies when the SEALS are rolling up on the terrorist). However, white phosphor NOD is overtaking green in popularity more and more each day (more info below). This specific write-up is not touching on any type of thermal optics or digital night vision – just the good old analog image intensifier setups.
It’s Generational
Current analog night vision is on it’s third generation (referred to usually as Gen3). I am sure that whatever gen4 is does exists in a lab somewhere, but currently it is not available and would most likely be cost prohibitive to a regular guy like me. I am going to give a piece of advice up front: Get Gen3. Do not even bother with Gen1. Gen2 is barely passable and requires a lot of help from an active infrared light source (called an illuminator). There is an option in what has become known as Gen2+ usually referring to a certain type of intensifier called a Photonis (brand name) Echo tube. While this will allow you to see in the dark, it lacks the ability to achieve enough gain at super low light conditions. You may or may not know but image intensifying night vision DOES require ambient light. It cannot see in complete darkness. A true Gen3 tube is going to give you more detail in the near-complete darkness than a Gen2+ tube. Yes, you can save a good amount of money by going with Gen2+. However, I hear story after story from individuals purchasing Gen2+ saying, “It’s basically the same thing.” only to regret their decision as soon as they look through their friend’s Gen3 tube on an overcast night. When it came time for me to make the big purchase I bit the bullet and went straight to Gen3. It was the right choice.
“A Magnitude Greater” rule

The genesis of this next section may have actually come from my head. I have never heard anyone else use it before me telling them first and it pretty much always rings true. One magnitude greater generally refers to one number being 10 times greater than another. 100 is one greater magnitude than 10. I went to college but it was a State school so maybe that could be worded better. But you get the idea. If you are new to night vision and aren’t familiar with the prices associated then listen up. Everything with the term “Night Vision” attached roughly costs one greater magnitude than you think it should cost. I’m not just talking about the NOD itself. I’m talking about the mounting hardware, the lasers, the illuminators, etc. You might think a quality night vision mount being a piece of machined aluminum that hinges up/down and does a good job of not letting go of your NOD would cost $50-80. No, you are looking at $500 for this piece. Which brings me to my next point.
Start with a PVS-14
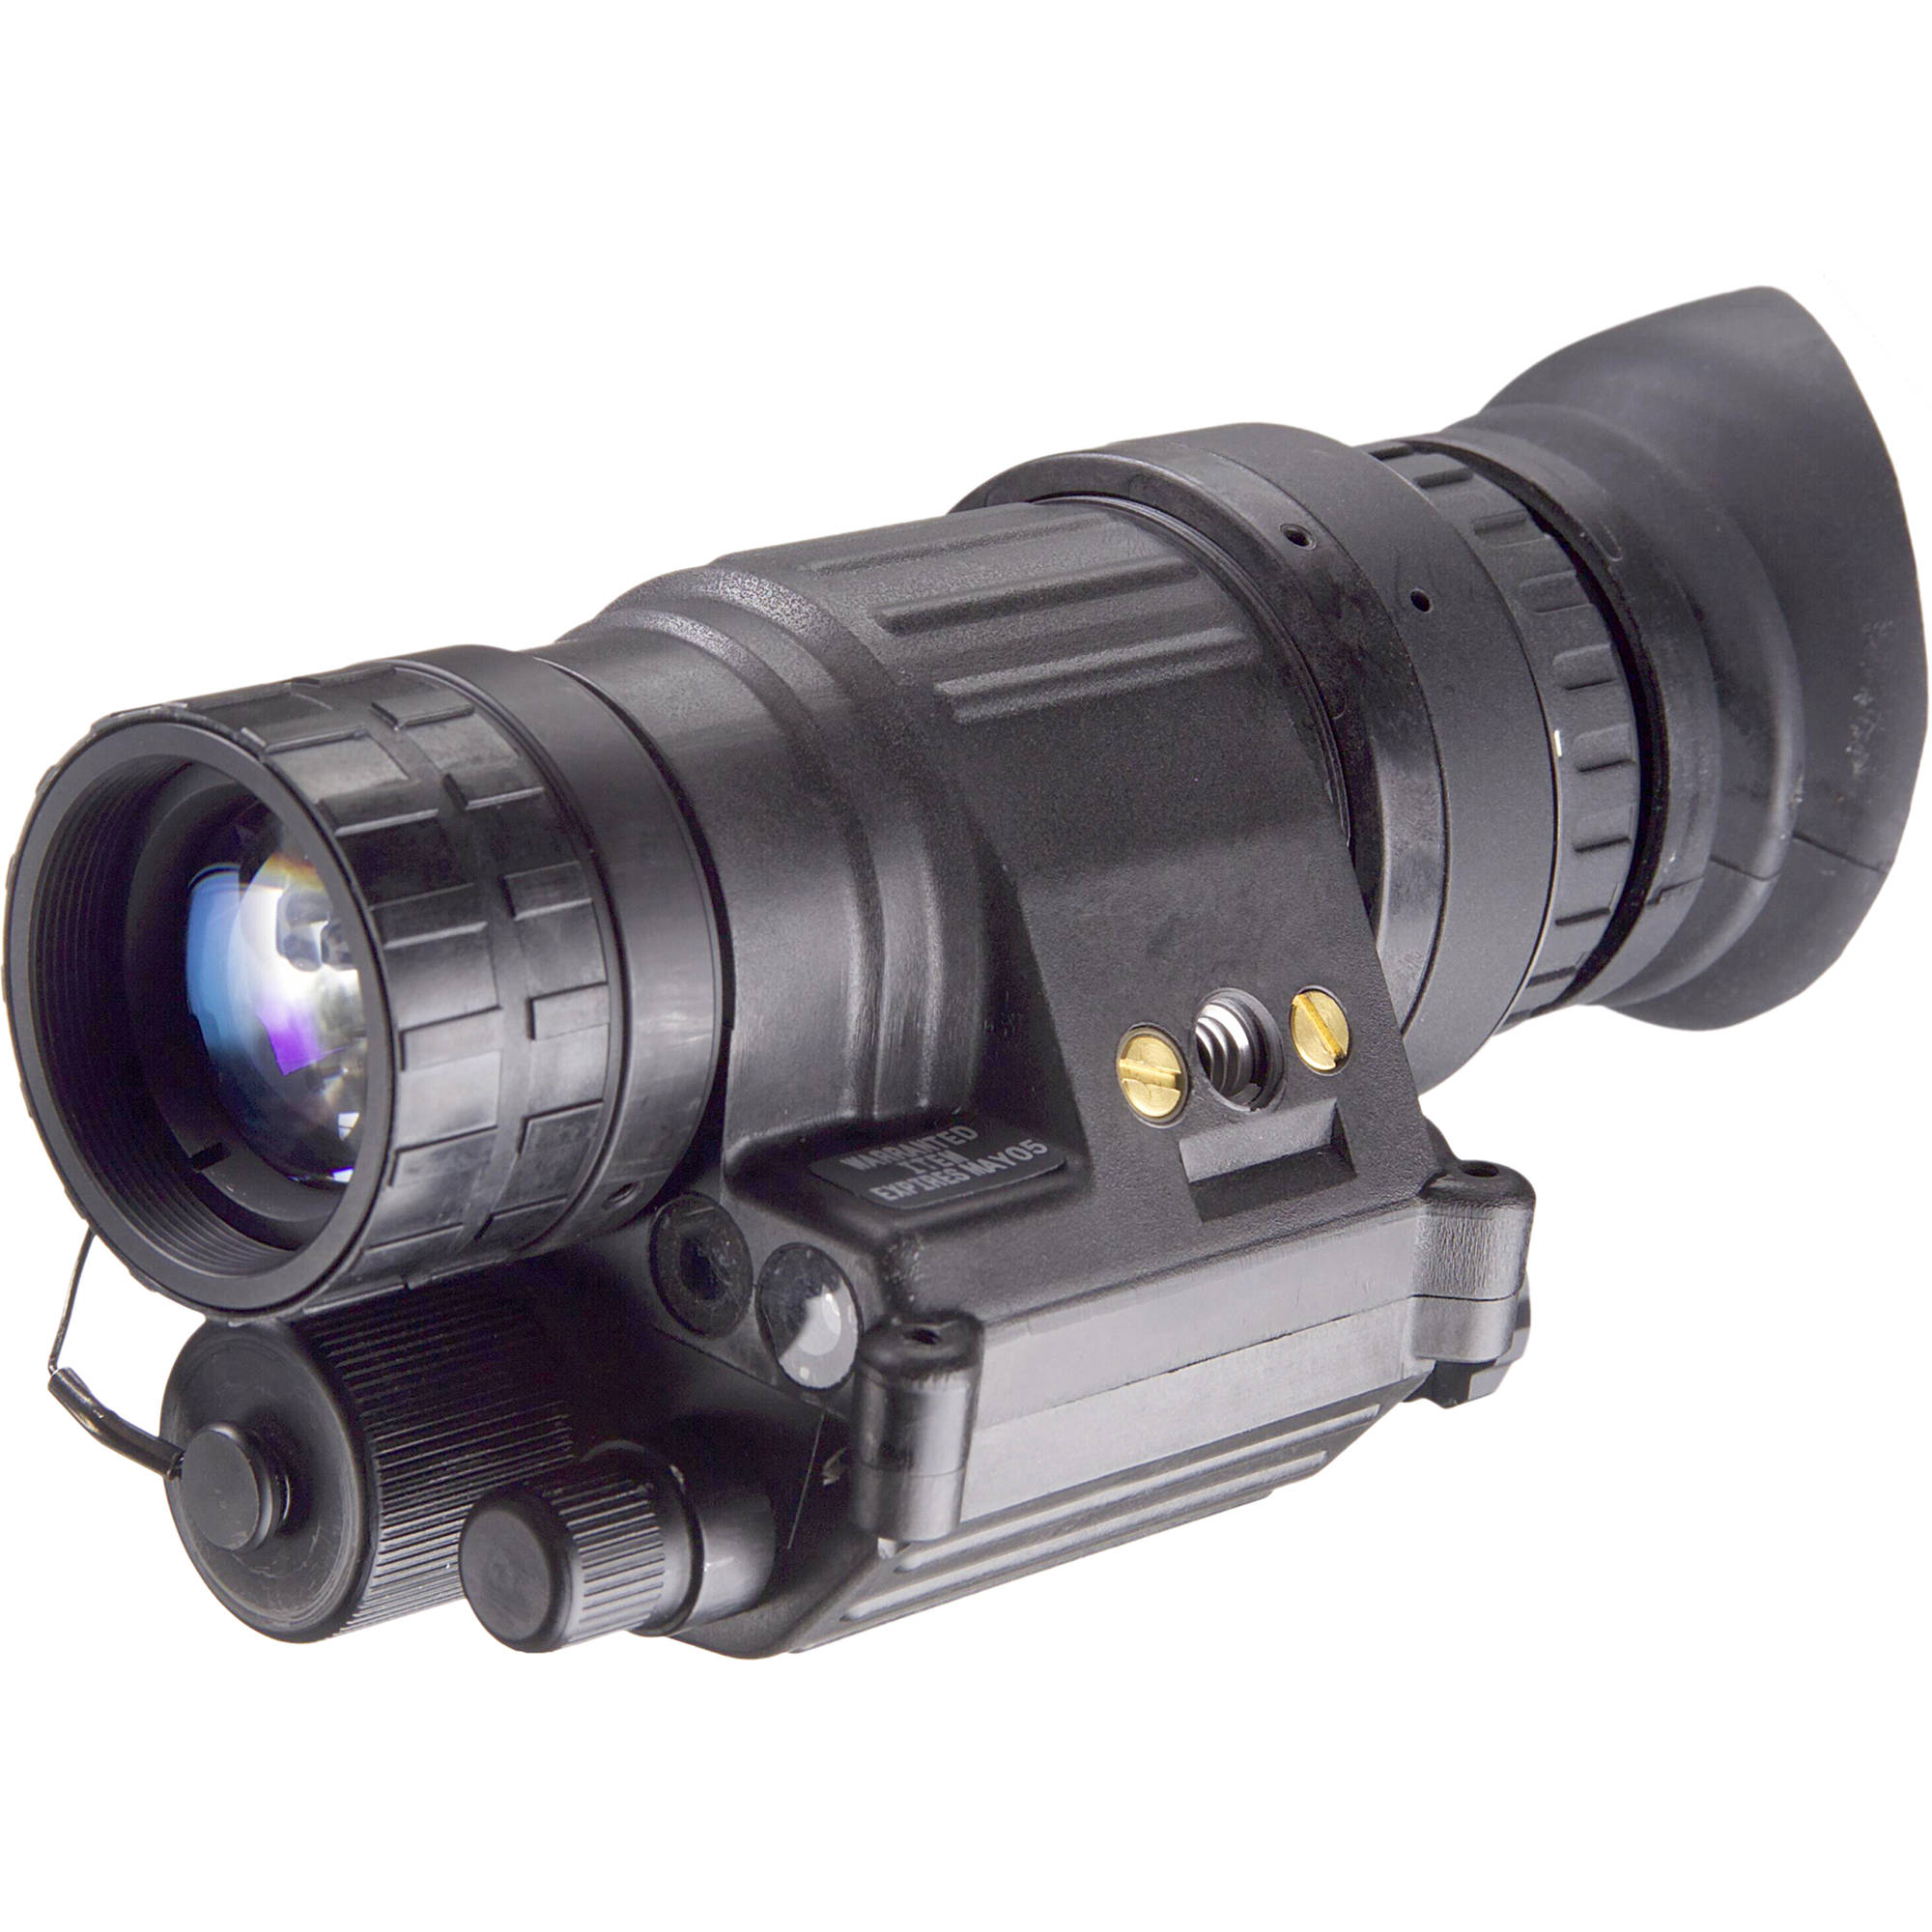
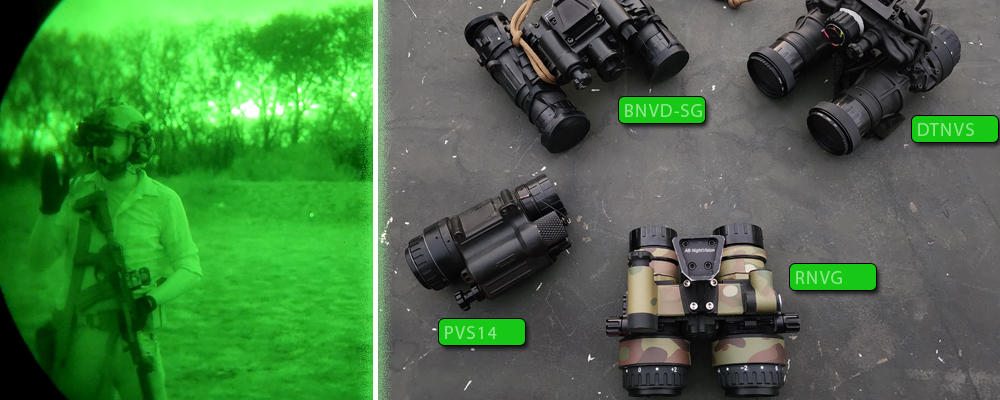
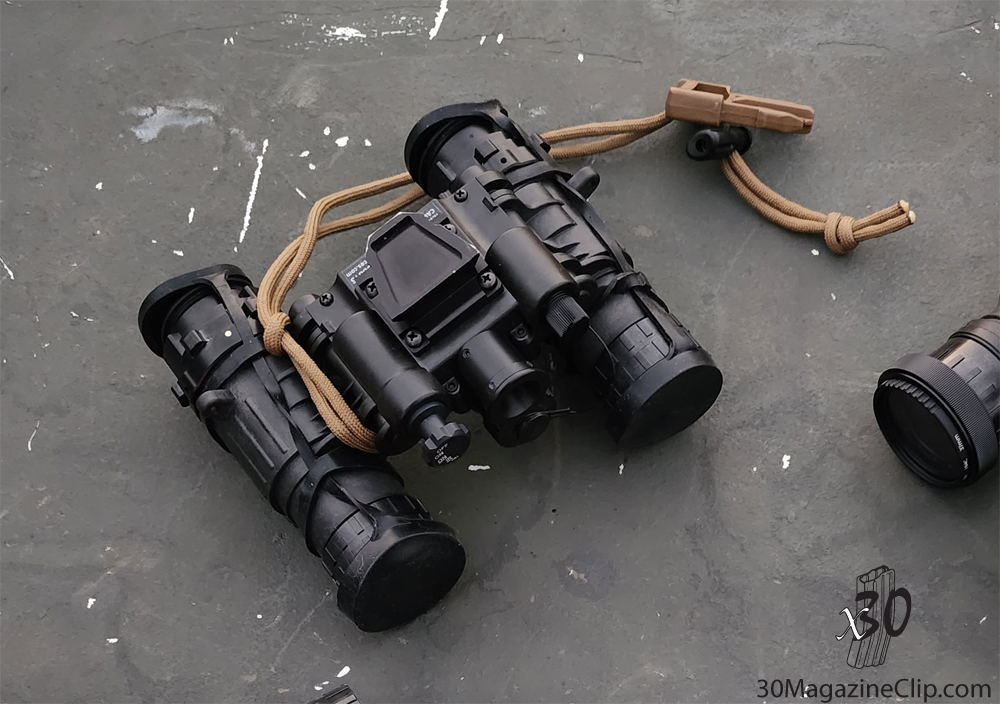
The PVS-14 is the most ubiquitous Gen3 night vision device on the planet. If you have googled “night vision” at all then you have seen a PVS-14. A single-tube monocular (only aids one of your eyes) can be had anywhere from $2,200 – $3,900 (new). Now, 100% of Larperators agree that dual-tubes (aids both eyes by utilizing twice the number of image intensifiers) LOOK cooler than a single. But hear me out. In my experience most people DO NOT stick with night vision. The most common tale is that of the individual who decides to take the plunge. They buy a NOD, helmet, laser, illuminator. They “clear” the basement of “intruders” a few times, stick the device in the safe and it sits there for a few months. Every time they open that safe they are reminded of several thousand-dollar bills in equipment just sitting there. Perhaps you don’t have a place that allows you to shoot at night. Or maybe life is just too busy. Either way, eventually, the thought of unloading your NOD creeps into your mind.
Now, to be honest, that is how I got such a good deal on my first NOD. A guy was selling it for what he still owed (further advice: don’t buy a NOD on credit). There are entire multi-thousand person Facebook groups dedicated to talking about and selling NODS on the used market. You can find some great deals but you are always taking a risk when buying used. The amazing thing is that in most of those “Selling my NOD” posts you will see where they estimate single digit hours on the device. That is how little some people use them. Which brings me back to the point of this section. #1) If you get into this niche and the novelty wears off real quick and you aren’t using your NOD, it is much easier to swallow a $2,500 purchase than than a $6 – $12,000 one (for dual tube setups). #2) If you decide to then unload your NOD on the used market there are MANY more individuals looking for a PVS-14 rather than a DTNVS, PVS-31A, BNVD (all duals). Take it or leave it. That is how I always start the conversation when we are talking about someone’s first NOD.
Green or White?
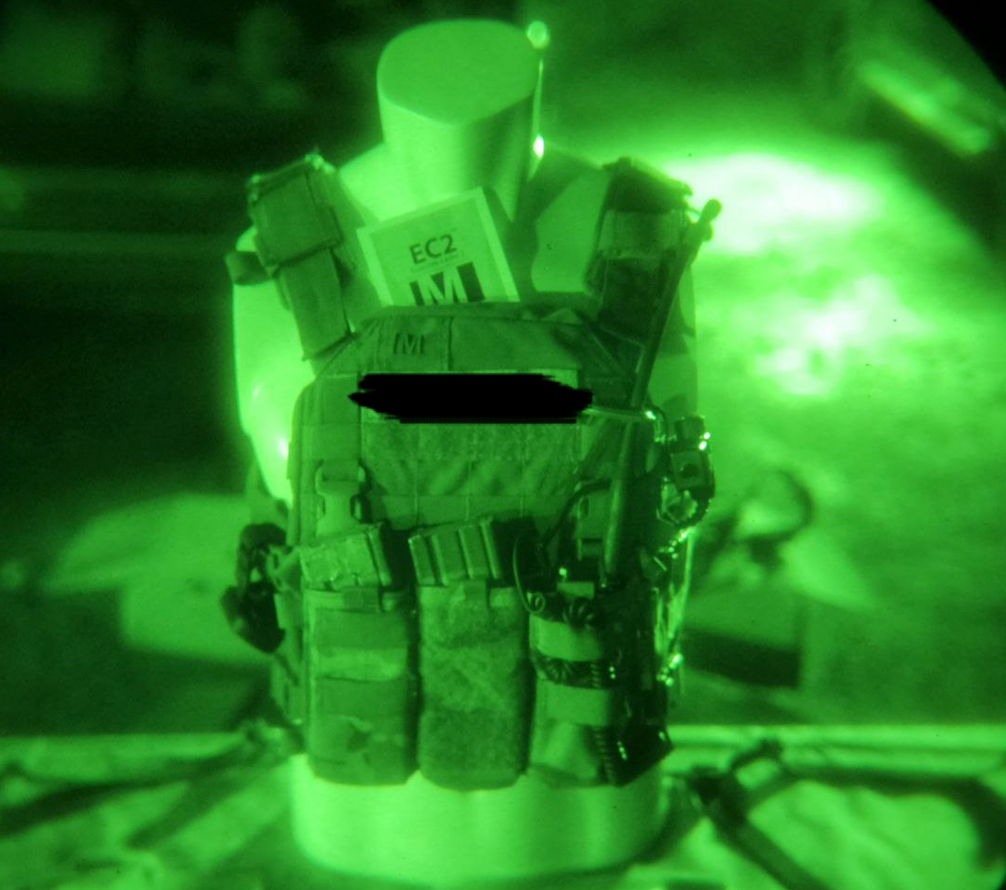
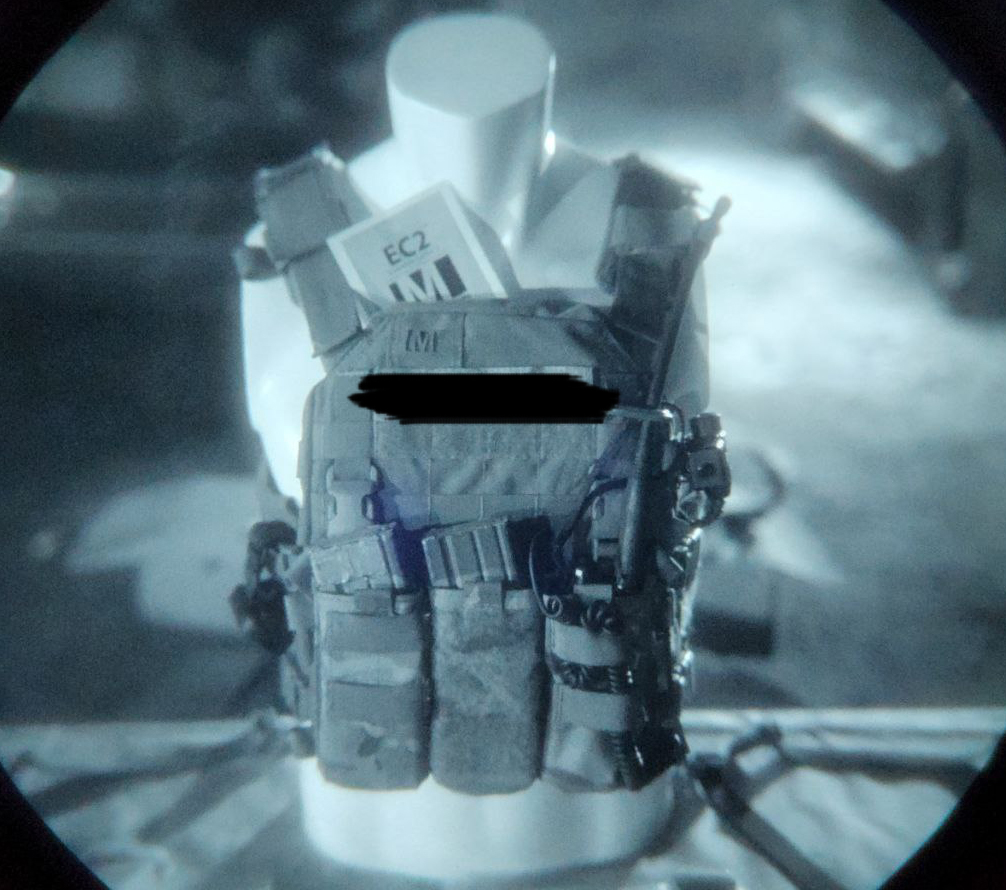
Referring to Green Phosphor or White Phosphor: Green is what you usually see in the movies but white is becoming more popular every day. As to not rehash a previous write-up I will link you to this post for a bit more information on the subject of white vs green.
The basics
If you are wanting to be “tactically sound” then you need to be able to keep your head on a swivel, which means a head-mounted system. Here is what you need in order to get by:
- A NOD (again, I would suggest starting with a PVS-14).
- A Mount to attach the NOD to the shroud (info later). If you are running a single-tube PVS-14 then the Norotos Rhino mount is the most cost effective. Sometimes they even come with the NOD. They are absolutely NOT the best, but it will get you by. You will want to upgrade at some point. Upgraded options include the Rhino II, the Wilcox G24 (most common in the Special Operations community), the Norotos INVG Hyper Mount (in my opinion this is THE BEST PVS-14 mount available. Here is a review that I did on another channel a while back). There is also the Norotos Lo-sto mount that I hear only good things about but have no personal experience with.
- J-Arm or Dovetail. Most PVS-14’s come with a J-Arm that interfaces as the quick-detach between the NOD and a Rhino mount. However, if you want to use an upgraded mount like the INVG or G24 you will need a dovetail adapter. I also talk about the Norotos Dual Dovetail Adapter in the linked review above.
- Shroud. The shroud is the “port” on the helmet that connects to the mount (described above). Now, this might be a non-issue for you. Today most reputable “tactical” helmets (either bump rated or ballistic) already have a shroud and they are pretty much standardized. Some are molded in like the Ops Core Fast Bump and others are a steel shroud bolted to the front of the helmet.
- Infrared Devices. Now we can really get into the weeds here, which I am going to try and avoid. Usually (especially in the last war) night vision aiming of your rifle is/was accomplished via an infrared laser attached around the hand guard of your rifle somewhere. While you can get away without a laser (see Passive Aiming below) I would highly suggest getting one. They were used extensively in the Global War On Terror because the enemy of that war didn’t have night vision equipment. So, they had no chance of seeing your infrared aiming laser. However, NODS are getting cheaper. So it is becoming more popular now to extensively train in passive aiming. Furthermore, remember me saying that night vision required SOME ambient light to intensify? So what do you do if there is nearly-zero or zero light? You have to shine something. That is where your infrared illuminator comes in. There are several kinds, but in a nutshell it is an infrared flashlight (only able to be seen by those with NODs) that provides that light. As far as the infrared laser and illuminator there are endless options. You can get them combined into one unit or separate. (See: PEQ15, ATPIAL-C, Dbal, MAWL, Holosun, Phantom Hill, RAIDx, NGAL, PERST). Just remember the “A Magnitude Greater” rule above.
Active vs Passive shooting
Previously, we talked a bit about active aiming vs passive. Active would be firing an infrared laser at your target which lets you know where your bullets are going to land. This is great unless your enemy also has night vision. Then you might as well be shining a flashlight in the dark. Passive aiming is not new but is becoming more popular as many believe the next war is going to be against some Nation-State and not insurgents. State soldiers are much more likely to have night optics (I guess the Taliban now, too…). Passive aiming is done just like you would do with a red dot optic on your rifle, except you are looking through it with your night vision. Since you aren’t firing your laser you aren’t emitting any extra light that can give you away. Passive aiming is easier with a dual-tube system but it is completely doable on a single.

Here is something not so intuitive, and many will disagree. With a lot of high-dollar (and some low-dollar) red dot optics you have an NV (night vision) mode where the aiming dot can turn to infrared. Conventional wisdom would suggest to use NV mode when you are “under NOD”. This would be a mistake, though. Think about a real world situation. If you are clearing rooms under NOD and the lights get flipped on, you will probably want to flip the unit up and get it out of the way. But if your rifle optic is in NV mode you now cannot see the dot with your unaided eyes. The last thing you want to have to do is be fiddling with your optic to get it off of NV mode when you are in an emergency situation. Instead, spend the time and find a happy medium of red dot brightness – something you can see in the daylight and won’t completely overpower your NOD. It isn’t as hard as you think. When in doubt I go a little brighter. Prevailing red dot aiming doctrine suggests you should remain target-focused when looking through the red dot. Don’t focus on the dot. This makes that dot diffuse a bit in your vision as your are “looking past” it. This changes a bit with holographic sights such as an EOTech but that isn’t within the scope of this write-up.
Dummy Cord It!
Mounts aren’t perfect. You aren’t perfect. You might attach your NOD to the mount and not quite get the positive “click” that indicates it is locked in. This can result in a dropped NOD. If your NOD falls from your head and impacts the hard ground you will be sorry. Get a cord (either buy it or make it) and attach it from the NOD (most have molded in anchor points) to the helmet itself. If your mount ever lets go you will find your NOD dangling a few inches below your neck instead of hearing the worst sound in the world as it impacts the concrete below.
The End
For a sub 101 class that is quite a bit of information. Night Vision is great. It is a whole different thing as far as shooting goes. You will find that fairly minor drills that you can absolutely nail in the daylight will literally become more mentally taxing under NOD. You brain gets tired from trying to process an image of your environment from a ~40 degree field of view. You will have to move your entire neck/head to see something that in the daylight you would just flick your eyes to. Walking becomes hazardous. You will trip. Take it slow. If your NOD is focused for distance (which is pretty normal) the up-close objects are out of focus. You get the picture.
I hope this write-up helped as you start your journey into the Dark Arts. Prepare your wallet.