I use a lot of screen printed fabrics. Everything from MultiCam to various digital patterns to Kryptek. There has always been an issue with putting todays complex camouflage patterns onto some of the more robust and “course” fabrics that are popular today. Think of 1000 Denier CORDURA type materials. Most of the time the pattern doesn’t look that sharp. In a nutshell the less Denier the smaller the yarns and fibers will make for a sharper image. If you need more explanation on this see this video I made on another account many years ago.
I have recently been using a few printed fabrics in my work that used the Dye Sublimation process. Instead of screen printing [See this video produced about DURO Industries (no longer in business) if you want to see screen printing in action]. Dye Sublimation is a bit of a strange process and is less efficient over large scales than screen printing but you get the benefit of being able to make smaller batches and even customizations. In a very brief nutshell Dye Sublimation take several color inks as solids and heats them up to the point where the sublimate. This means that they go from solid to gas. Skipping the liquid state. The colors are applied (under pressure) to the fabric and “sink” into the fibers. The ink/dye then returns to its solid state as part of the fabric fibers. This allows for incredible detail. Nearly any color and even gradients. It’s also known to not fad as badly due to scratching, abrasion, and washing.
The Story
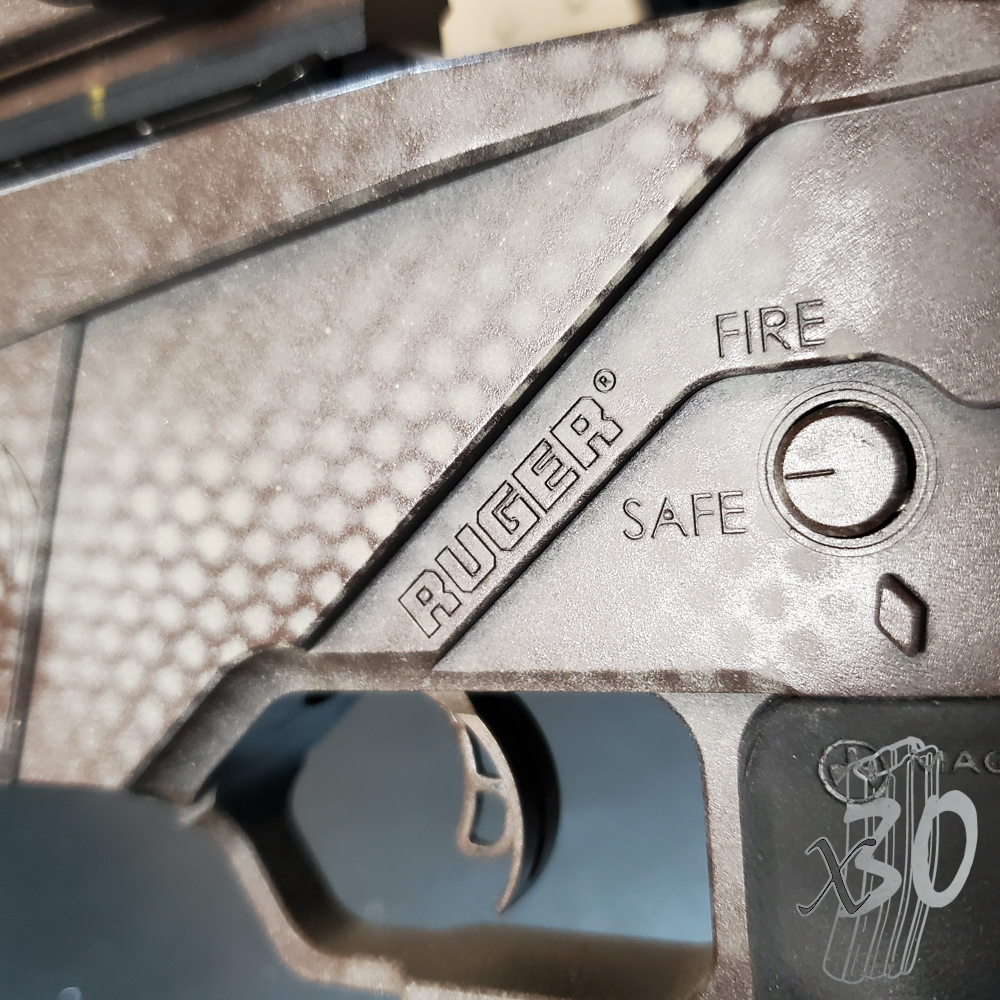
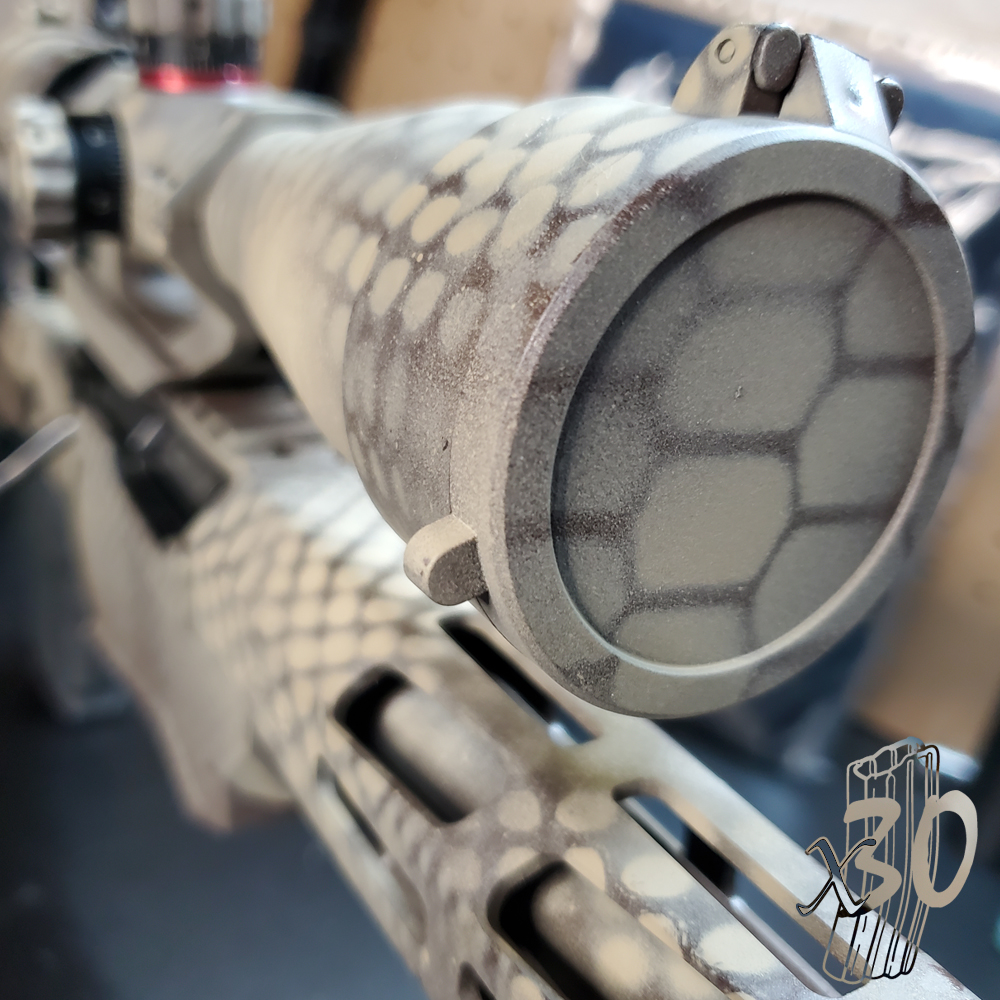
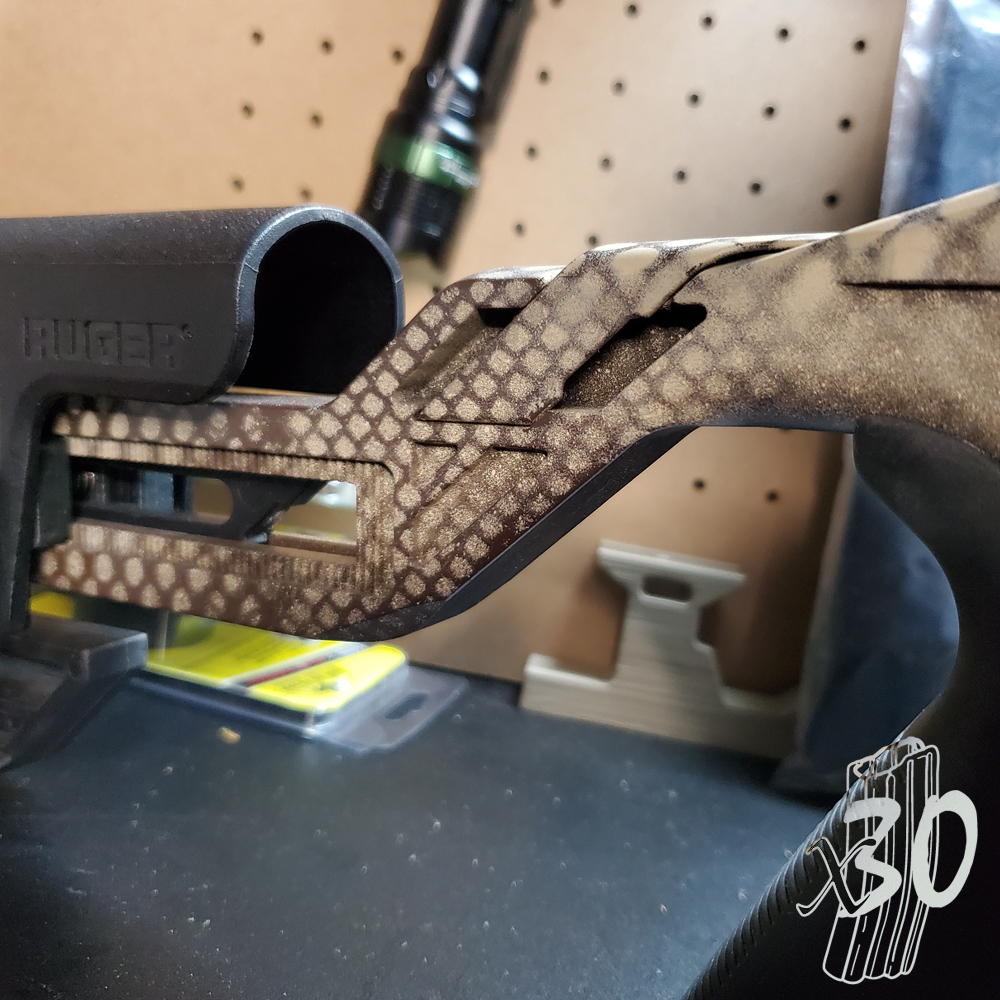
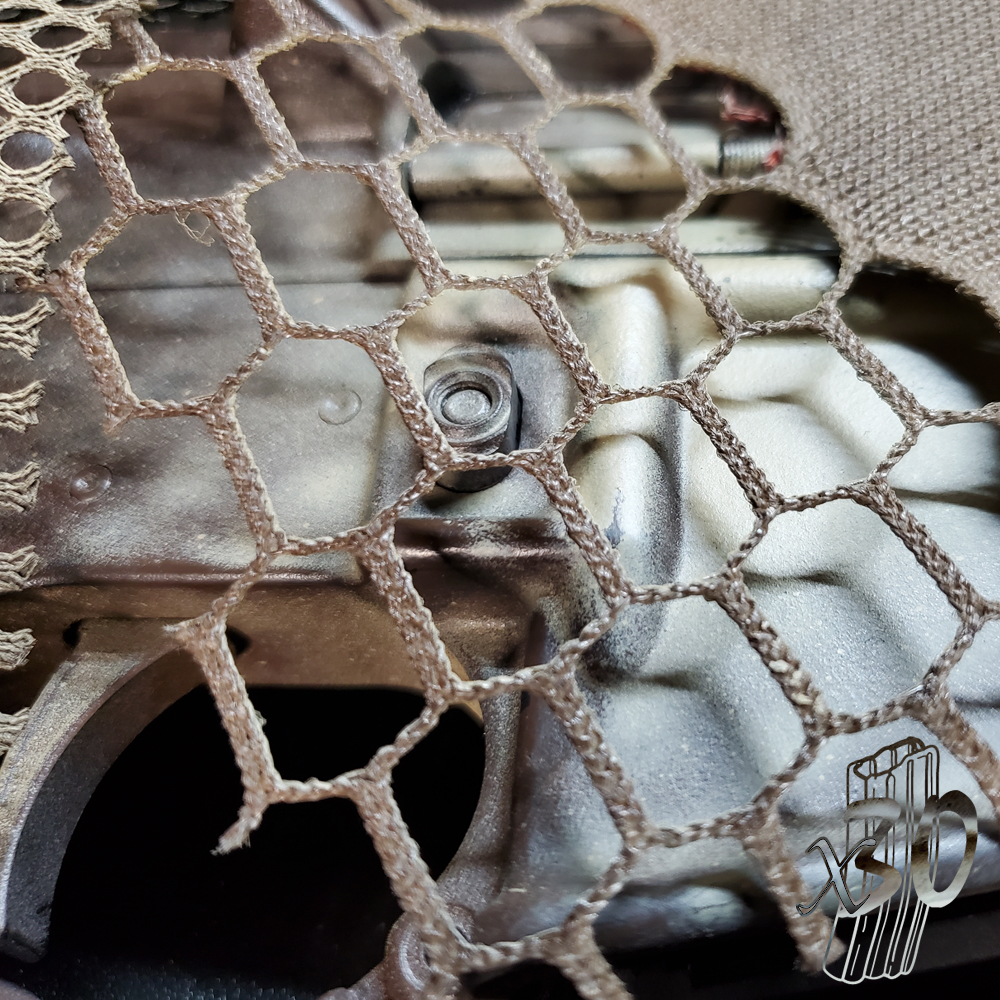
I needed a small amount of fabric in the Kryptek Highlander camo pattern. What I didn’t need was an entire roll of Highlander from Brookwood Rollgoods who currently produces Kryptek and MultiCam patterns on CORDURA materials. So, enter Dutchware. Dutchware Clips, LLC. They have a bunch of fabric offerings. One being a 1000D CORDURA print on demand service and have procured the licensing to print these patterns and can get them to your door in under a week. I didn’t really know what to expect but when it arrived I was very surprised with how sharp the pattern was. I was also afraid that a printed pattern would easily scratch off. Not the case. As stated before, Dye Sublimation is fairly resistant to abrasion. I have just started working with these materials but with about 4 weeks in I am not seeing any abnormal or early signs of wear.
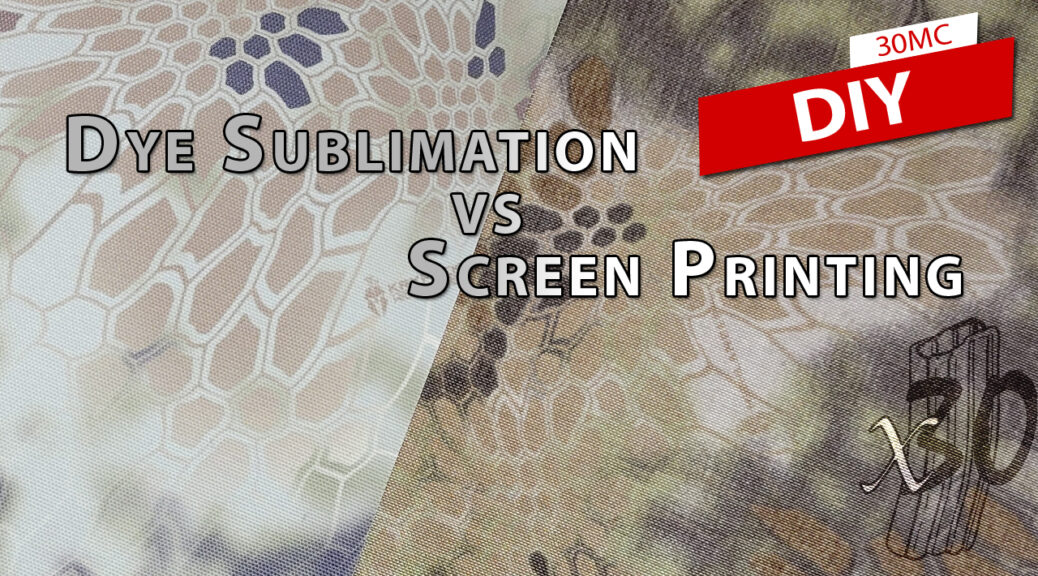
What’s the difference in the material?
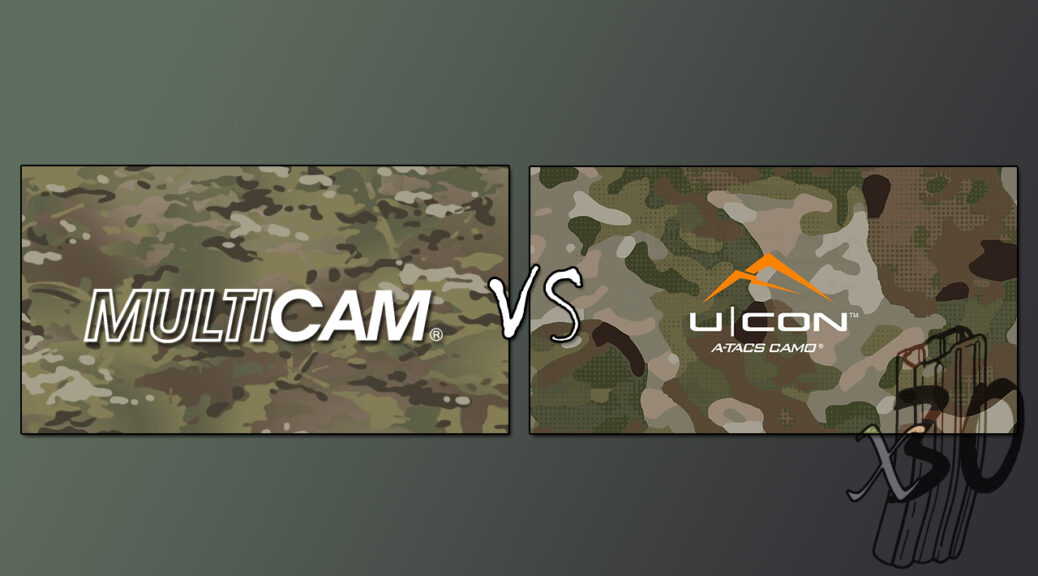
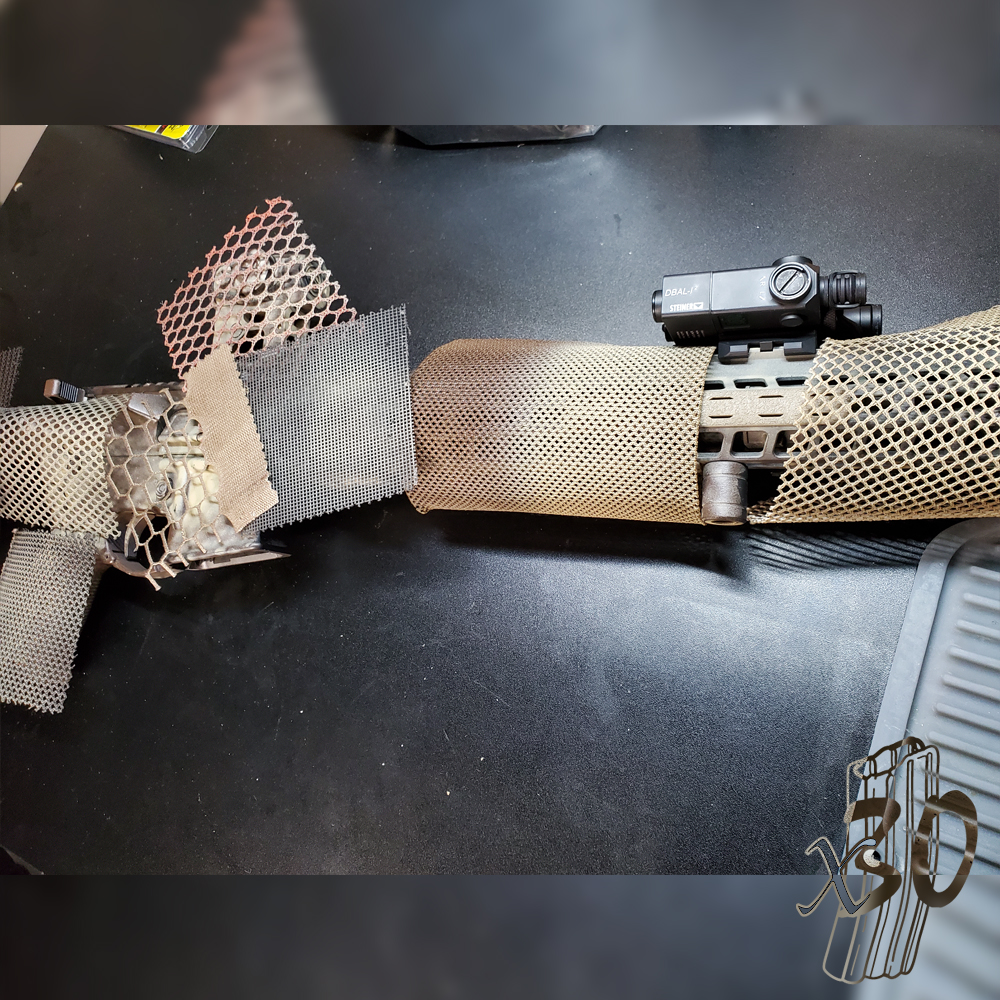
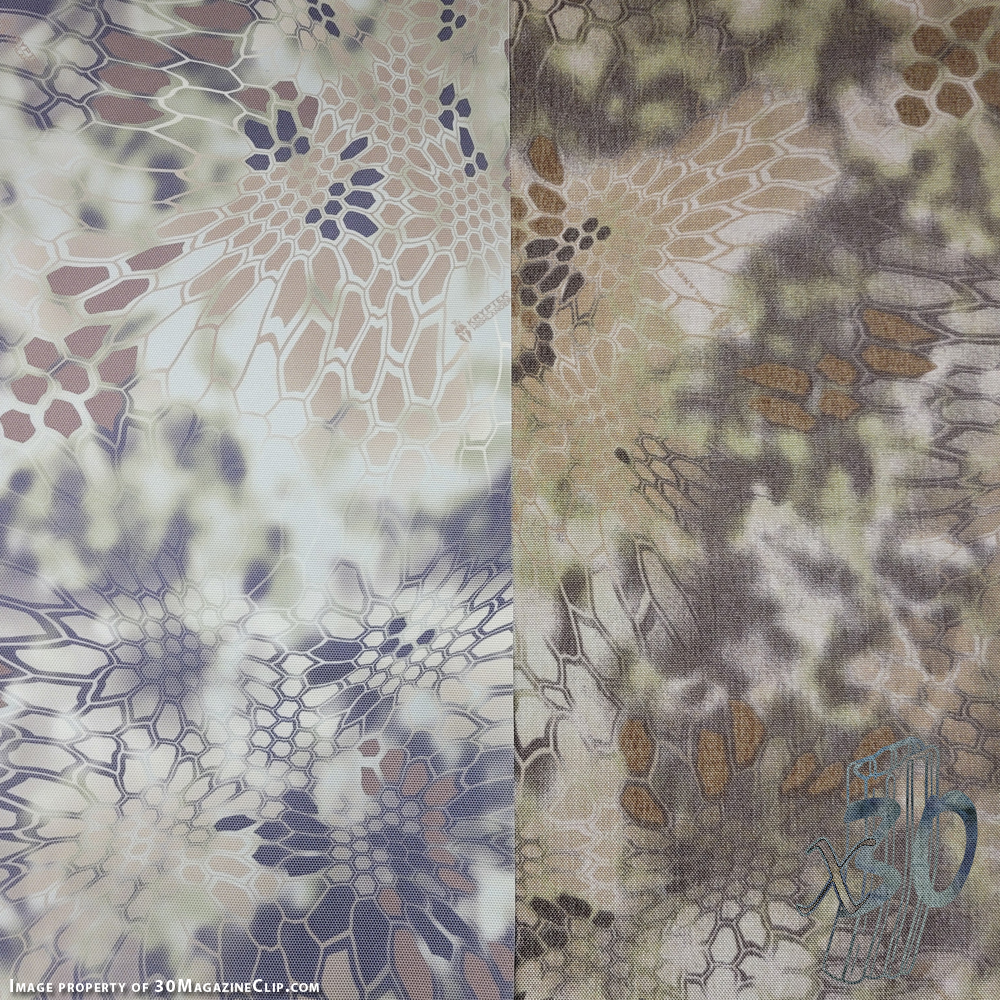
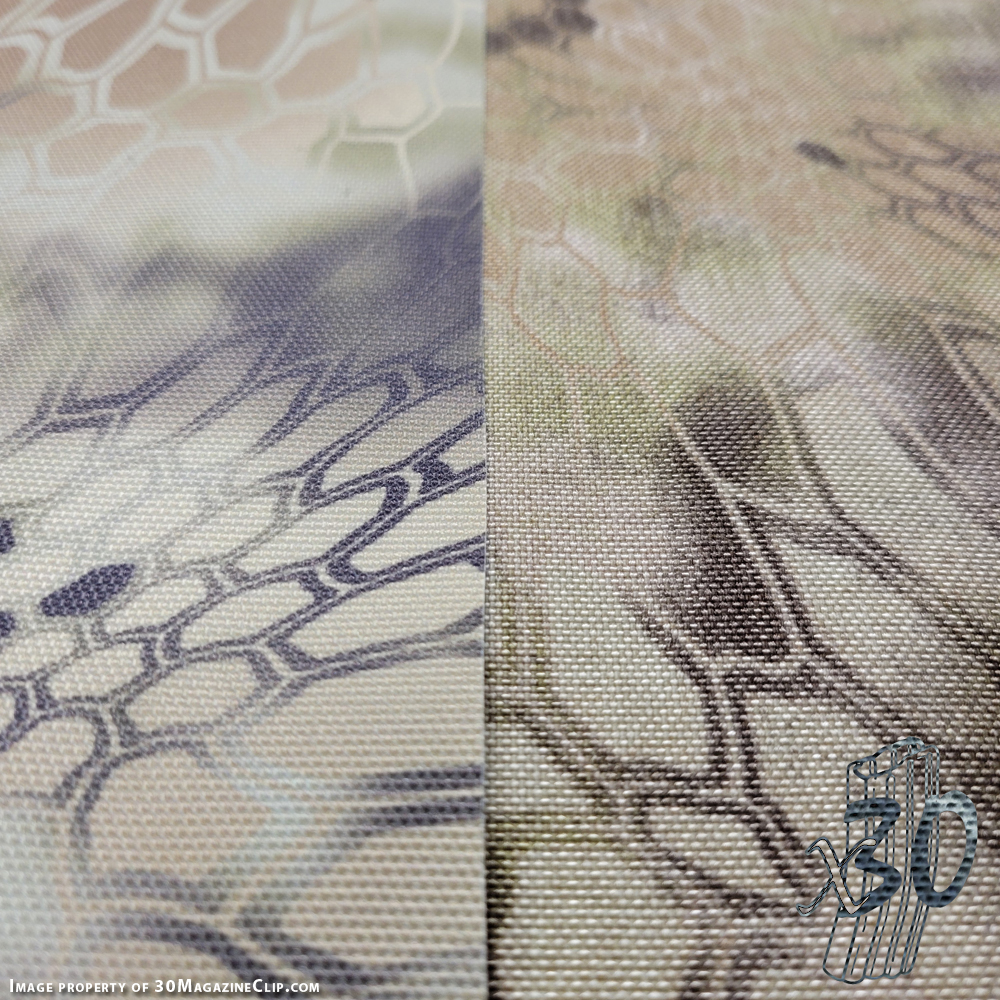
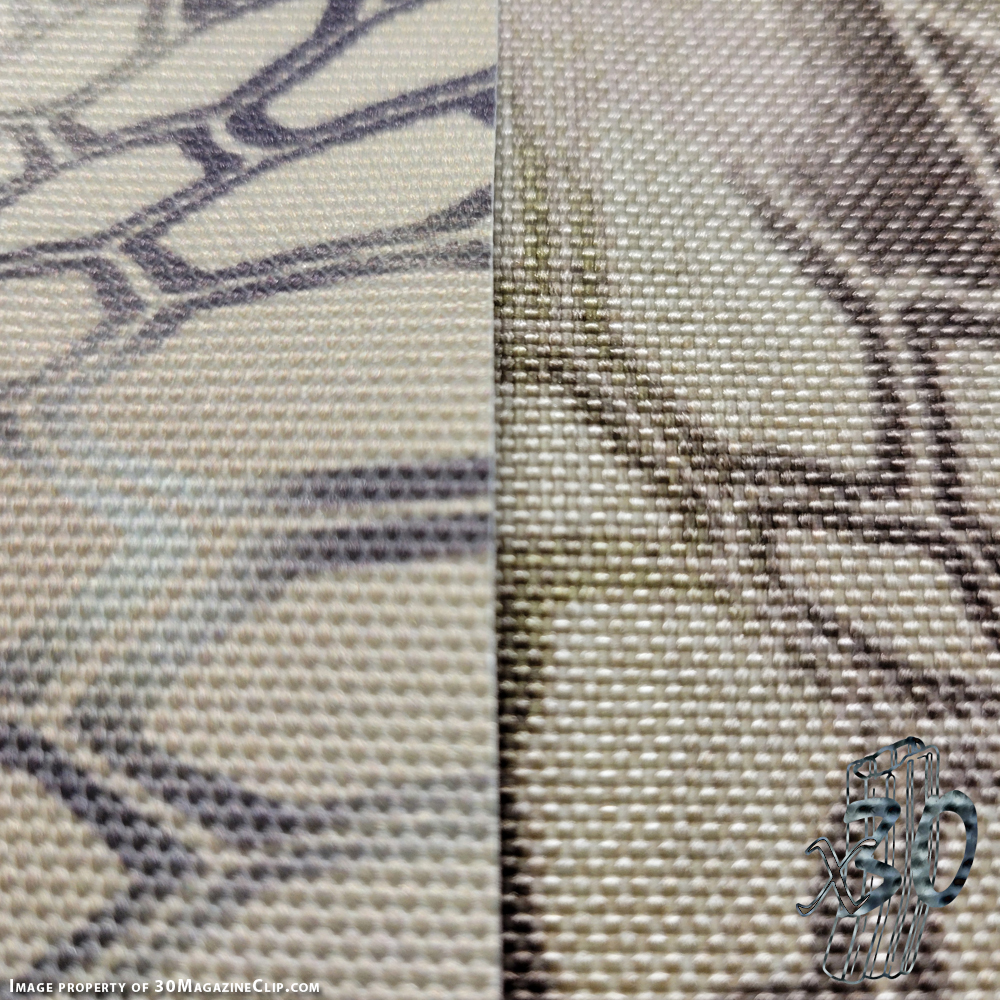
You can see the materials in the picture. One is Brookwood produced screen printed 1000D CORDURA nylon material. The other is the 1000D Dutchware produced textured polyester digitally print on demand offering. Both are licensed by Kryptek. If you are comparing to purchasing the traditional screen printed materials by the roll then the Dye Sublimation printed material is much more expensive. But, you are able to buy less that 50 or 75 yards at a time. That makes a difference to smaller shops or those building gear in their basement. The three main differences I noticed:
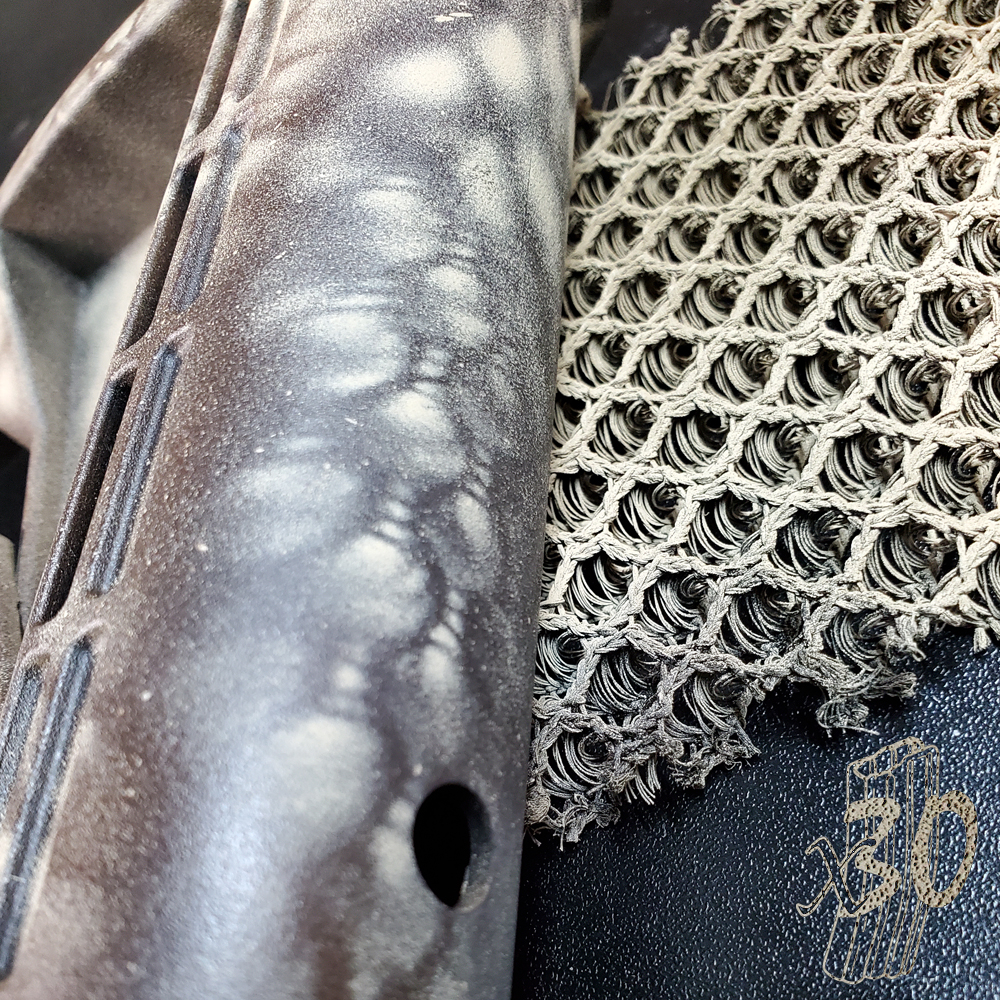
- The dye Sublimation material is left bright white on the back side. This could be an issue if you ever reverse hem your fabric and expose the back side. If so, you might have to alter your design(s).
- The Dye Sublimation materials is also stiffer than the screen printed material. Likely nothing that will prevent you from working with it but if you already thought 1000D was to stiff then you might want to avoid this polyester.
- There was no Urethane (UC/PU) Coating on the back of the digital print offering. This aids in the materials water repellant properties and keeps exposed edges from fraying so badly.
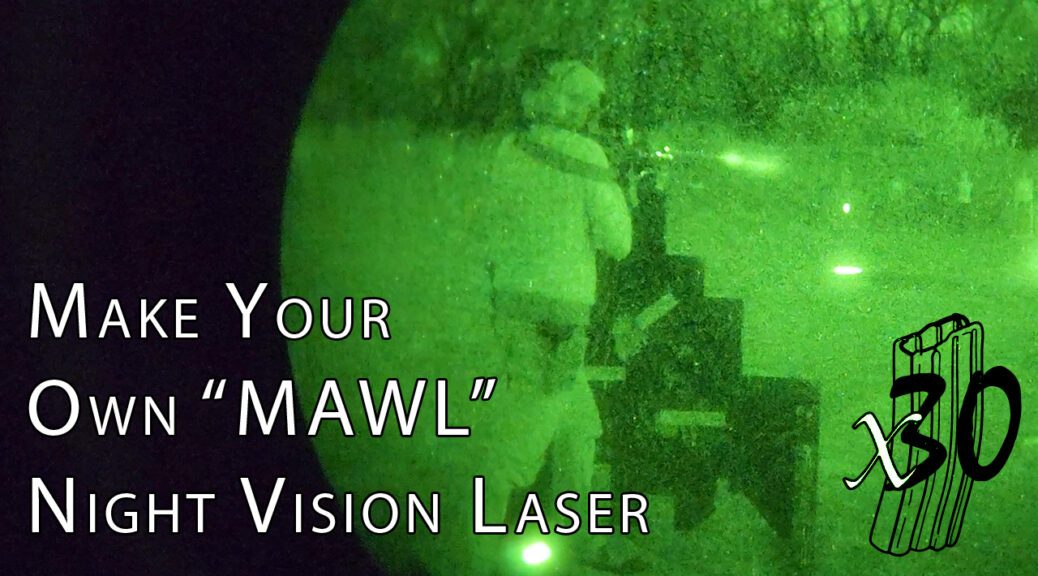
What about Near Infrared?
These days everyone is worried about the NIR (Near Infrared) performance. As you may or may not know. I have tested a bunch of camo patterns in this manner and posted the findings here with more to come.
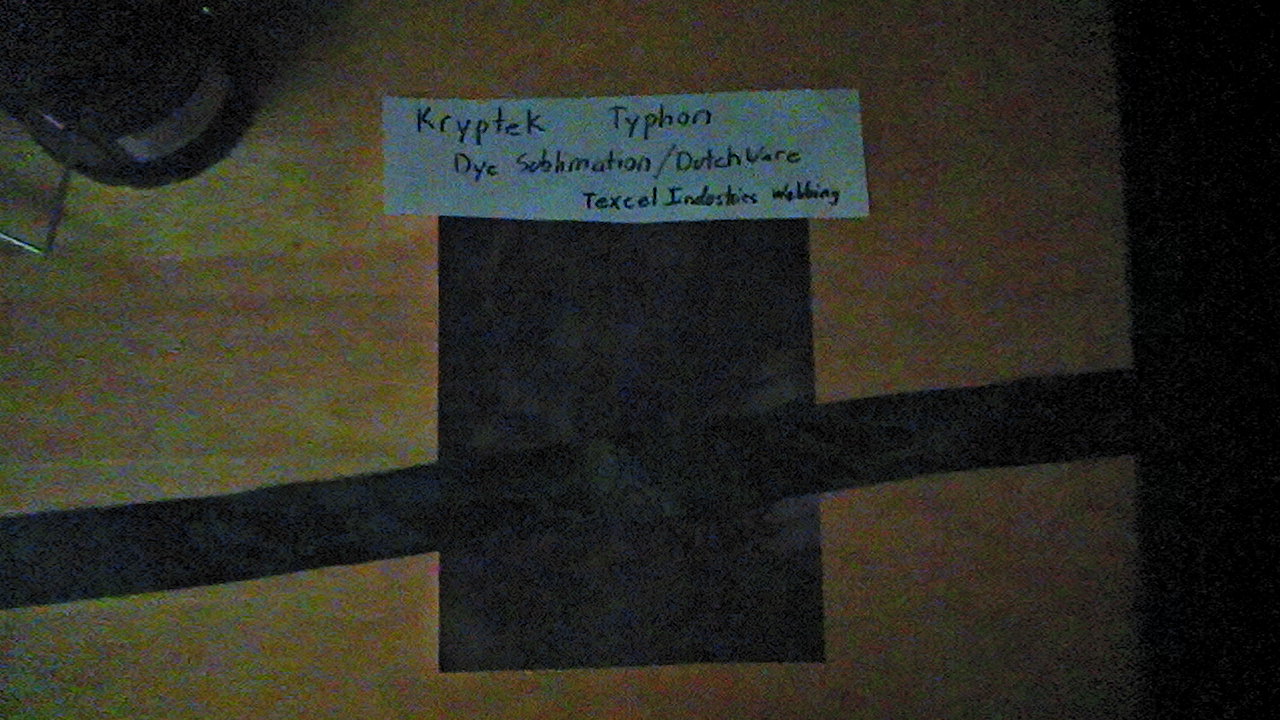
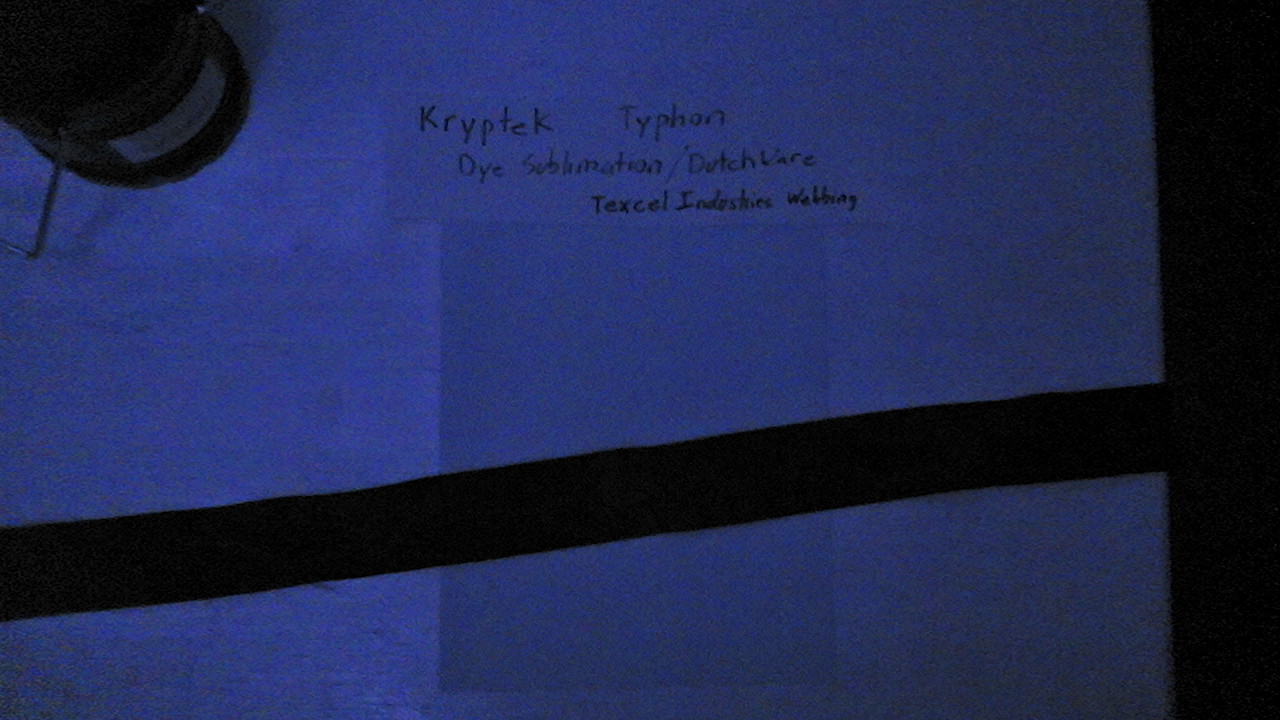
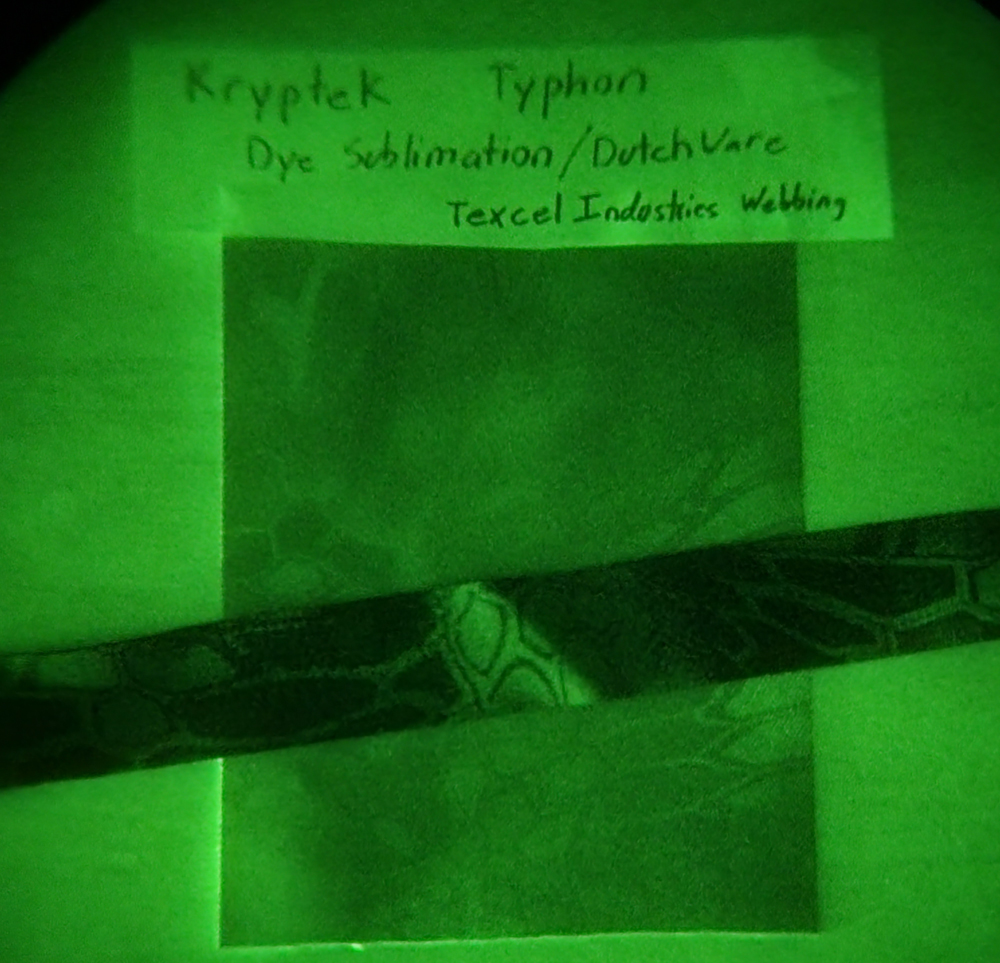
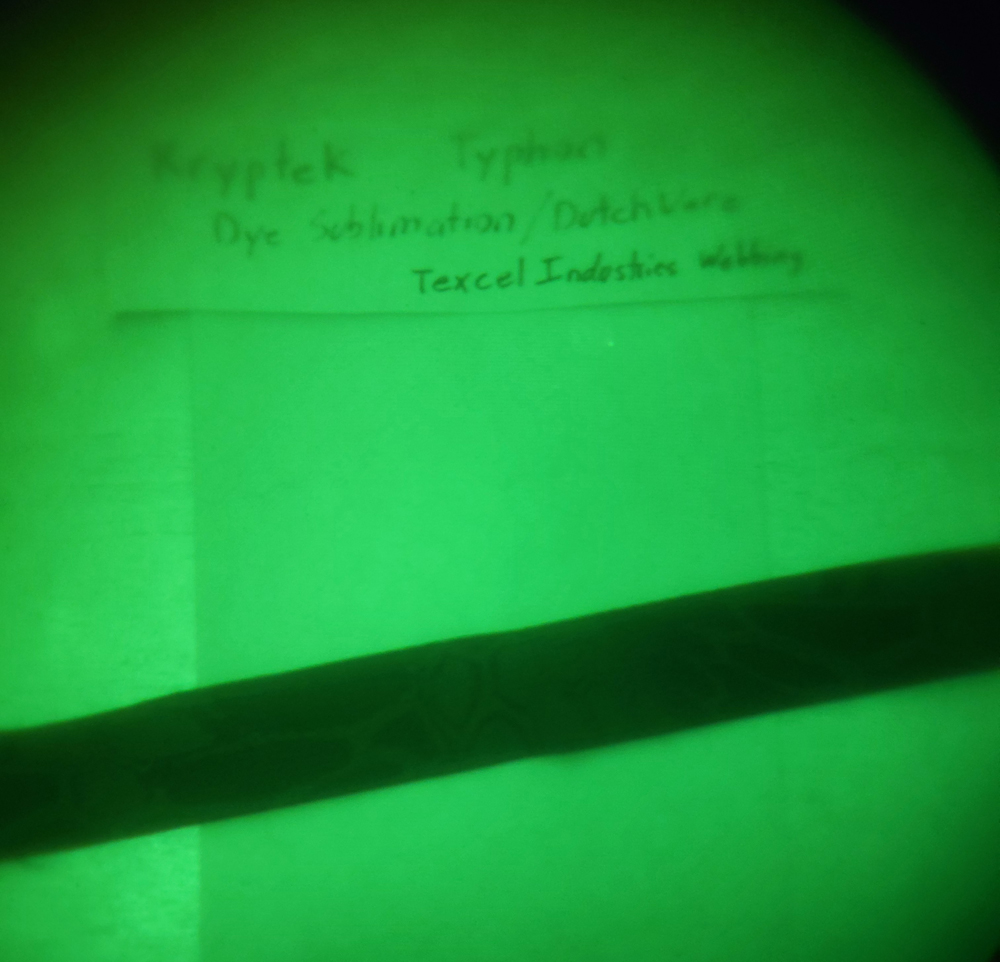
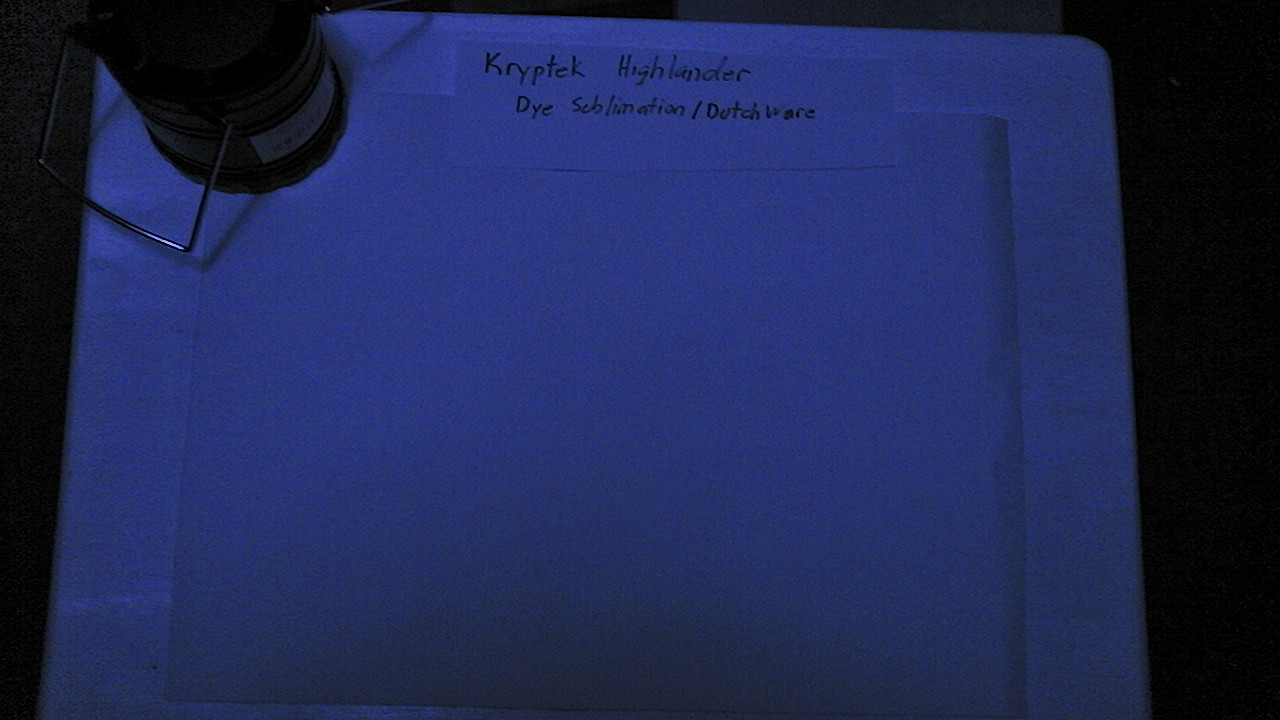
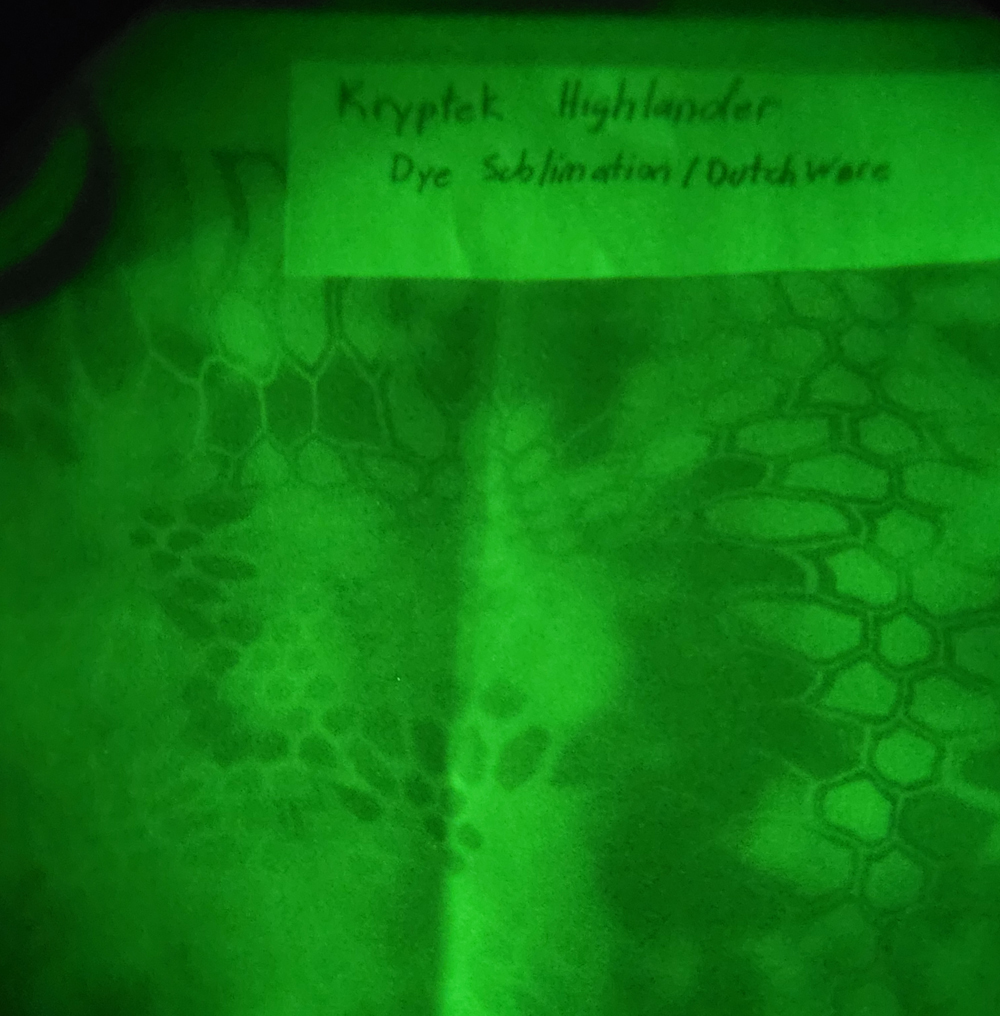
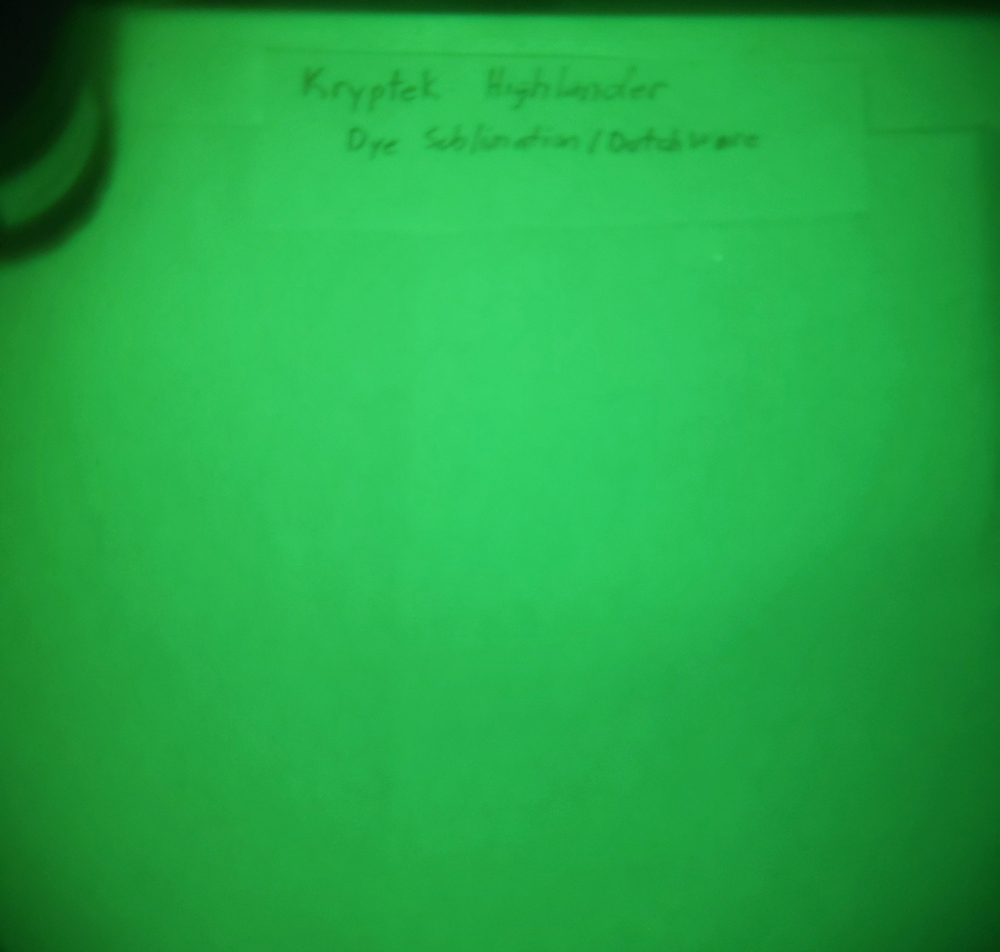
I’m afraid I have bad news. If you were hoping for these Dye Sublimation printed fabrics to be NIR compliant then you are in for disappointment. I have pieces of both the Kryptek Highland and Typhon patterns in hand. Below you can see the results. With both Gen3 and Digital Nightvision.. the moment the IR light hits the fabric the camo pattern completely disappears. Just so there is no confusion I think it is important to point out that the traditional screen printed Kryptek materials by Brookwood Roll Goods performs pretty well under IR interrogation. You can see those results here.
Kryptek Highlander

Kryptek Typhon