Not a tutorial but a look at what you can output when you put your creativity to it. This is a one-piece custom MultiCam Tropic chest rig that I put together a few weeks back. As I state in the video description. There isn’t really anything hard about sewing your own gear. The machine can be intimidating and yes it can hurt you. But it is really all technique. You just need to put in some hours to start getting awesome results. There are resources here on 30MC that can help you. Look in the nav bar under “Tactical DIY”.
I have had the Aurora Black digital night vision in my hands for about 1 hour. This is NOT intended as a full on review. That might come later.
Yes I know
Yes I know this is not a new system. Yes, I know the new SIONYX Opsin is out and is a much more capable system. I purchased this digital night vision system as a cheap(er) way to record my other night vision activities while I am wearing my generation 3 system.
Very First thoughts
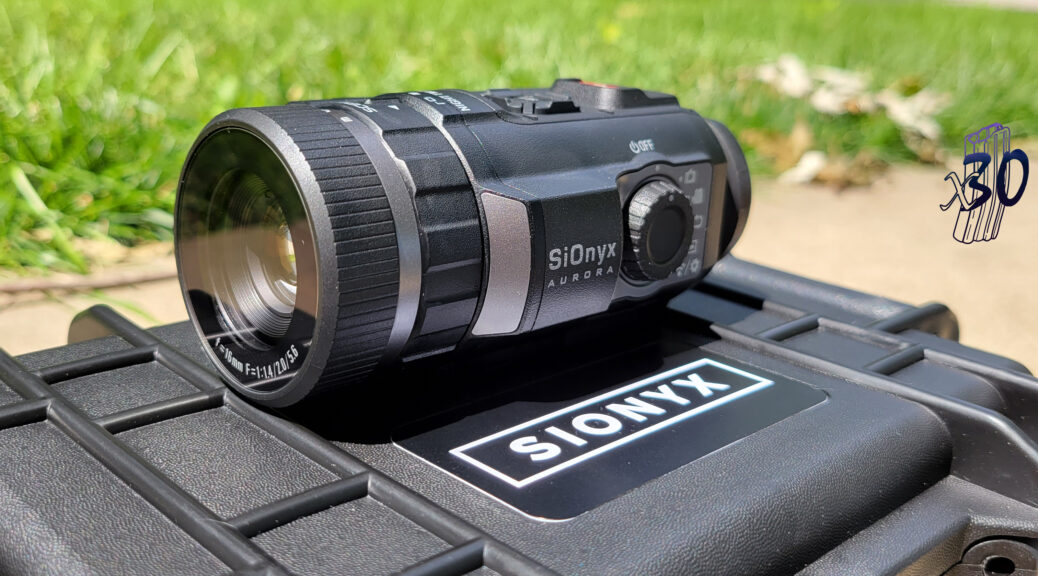
The unit looks great. About the size of a PVS-14. The case it comes in feels substantial. The first negative I noticed was that there is no included lens cover. I thought that very strange.
Color
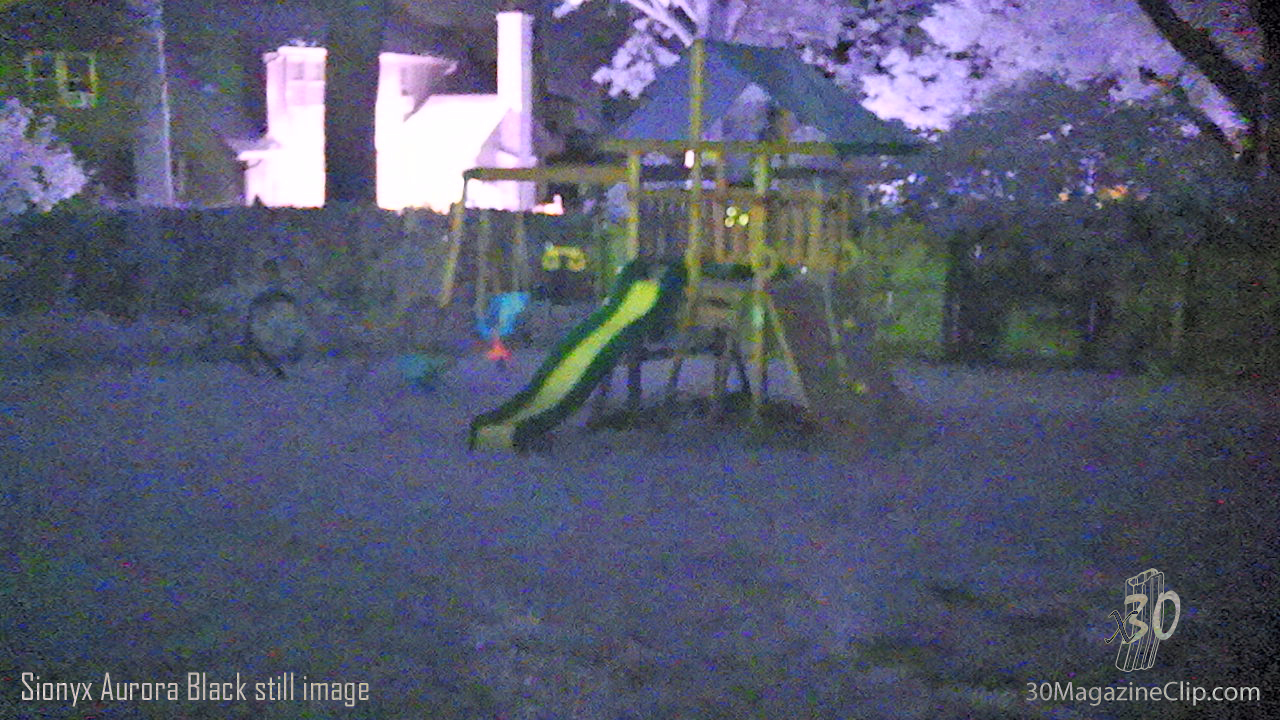
I have spent a lot of time looking through generation 3 night vision. I am very use to green and white phosphor images. So, when I took the Aurora Black into my back yard there was a bit of a shock to see a color image. I knew this is what the system was capable of but it still took me by surprise.
Color night vision image from Sionyx Aurora Black
I can see the benefit of the color image. The Aurora doesn’t come close to the fine detail you can get out of your average generation 3 analogue NOD. But, I can see how the color image could give back some object discernment that you would otherwise lack with a monochromatic image. Especially for static observation (pointed out by some friends). In the image above there are no lights on my property. The illuminated house past the fence is a good 100ft away.
Super Low Light
Here is where you are going to see the biggest difference between analogue gen3 and digital night vision. In super low light situations the digital Aurora Black just doesn’t cut it. It will require an IR illuminator. I have a dark garage that only has light coming in from small windows at the top of the garage door. With my gen3 system I am able to see. It’s dark and grainy but I can see without additional illumination. The Aurora Black was just showing static. No image at all. I will have more direct comparisons on this later.
More to come
I will have more thoughts to come at some point in the near future. The price difference between the Aurora Black and a traditional analogue generation 3 night vision system is so big that they aren’t really in competition (in my opinion). I am in no way regretting the purchase. I think this digital solution will accomplish exactly what I intended it for. Easily recording night time events.
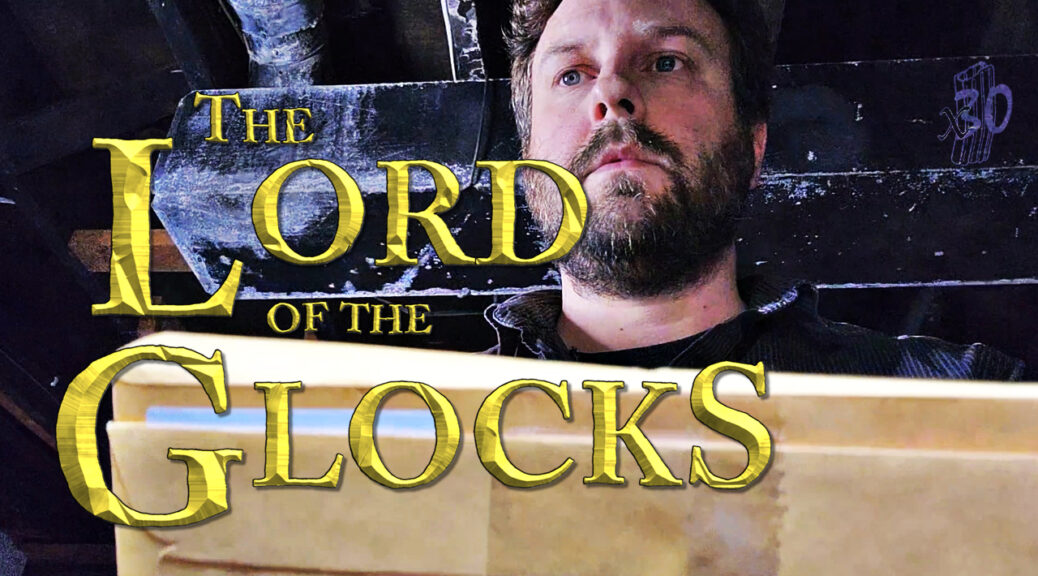
Guns look cool. Painted guns look better. Rattle canned guns look even better-er. I don’t know why. Something about character or whatever. I think most shooters (and even some gun-guys) out there have used the burlap method. Putting down a base coat of tan paint and then spraying that “snake skin” like pattern using the burlap as a stencil. It’s cool and can look great but is there something else?
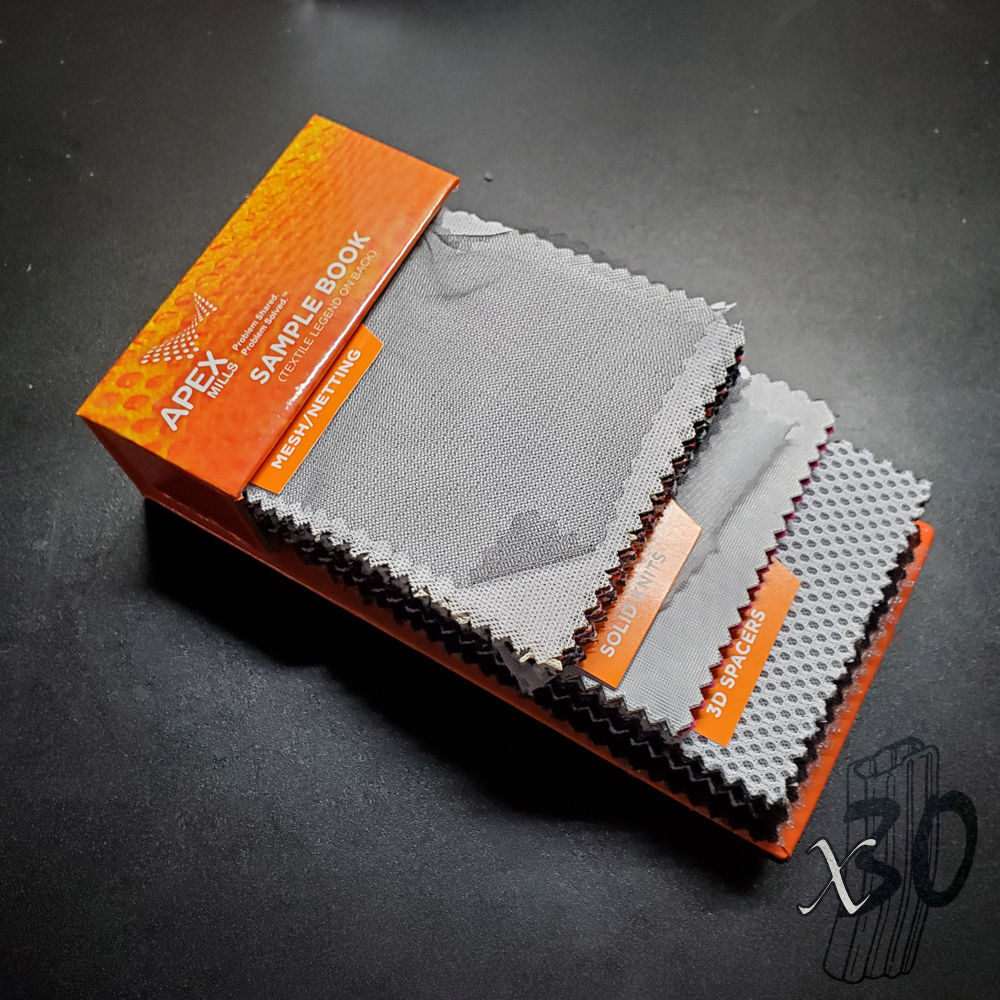
I have to tell you a quick story. I design tactical gear for a living. While at the SHOT Show: Supplier Showcase a couple of years ago I stopped by the APEX Mills booth to take a look at the new nits, meshes, and 3D spacers that they would be offering. As is the norm at trade shows I got some samples (below). In this case, a booklet. A short while after returning home I received a second booklet at the office. Once a vendor scans your badge at SHOT Show they pretty much have all your information including your address and some of them just starting mailing stuff. At the time we were only ordering DNB138 Airmesh from APEX Mills and didn’t need to add another material to the inventory. So, on the shelf the booklets sat.
About a year and a half later I had put together a new AR and it needed some paint. But I didn’t have any burlap. Working in the office a few months ago I was looking through samples I had received in the past and came across these two booklets again. I started flipping through and wondered why different meshes [spacers, knits too] from the same mill had different patterns. Why not just find a good one and stick with it? Somehow my mind jumped to that AR I had been meaning to paint for months and I realized I was holding several different “stencils” in my hand. If I wanted to get a varying pattern on the rifle then this could be a way to do it.
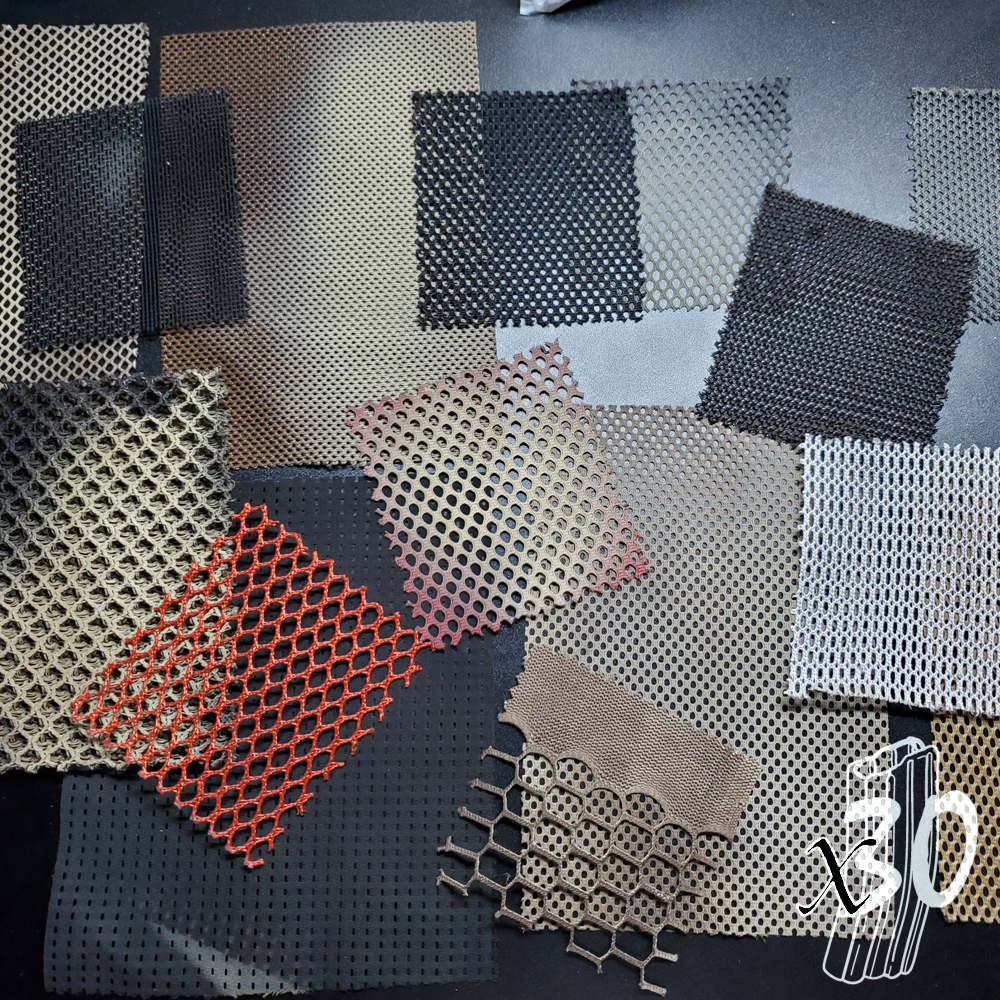
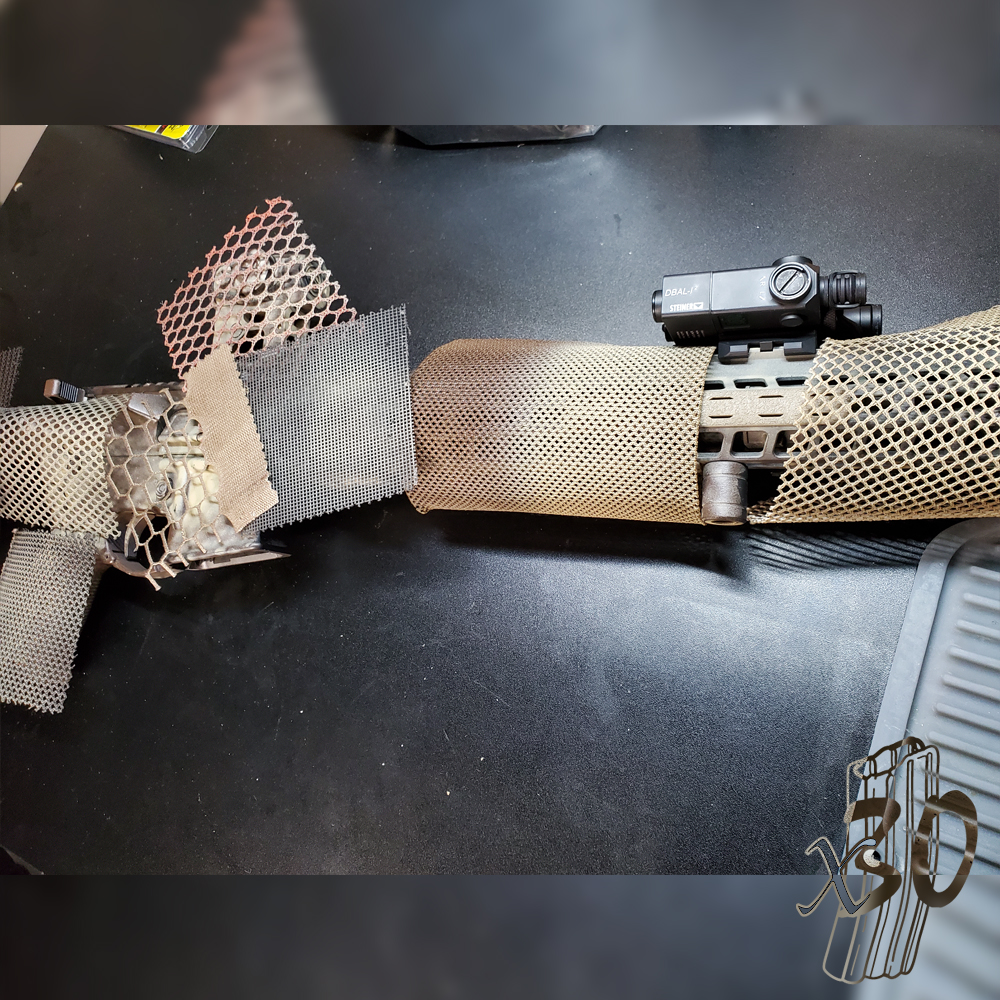
So I dismantled one of the booklets and was left with a bunch of different individual pieces. About half of them were not suitable for spray painting but it left me with these pictured below.
I did some testing on cardboard just to see how the different patterns would look and was greatly encouraged by the result. No pools of paint or issue with the mesh pieces sticking after drying. Just a bunch of very clean and different patterns. I was ready to commit.
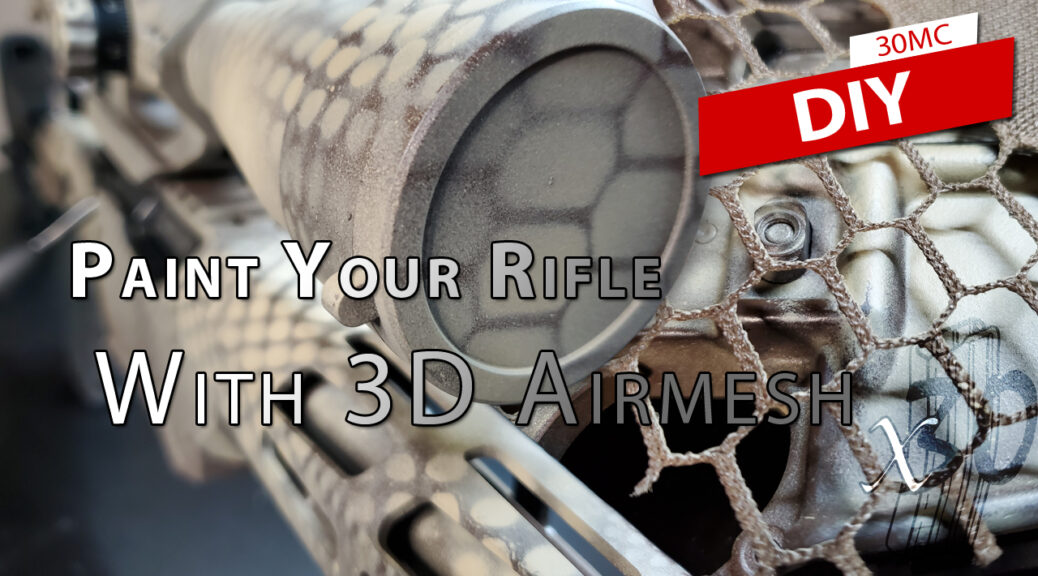
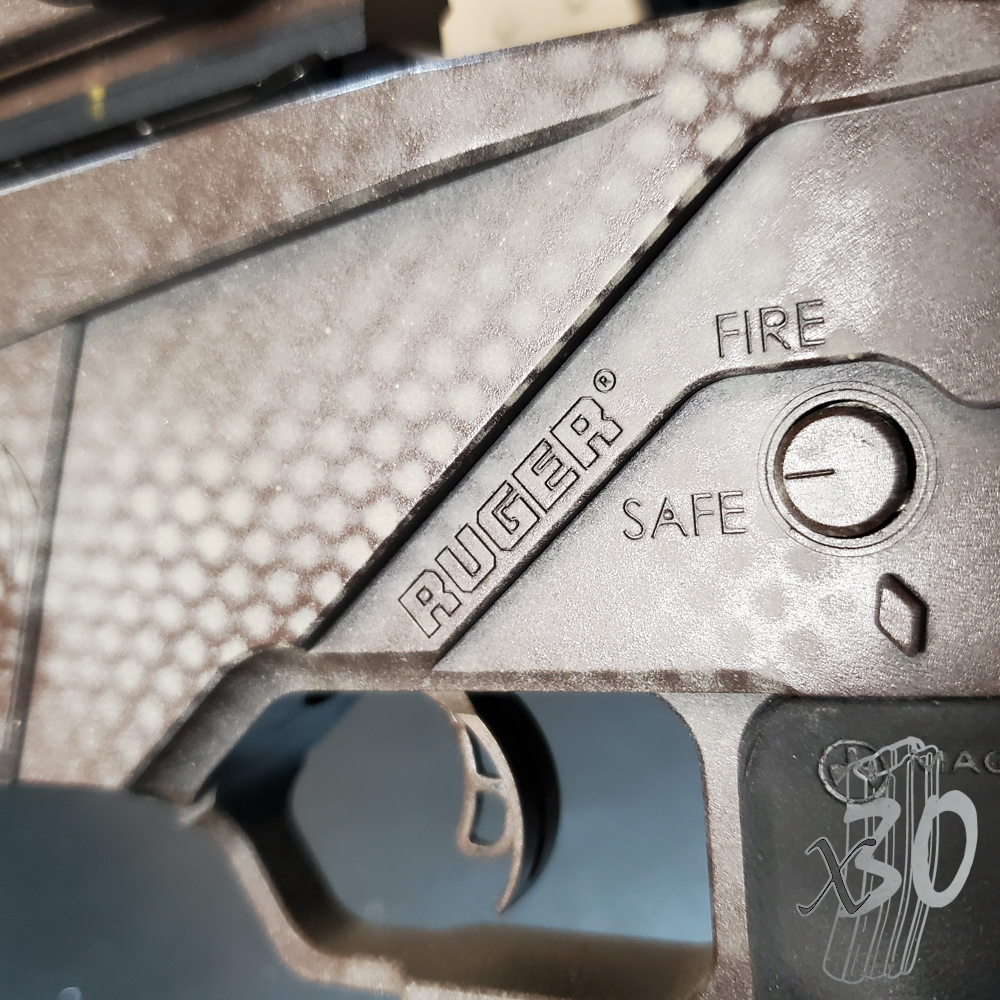
It was about this time that I realized I also had a Ruger Precision Rimfire rifle that I had wanted to paint. I decided to hit it first. The results are below.
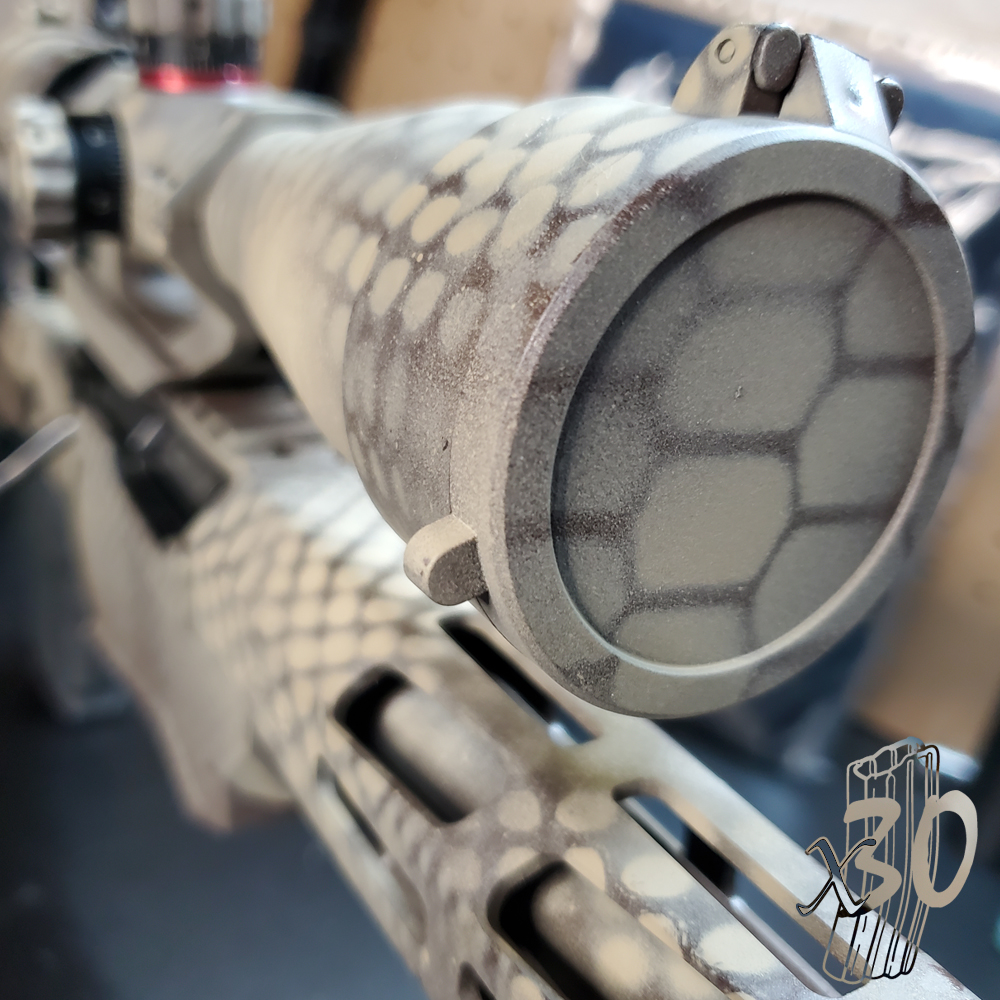
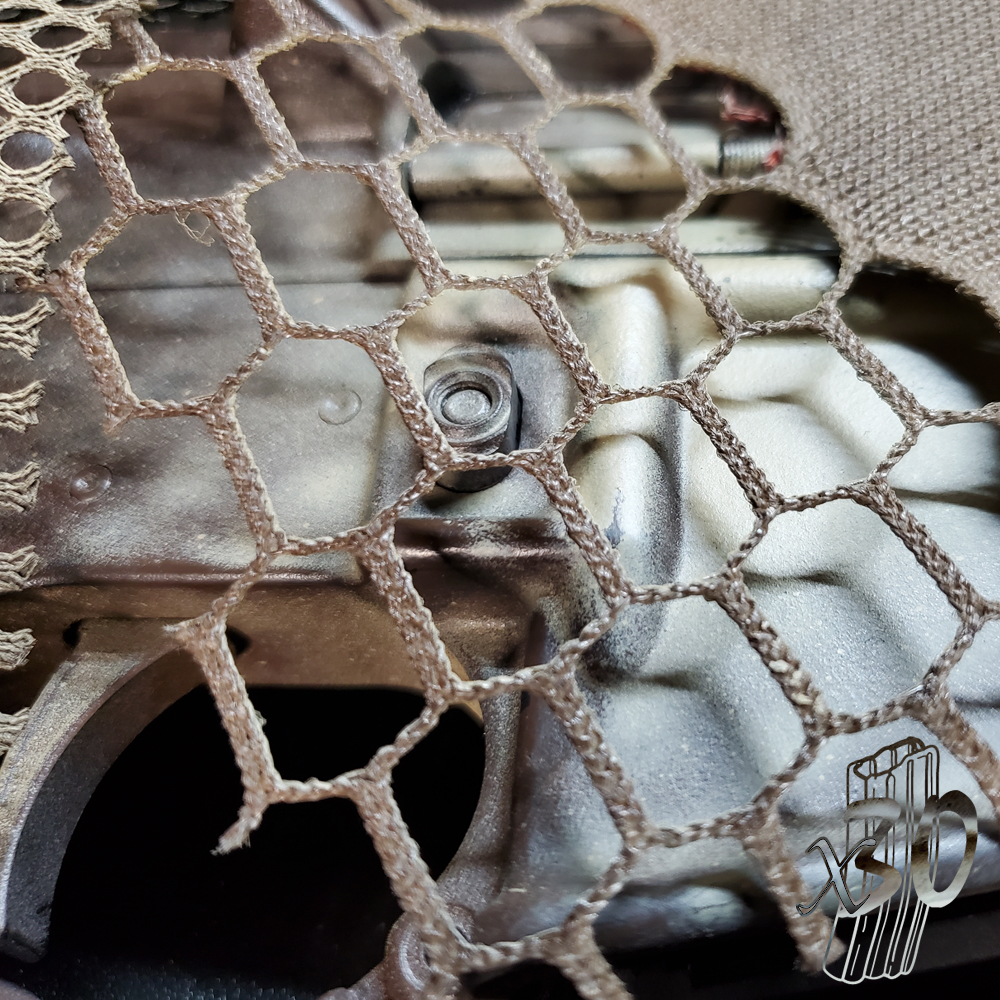
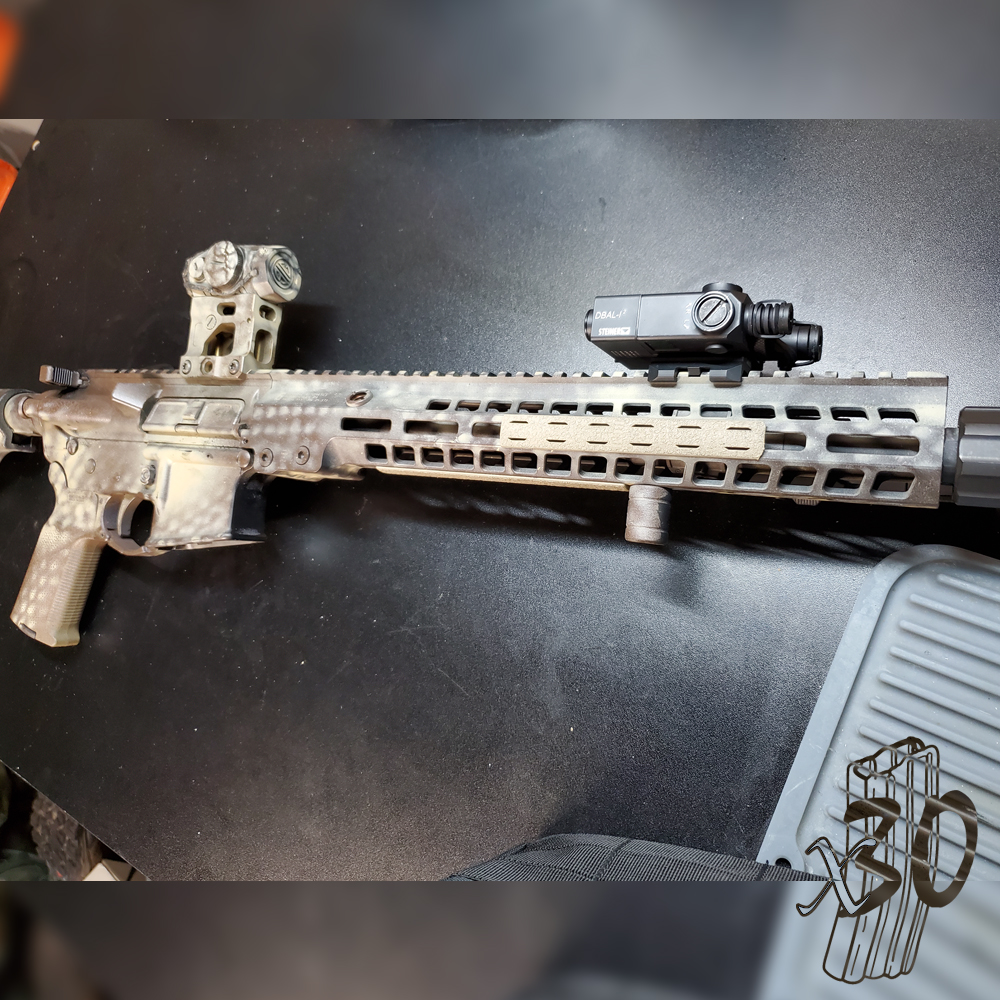
I was happy with the way it ended up on the Ruger so it was time to move onto the AR. All of the images below are after the fact. So don’t worry.. I did remove the Dbal (laser) first. I put down a base coat (green this time) and let it dry over 24 hours. Then I pretty much wrapped the entire rifle in different types of meshes, knits, and spacers. Do be careful with how your spray hits the materials. It can blow them around and smear the result. I learned that it was best to shoot straight down on the fabric with the spray.
I was again very happy with the results. The pattern varied just as I had planned. Giving it a chaotic and natural feel.
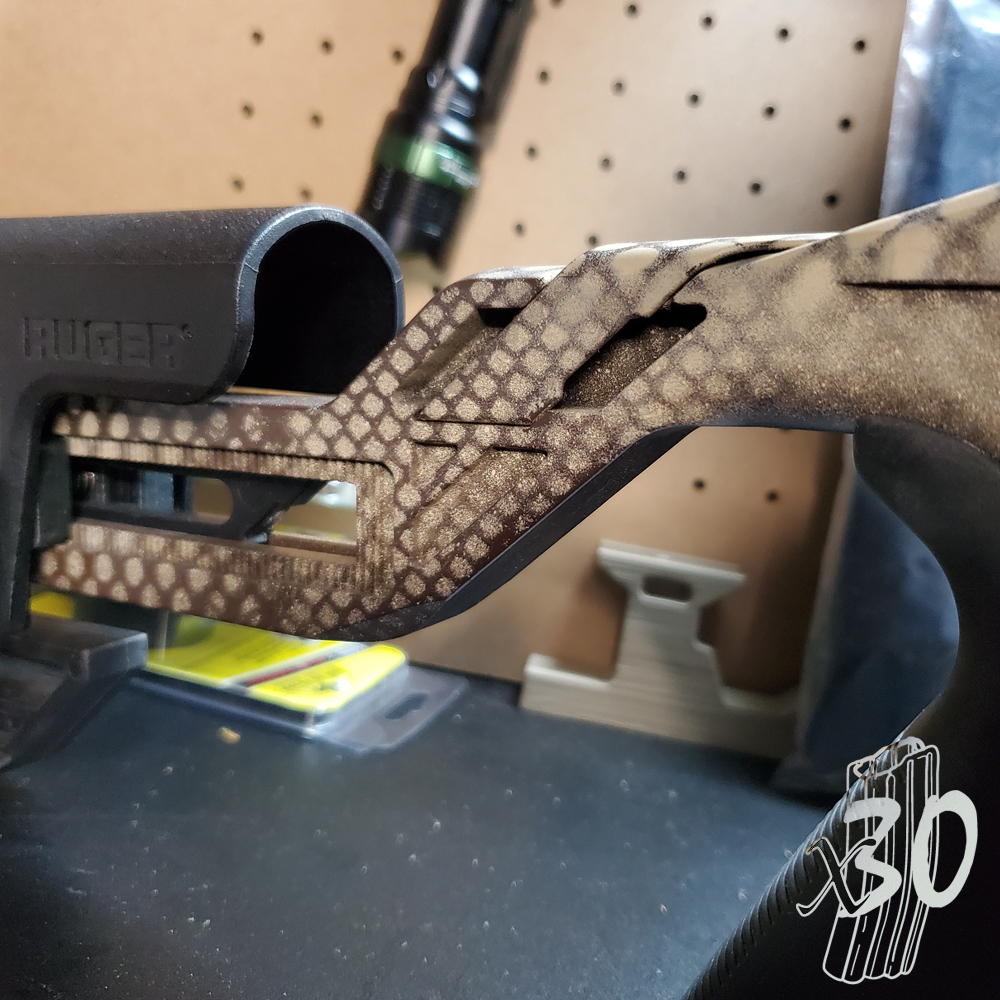
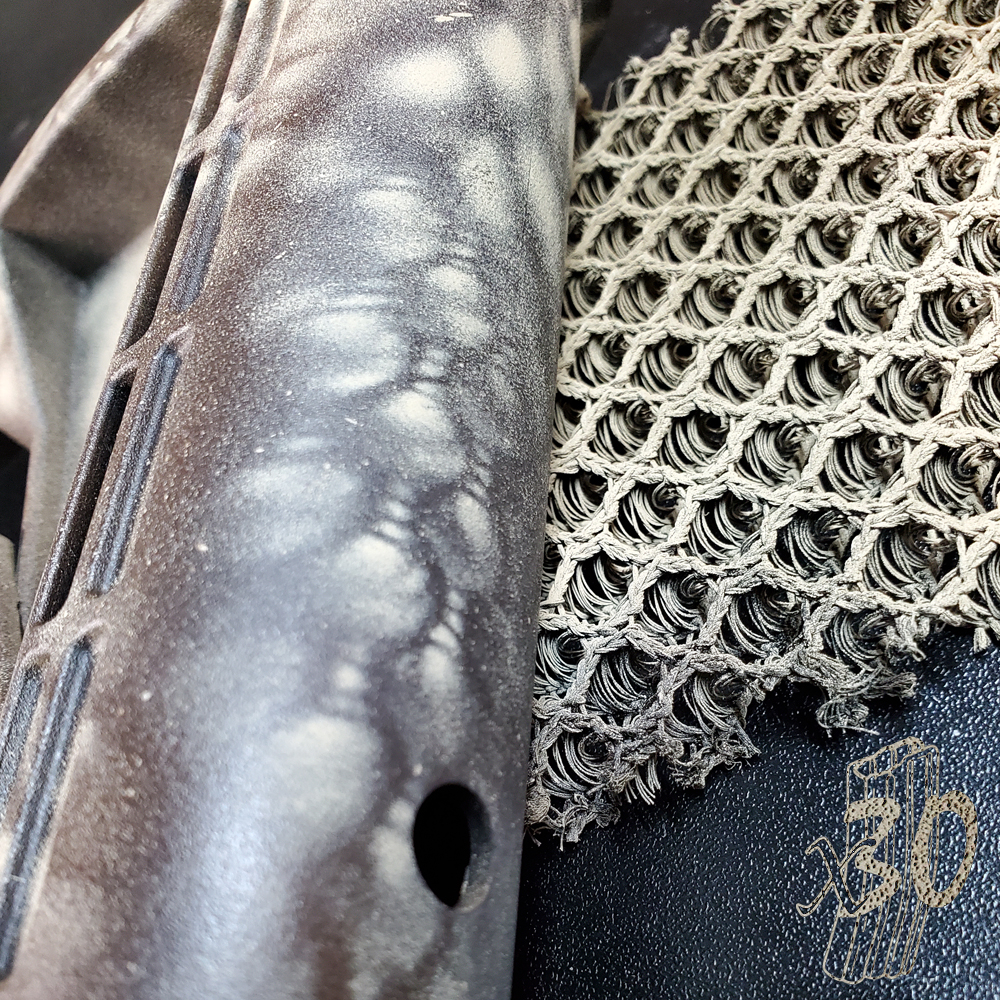
I tried something a little different with the stock. I had noticed that on the spacer mesh (specifically the DNB118 material) there was a HUGE difference between the two layers (the area between these layers is the “space” in spacer). One side was a very fine weave and the other fairly coarse. Perhaps if I laid the coarse side on the rifle (the side that would normally be in contact with the human body if this mesh was being made into a piece of gear like a plate carrier) and sprayed through the fine side it would diffuse some of the paint and give a 3D look. You can be the judge from the pic below but I think it turned out great. I might end up doing a whole other rifle in this style.
Some people will hate this right from the start. Either they think rifle painting should be done professionally with a coating or perhaps that they shouldn’t be painted at all. I have always loved the look of a rattle canned rifle and the purpose of this blog is to simply share things that I like.
Where can you get some airmesh?
Well, I don’t think APEX Mills would be to happy if all of a sudden a bunch of non-customers start contacting them asking for sample booklets and I can understand why. But lucky for you there are tons of places on the internet where you can purchase small amounts of airmesh. You also shouldn’t overlook just heading out to your local fabric store and taking a look at the meshes there. There is no reason your paint stencil needs to be milspec and/or berry compliant. If you need some web suggestions for materials such as this you can take a look at the DIY Materials and Sources section of this website. There, I am compiling an ever-expanding table of materials.
Zussman is one of DODs premiere MOUT (Military Operation Urban Terrain) training facilities. Located at Ft. Knox, KY. I found this video on an old camcorder of my walkthrough of the facility as it was in 2009. Many updates have been made. Don’t forget to subscribe to the official 30MC YouTube channel. I may have move videos like this coming out.
This video was never intended to be a tour. Rather a personal record. Sorry about the video quality and poor camera work. The audio mutes because the files were damaged. Instead of just playing the loud static sound that was present I muted it out.
I love reading and learning about the Cold War. I don’t exactly know why. Perhaps it’s due to the severity of the events contained within it and how close the entire world came to pushing the button on a few occasions. It was a war unlike anything the world had seen before. Two sides were diametrically opposed in doctrine on just about everything, yet they were unable to commit to hostilities against each other directly due to the inevitable outcome of destroying all of civilization. Both sides possessed the firepower to do it.
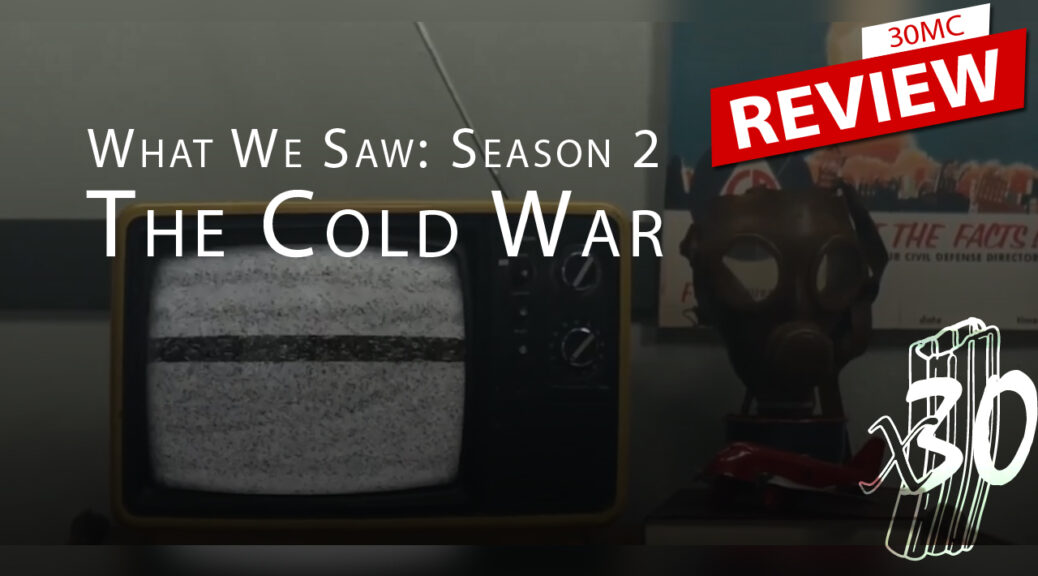
So, when The Daily Wire announced their second season of the documentary “What We Saw” would feature the Cold War, I was excited to say the least. Before we go on, I must first bring up the equally intriguing and masterfully put-together first season of “What We Saw” regarding Apollo 11 and everything it took to get the United States to the moon. In both series it is Bill Whittle at the helm sharing not only the historical record but also his own personal experiences having lived through most of the events covered in both seasons. Whittle’s enthusiasm for each subject is impossible to ignore. He clearly loves the effort of putting together a comprehensive narrative and of presenting it in such a masterful manner. Had all 13 episodes of season two been released at once I would have been tempted to commit to a marathon viewing. However, it was probably for the best that I was forced to leave an entire week between each viewing.
“Season 2: The Cold War” begins with World War Two. It paints a picture with just enough detail to allow you to gain an understanding of the motivations and fears of both sides. Sure, you can go to other publications and get a laser focused report on certain subjects (e.g. The Cuban Missile Crisis, The Vietnam War, Sputnik) but Whittle literally takes us from the beginning to the end covering a HUGE number of incidents and persons. This is a shotgun approach, but spreading it out over 13 episodes allows for just enough coverage to feel like you got the entire story.
By the end of season two I guarantee you are going to have a new appreciation for several of the people who literally changed the world with their actions during this time period. Your opinion of some other individuals might suffer as well – both Soviet and American.
I have no affiliation with The Daily Wire. I have only consumed some of their content, and I am perfectly comfortable saying that if you go in with an open mind you will greatly appreciate this documentary series. That is, unless you are a communist.. Then you might have an issue. If it isn’t obvious, I highly recommend “What We Saw: Season 2: The Cold War.” It is an outstanding piece of work and all I can say is that I can’t wait for the third season. Perhaps it will be “‘The Tech Bubble” or “The Housing Market Crash of 2008”? It should be noted that you must be a paid subscriber (at least currently) of The Daily Wire to view either season of “What We Saw.” They do have lots more great content, but that is out of the scope of this write-up. The Daily Wire seems to always be running some type of discount code for an annual membership. I can’t give this series (both seasons) high enough praise. 5/5. Or 10/10. I suggest you give it a shot, and I don’t think you will be sorry.
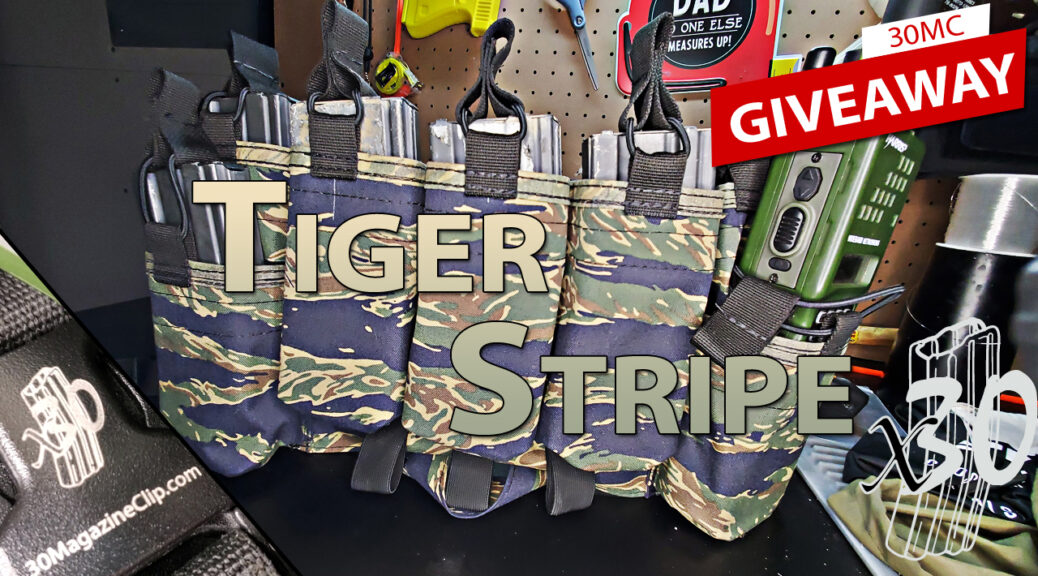
It’s that time. Time for another giveaway. I have a few pieces of one-off gear that I have build over the years as a professional gear maker. Why not give a few of them away? Here we have a unique tiger stripe chest rig. Is there anything groundbreaking here? No, not really. But it is a fairly effective configuration and features a pretty nifty set of side pockets.
How to Enter
In a nutshell you need to like this video on any (or all) of the 30MC social media channels (listed below). IMPORTANT: YOU MUST SUBSCRIBE TO OR FOLLOW THOSE CHANNELS AS WELL. You can’t just hit “like”.
When a winner is selected I will verify that they follow 30MC on that platform. If not, I will have to pick another winner.
1 like = 1 entry.
1 comment = 1 entry.
Comment by tagging a friends name = you AND your friend each gain 1 entry.
Drawing will take place on or about Saturday June 3rd, 2023. Winner will be notified via PM/DM on the platform that they used to enter (ie: facebook, instagram, etc). If the winner does not respond within 1 week of being contacted a new winner will be selected. No substitutions or cash value. Void where prohibited. No Warranty. This item was built using known and good procedures and techniques. However, no extensive testing was conducted. This piece should be considered a novelty piece of gear and you should treat it accordingly. NONE of the related or unrelated equipment in this video comes with the rig. The item will be shipped to the winner free of charge to a US address. If the winner is outside of the United States they may decide to pay for the shipping charges themselves or forfeit the prize.
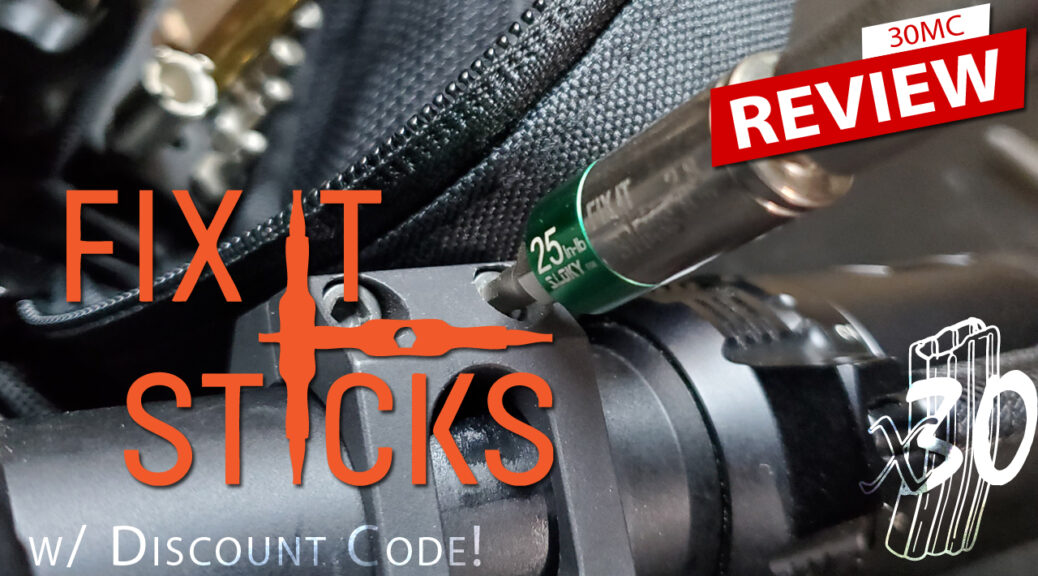
I like being prepared. The FixIt Sticks (specifically “The Works” kit) helps me stay that way. This one kit can pretty much take care of any weapon related issue I might have on the range. I really can’t say enough good things about it.
I have worked the last 13 years mainly in the design side of the nylon tactical gear industry. I have seen the trends go from LBVs to plate carriers, to micro rigs, to belt setups with suspenders, to belt setups without suspenders, to recce rigs with hundreds of in-between products along the way. Entire companies have sprung up just to invent and manufacture interface devices to smash multiple pieces of industry gear together. I have even been responsible for some of them. These days you can find a piece of gear that will fit just about any mission that you might have. In the event you can’t, there are tons of smaller custom builders (like me) that can produce your one-off project to exact specifications.
But what is the next leap? (And I don’t specifically mean in materials). You could call going from regular old Cordura to laminates and hypalon type materials a leap as it is a much better material to laser cut, but the build process is pretty much the same (i.e. you sew it together to make pockets). I’m talking about the next evolution in textile production – not just for the tactical gear industry, but that is where my experience comes from. I believe it is going to be in the world of 3D printing. That is, 3D printing the fibrous materials in a full (or nearly full) constructed state. Like, hit go on the printer and come back to a finished plate carrier a while later (perhaps a long while). Why would it be with a fibrous material? Today’s fabrics do a really good job of arresting a rip or tear before it gets too bad. This is sometimes referred to as “Ripstop”. This is accomplished by the weave of the yarns that make up the fabric. There’s no reason to throw that away. If you were to print solid flexible sheets instead there is a good chance that a “rip” would continue on over time (perhaps a short amount of time) and eventually render your equipment useless. And I’m not talking about just another plate carrier like we have today. What comes out of this theoretical fabric printer could be a design that contains build geometry that could not be produced on a sewing machine.
Part of my business is building custom solutions for individual soldiers, police, contractors, and larpers. Sometimes those customers will send drawings of what they have in mind. However, they lack the experience of being a stitch-operator like myself. They may not realize that their drawing can’t be made the way they have envisioned it.
For instance the attachment of a piece of fabric to form a pouch on one side might sew another pouch shut on the opposite side of the work. A good gear designer can usually find a way around this, but the situations do get complicated – especially when you consider a lot of these pieces go together in reverse and inside out. It’s a lot to get your head around until you have some time in it. However, most of these concerns would vanish if instead you are building (or printing) your gear a cross-section at a time. Layer stacked on layer of slightly varying geometry resulting in a perfectly reproducible piece every time.
Think about it: no hems, no seems, no need to have extra material folded over to help prevent the threads from pulling through a high-stressed area. Do you need an area reinforced? Simply tell the operating software that “this specific section of the design needs to be stronger” and let it do the work.
What about the camo patterns?
Just print them, too, like everything else. Now, I know this isn’t a viable option yet, but I am fairly confident that once the industry figures out how to reliably print the fibrous nylon material to a high degree of accuracy, varying the color of each layer and area in that layer will be an afterthought. We do it with 2D printers all the time.