

Episode 4 of The Most Tactical Man In The World series has just released. This episode featuring Lucas Botkin from Trek Arms. Unofficially of course.

The Largest IR Laser and Illuminator Comparison Video Available
4MR Ranch has just released a huge set of data in video form on tons of different IR lasers and illuminators. If you are thinking of getting something new this is definately a must watch. NGAL, DBAL, PEQ15, SOMOGEAR, PERST, Holosun just to name a few.
Disclaimer: not a 30MC video.
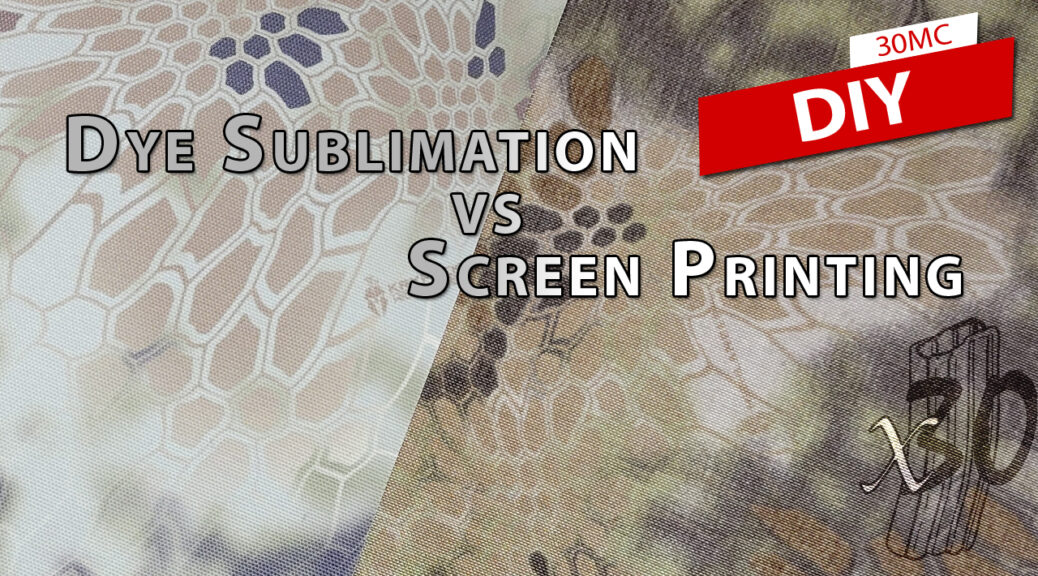
Dye Sublimation vs Screen Printing Camo Patterns
I use a lot of screen printed fabrics. Everything from MultiCam to various digital patterns to Kryptek. There has always been an issue with putting todays complex camouflage patterns onto some of the more robust and “course” fabrics that are popular today. Think of 1000 Denier CORDURA type materials. Most of the time the pattern doesn’t look that sharp. In a nutshell the less Denier the smaller the yarns and fibers will make for a sharper image. If you need more explanation on this see this video I made on another account many years ago.
I have recently been using a few printed fabrics in my work that used the Dye Sublimation process. Instead of screen printing [See this video produced about DURO Industries (no longer in business) if you want to see screen printing in action]. Dye Sublimation is a bit of a strange process and is less efficient over large scales than screen printing but you get the benefit of being able to make smaller batches and even customizations. In a very brief nutshell Dye Sublimation take several color inks as solids and heats them up to the point where the sublimate. This means that they go from solid to gas. Skipping the liquid state. The colors are applied (under pressure) to the fabric and “sink” into the fibers. The ink/dye then returns to its solid state as part of the fabric fibers. This allows for incredible detail. Nearly any color and even gradients. It’s also known to not fad as badly due to scratching, abrasion, and washing.
The Story
I needed a small amount of fabric in the Kryptek Highlander camo pattern. What I didn’t need was an entire roll of Highlander from Brookwood Rollgoods who currently produces Kryptek and MultiCam patterns on CORDURA materials. So, enter Dutchware. Dutchware Clips, LLC. They have a bunch of fabric offerings. One being a 1000D CORDURA print on demand service and have procured the licensing to print these patterns and can get them to your door in under a week. I didn’t really know what to expect but when it arrived I was very surprised with how sharp the pattern was. I was also afraid that a printed pattern would easily scratch off. Not the case. As stated before, Dye Sublimation is fairly resistant to abrasion. I have just started working with these materials but with about 4 weeks in I am not seeing any abnormal or early signs of wear.
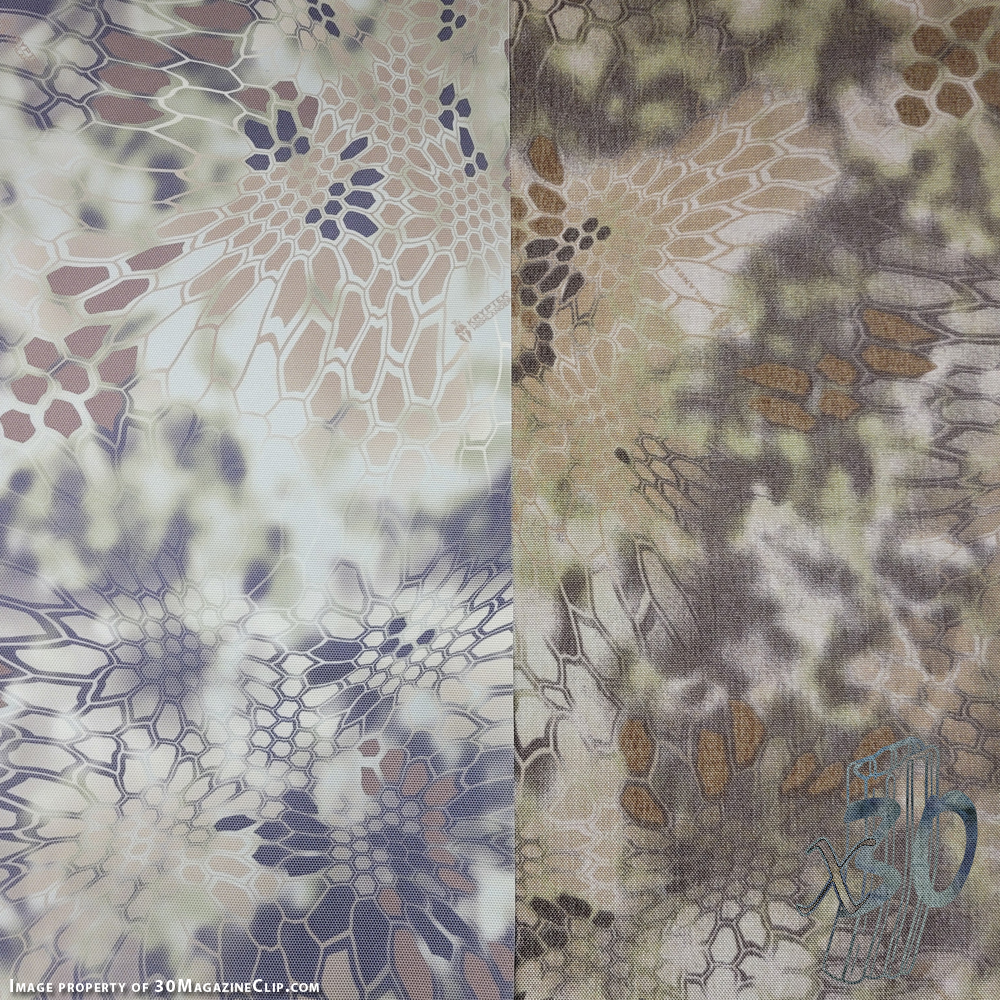
What’s the difference in the material?
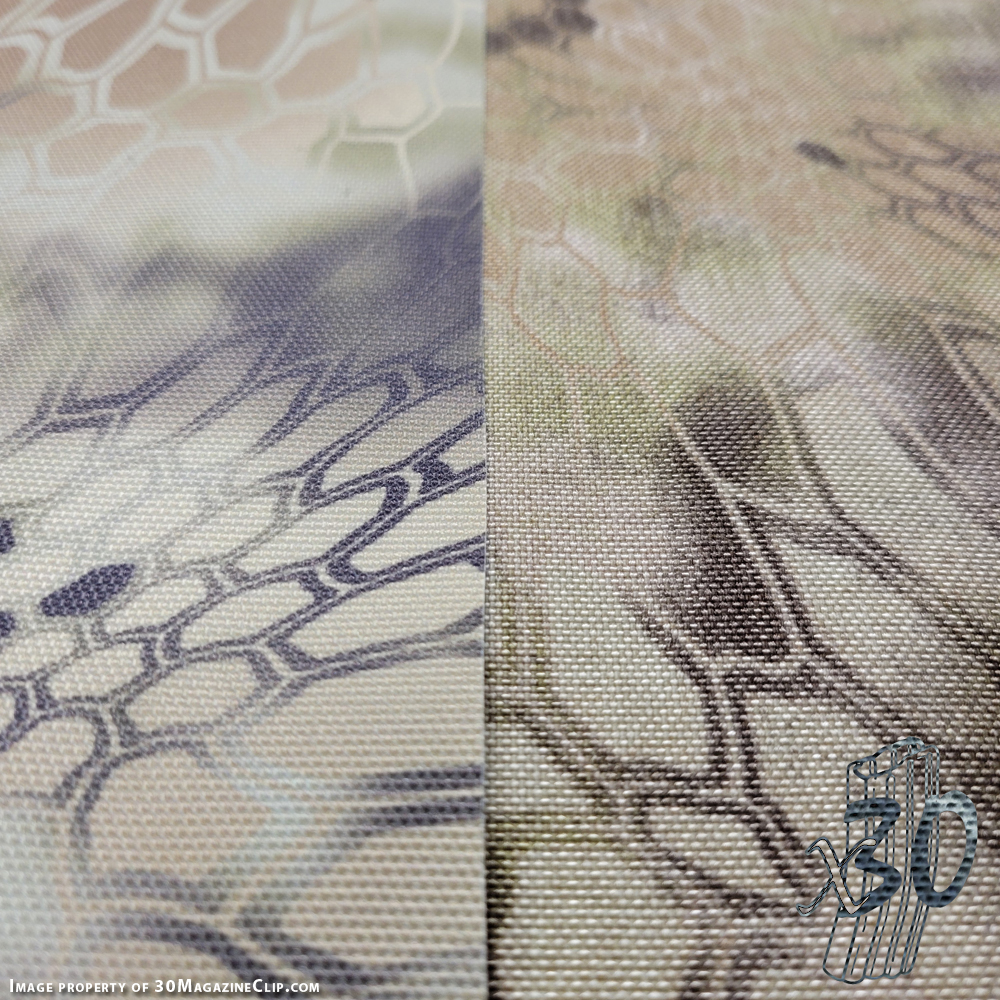
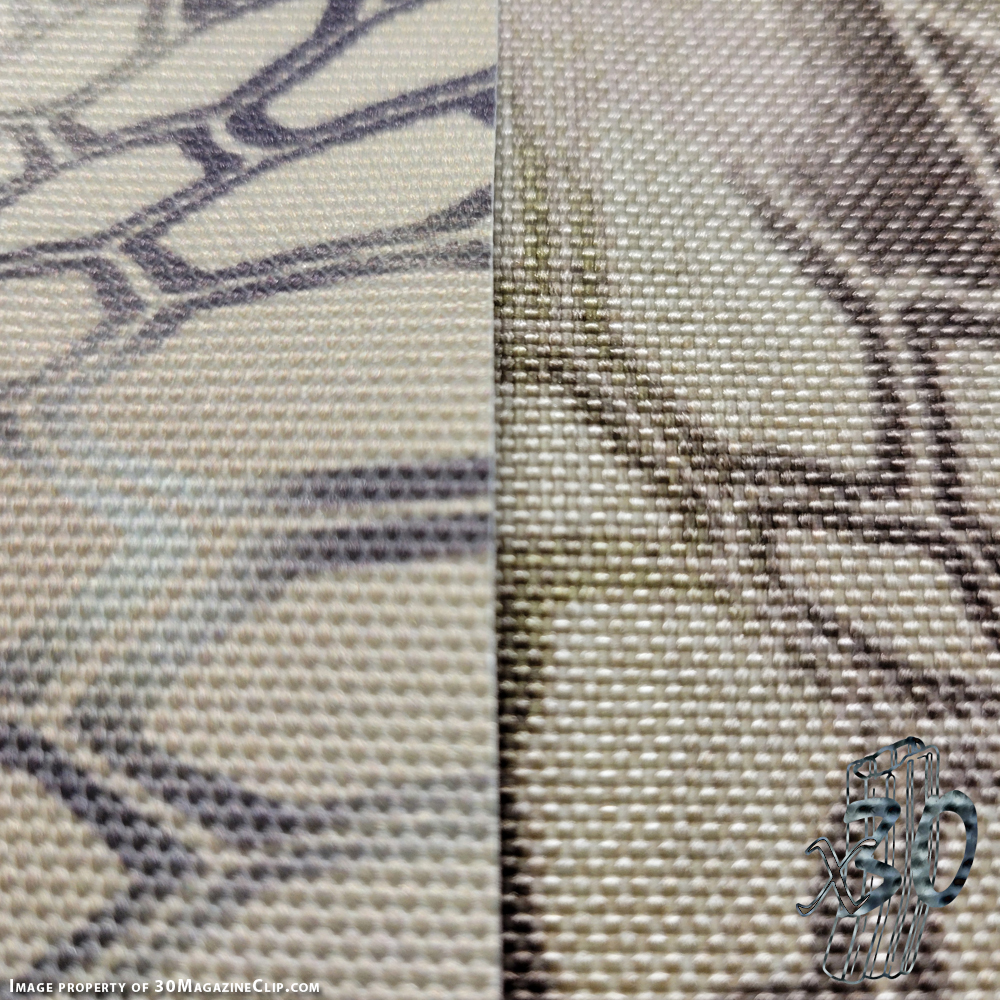
You can see the materials in the picture. One is Brookwood produced screen printed 1000D CORDURA nylon material. The other is the 1000D Dutchware produced textured polyester digitally print on demand offering. Both are licensed by Kryptek. If you are comparing to purchasing the traditional screen printed materials by the roll then the Dye Sublimation printed material is much more expensive. But, you are able to buy less that 50 or 75 yards at a time. That makes a difference to smaller shops or those building gear in their basement. The three main differences I noticed:
- The dye Sublimation material is left bright white on the back side. This could be an issue if you ever reverse hem your fabric and expose the back side. If so, you might have to alter your design(s).
- The Dye Sublimation materials is also stiffer than the screen printed material. Likely nothing that will prevent you from working with it but if you already thought 1000D was to stiff then you might want to avoid this polyester.
- There was no Urethane (UC/PU) Coating on the back of the digital print offering. This aids in the materials water repellant properties and keeps exposed edges from fraying so badly.
What about Near Infrared?
These days everyone is worried about the NIR (Near Infrared) performance. As you may or may not know. I have tested a bunch of camo patterns in this manner and posted the findings here with more to come.
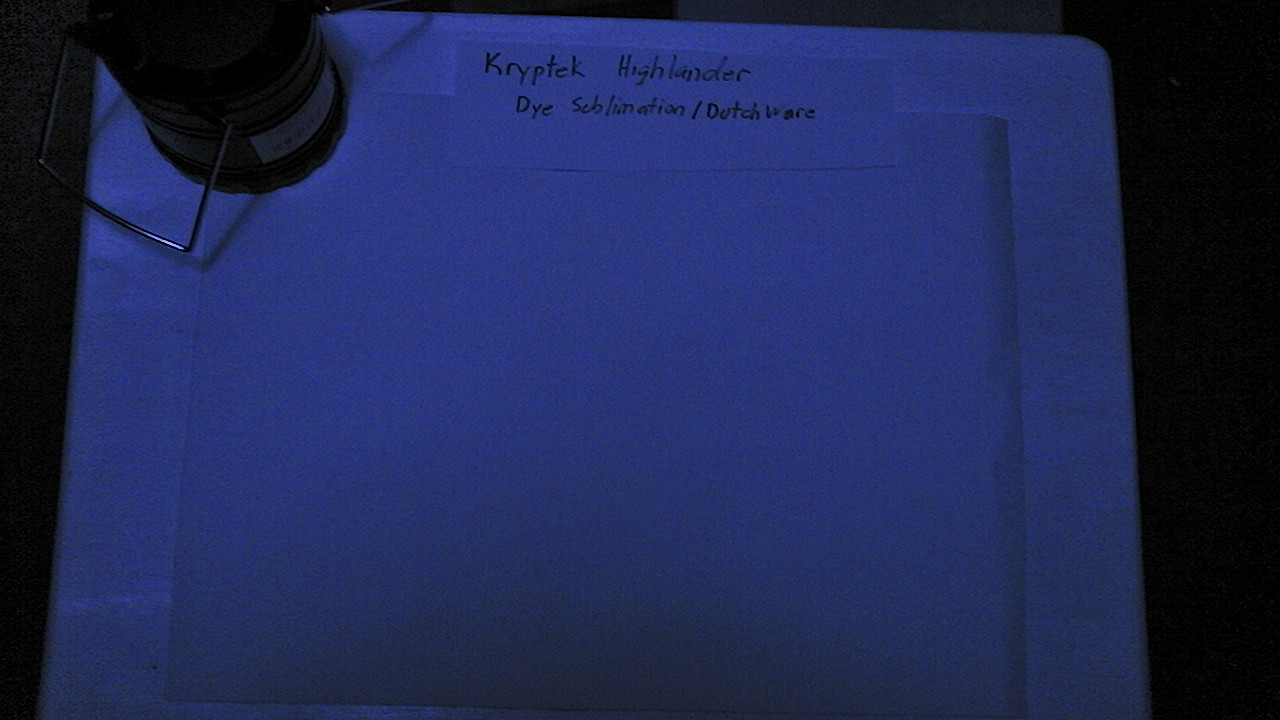
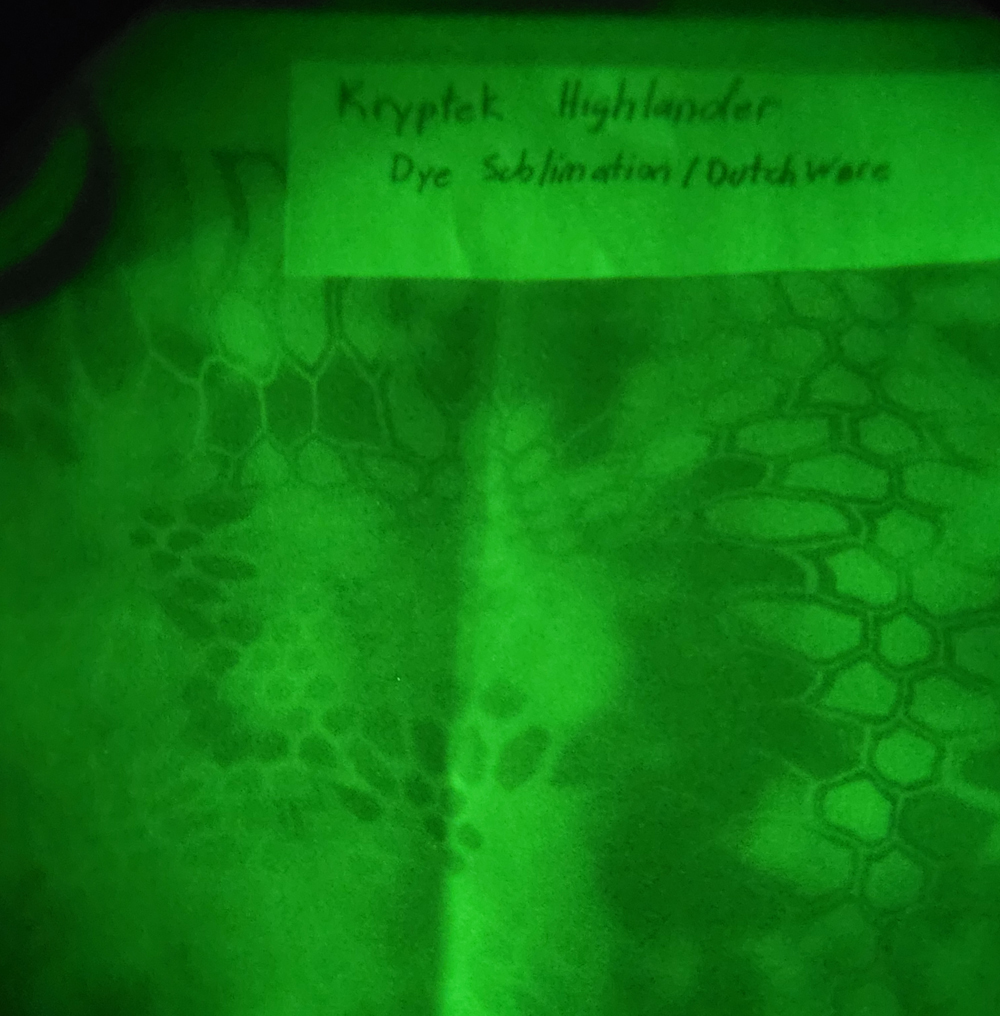
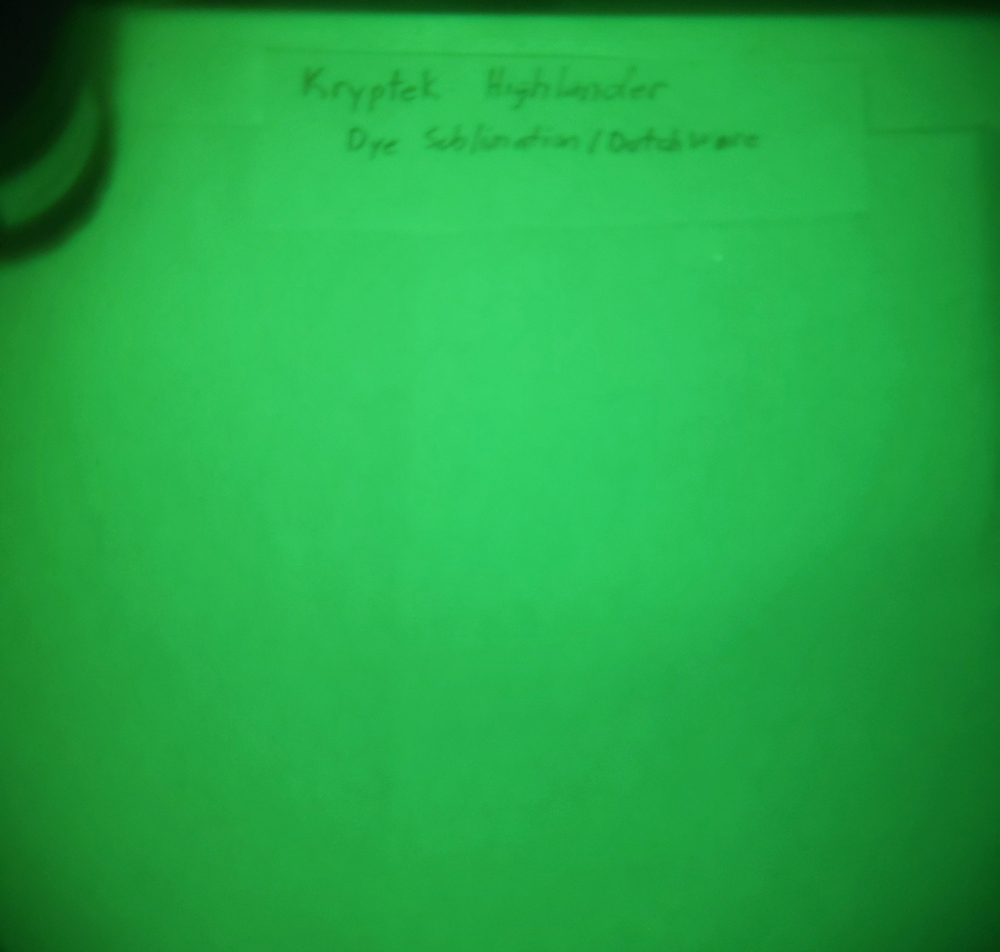
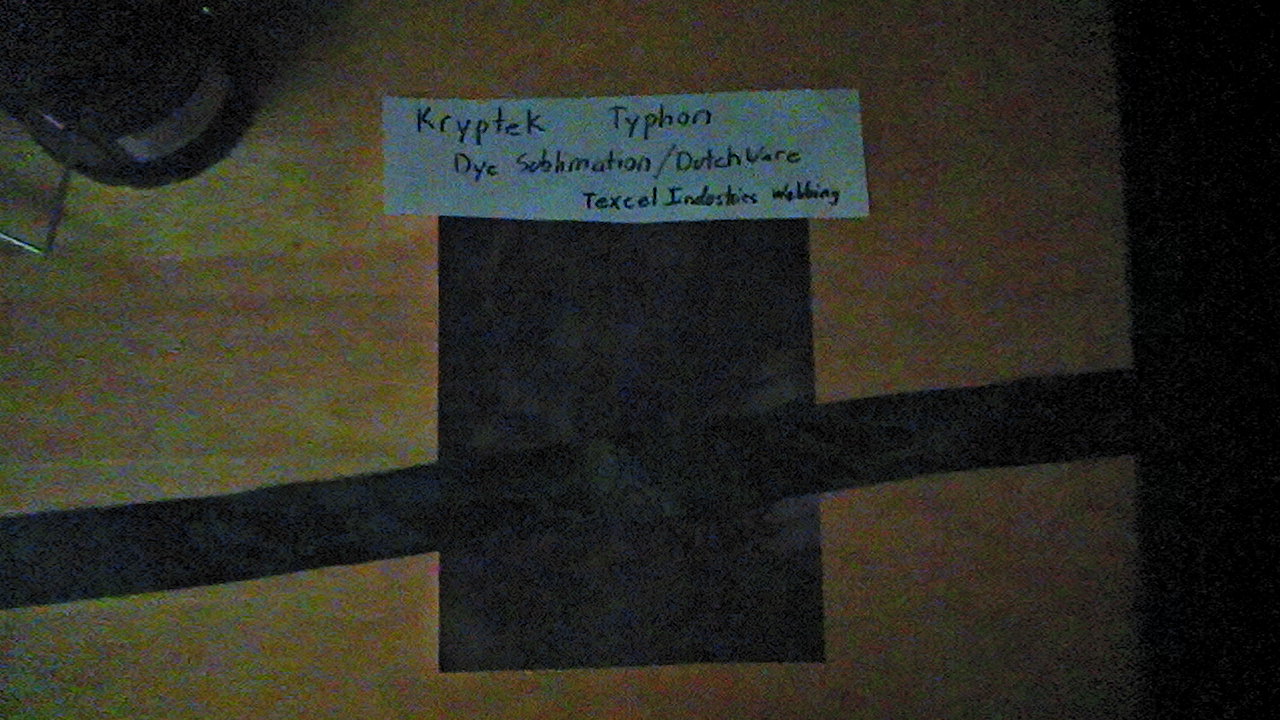
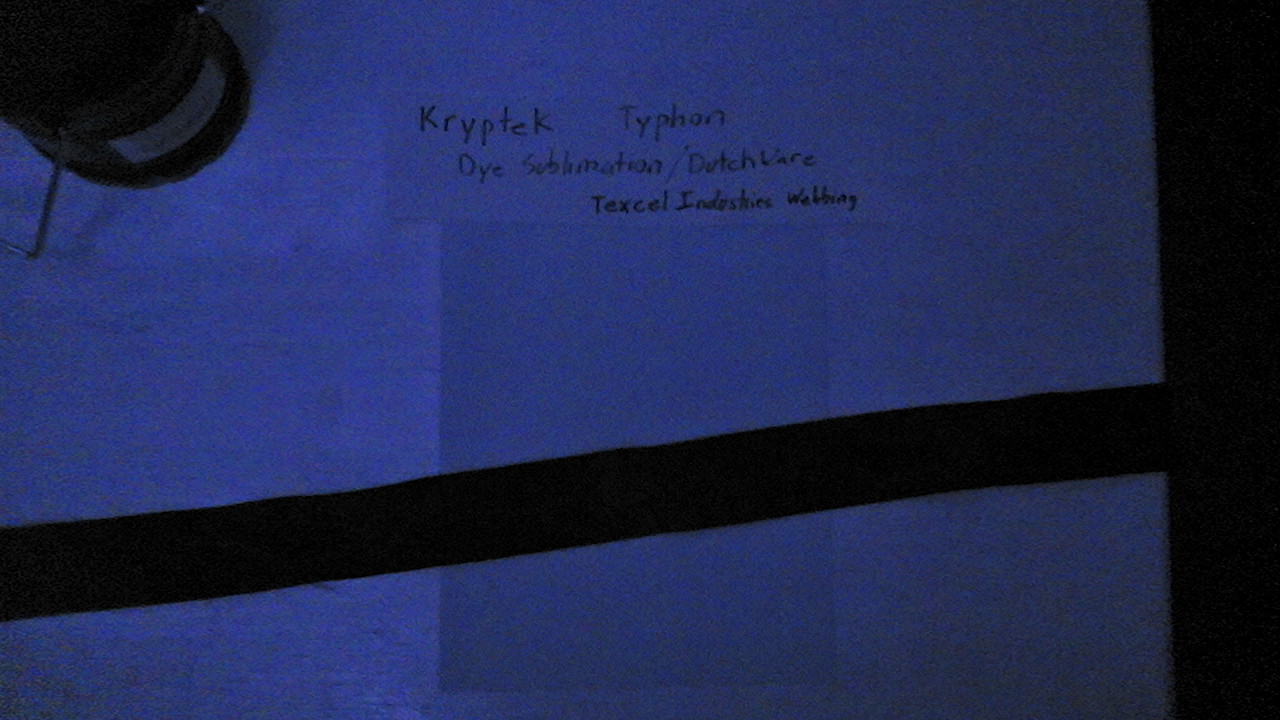
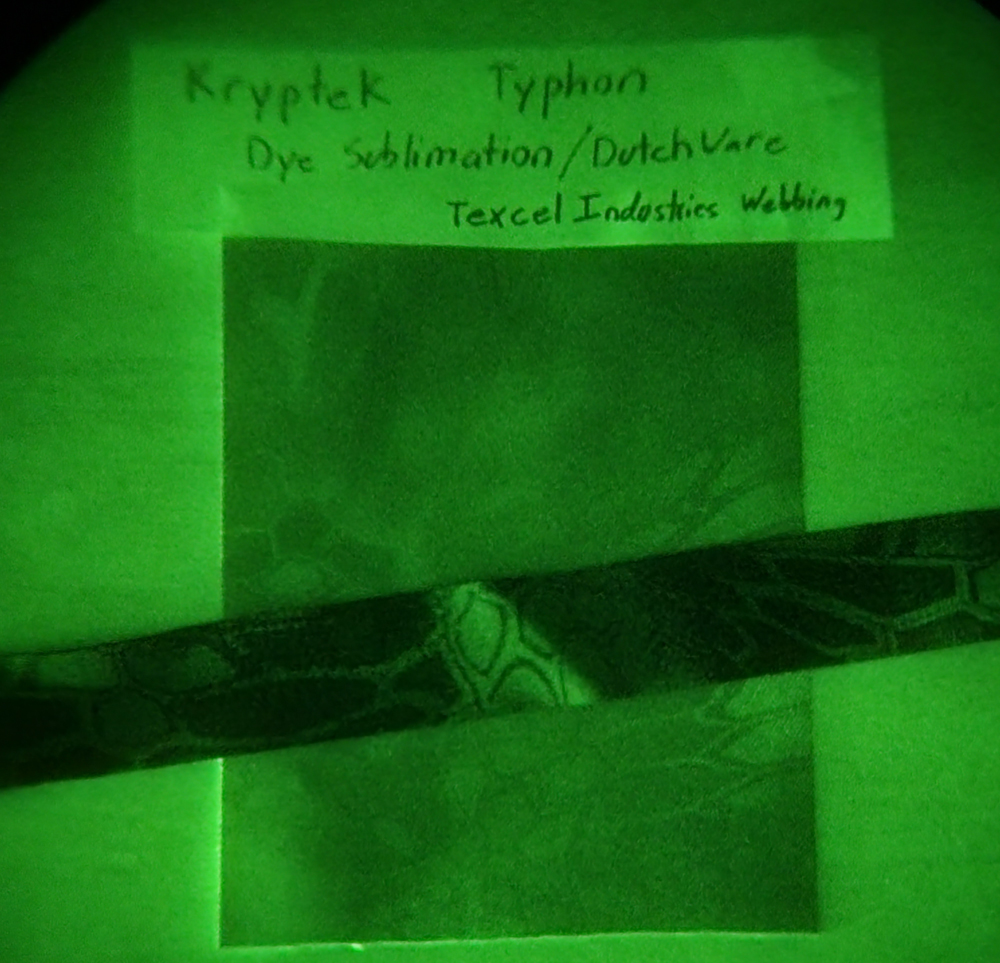
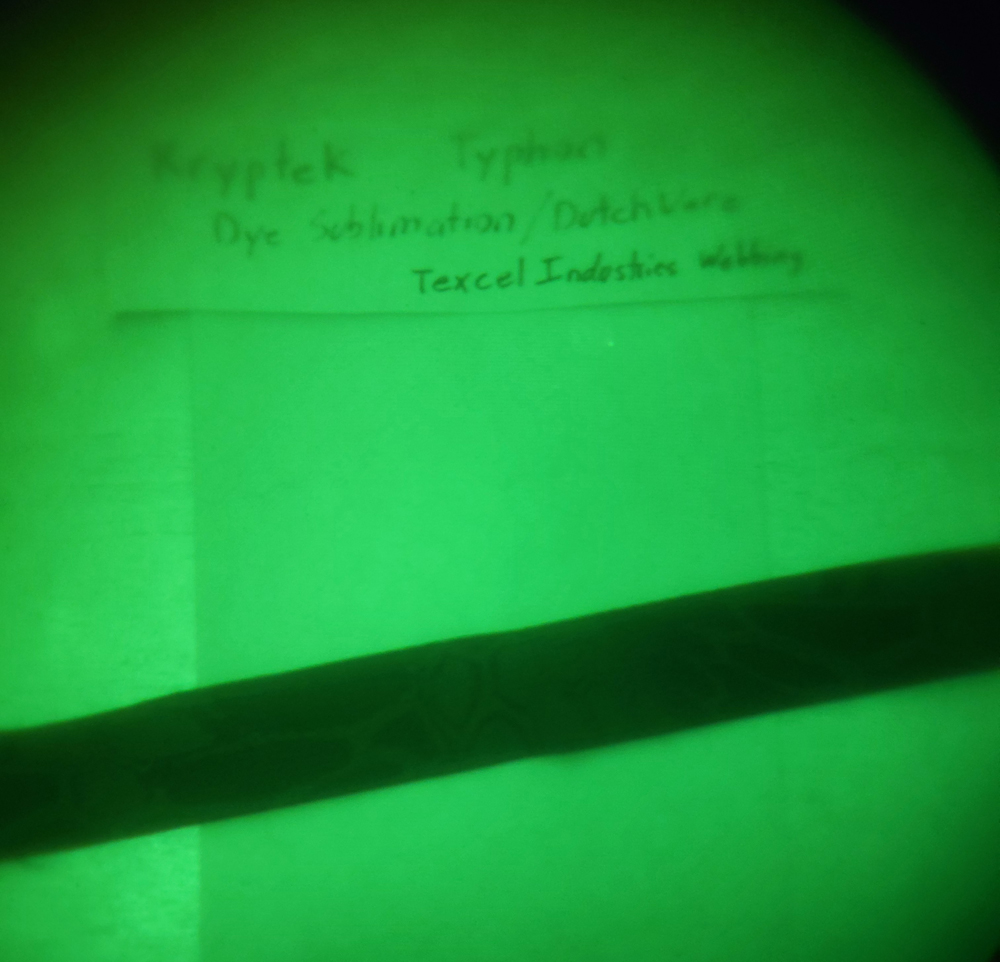
I’m afraid I have bad news. If you were hoping for these Dye Sublimation printed fabrics to be NIR compliant then you are in for disappointment. I have pieces of both the Kryptek Highland and Typhon patterns in hand. Below you can see the results. With both Gen3 and Digital Nightvision.. the moment the IR light hits the fabric the camo pattern completely disappears. Just so there is no confusion I think it is important to point out that the traditional screen printed Kryptek materials by Brookwood Roll Goods performs pretty well under IR interrogation. You can see those results here.
Kryptek Highlander

Kryptek Typhon
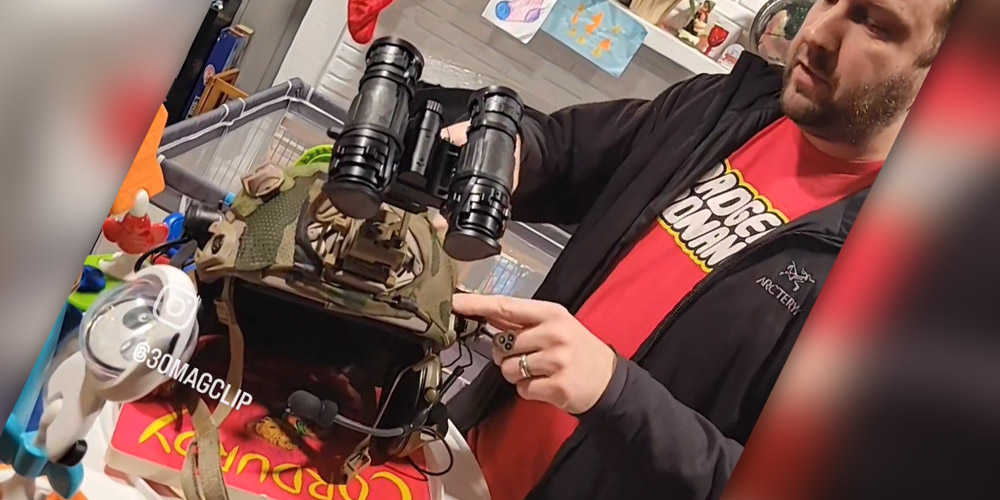
I Explain All Components of Modern Night Vision
Buckle your seatbelts because I am about to make the entire technical description of what makes a pair of NODs work easy to understand and digest.
30MC Merch! Introducing the Draw It Again T-Shirt
BUY IT HERE. BUY IT NOW. You can’t find this in stores.
You have seen Ronin. Right? You know what I’m talking about. The scene. The Hereford boathouse. The coffee ambush… DRAW IT AGAIN! Ok if this doesn’t mean anything to you then you have got plans for the night. Go get Ronin [1998]. One of the best movies ever made. After you see it come back here and pickup the first piece of 30MC merch. The Draw It Again T-Shirt. Let everyone know that you know exactly how NOT to conduct a 2 shooter ambush on a vehicle.
![The "Draw It Again!" T-Shirt. Inspired by the icon scene from the movie Ronin [1998].](https://www.30magazineclip.com/wp-content/uploads/2023/12/DrawItAgain1.jpg)
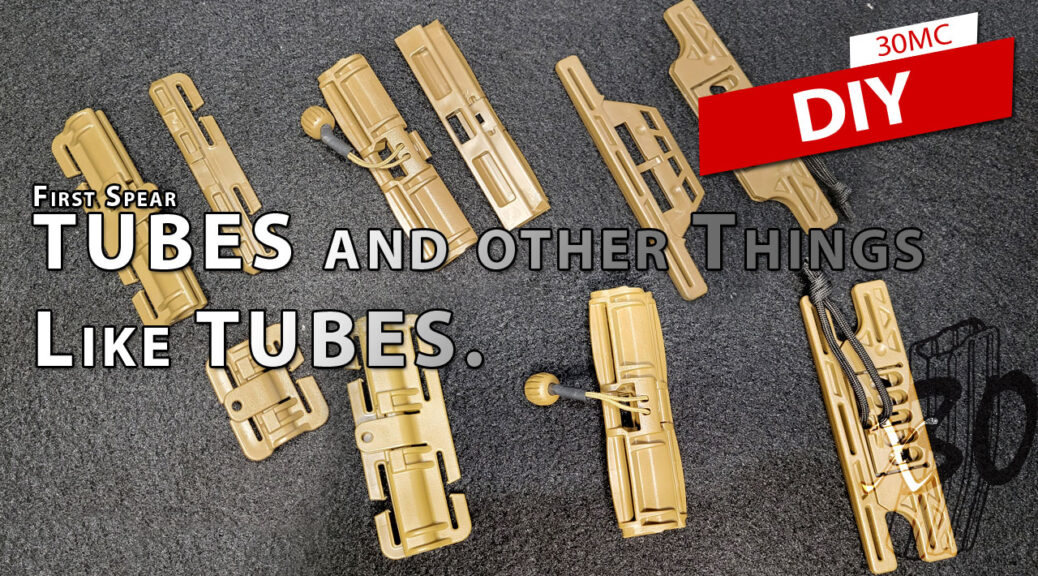
First Spear TUBES and other things like TUBES
Are you familiar with TUBES from First Spear? They are a great buckle. But expensive. So expensive that in my day job as a gear designer I pretty much consider them cost prohibitive except in the case of a custom built piece of gear. That really is to bad as I would love to use them more often.
Just in case you don’t know
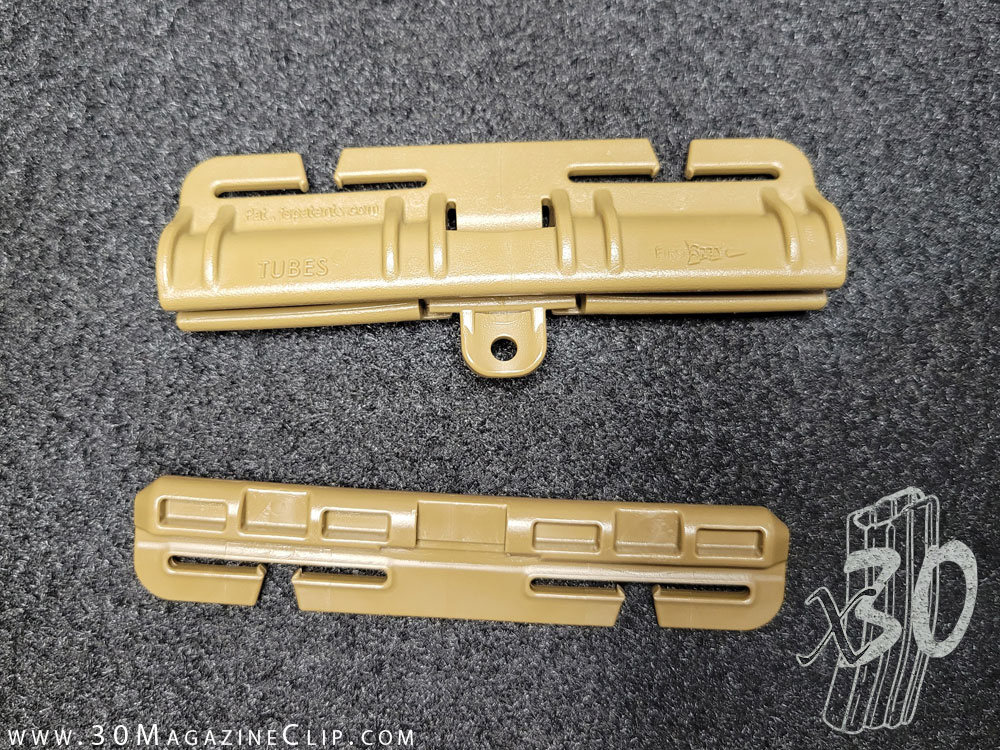
In case you are not familiar with TUBES they were developed by First Spear and produced (for First Spear) by ITW. They come in two lengths (widths might be a better way to look at it). 2″ and 4″. Normally you will find the 2″ versions securing a quick detach shoulder strap on a plate carrier while you will find the longer 4″ holding the cummerbund to the plate bag. Each of the two sizes are also available in a solid-bar and a split-bar (field repair) configuration. The split-bar allows you to slip the TUBE onto a loop of webbing (if configured correctly) after it is sewn down.
Why are they good?
TUBES do a couple of things REALLY well. They can stabilize a piece of fabric (think of a cummerbund for a plate carrier) along an entire edge of that piece with only a single interface. They also offer an easy method of extracting ones self from a plate carrier. Simply pull out and up/down at the same time.
Other options
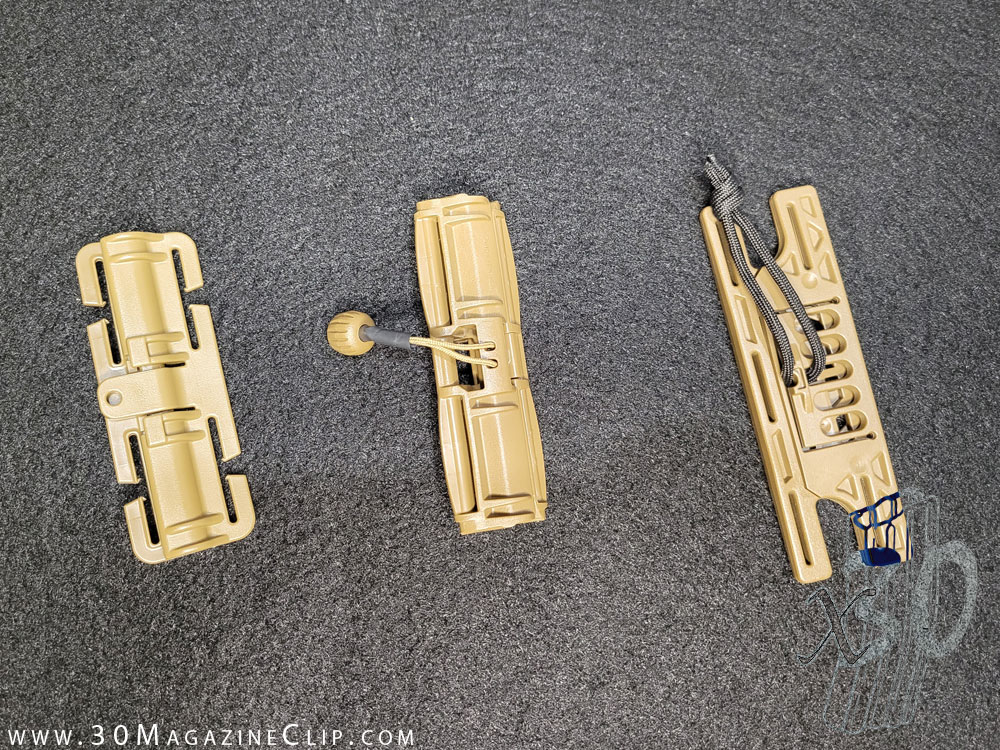
Most gear designers, gear DIY’ers, and gear-heads know of the First Spear TUBES. But, you may be interested to know there are other similarly functioning buckles. You might call them TUBES-Adjacent. All are acetal polymer construction and all are solid options with slight variations in the way they operate.

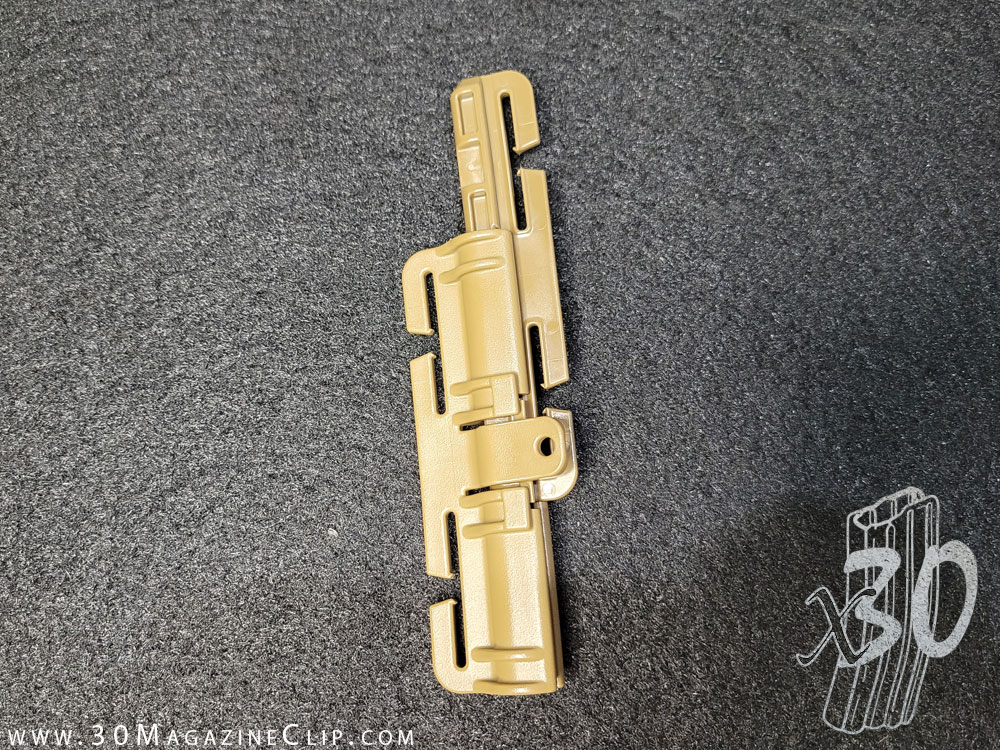
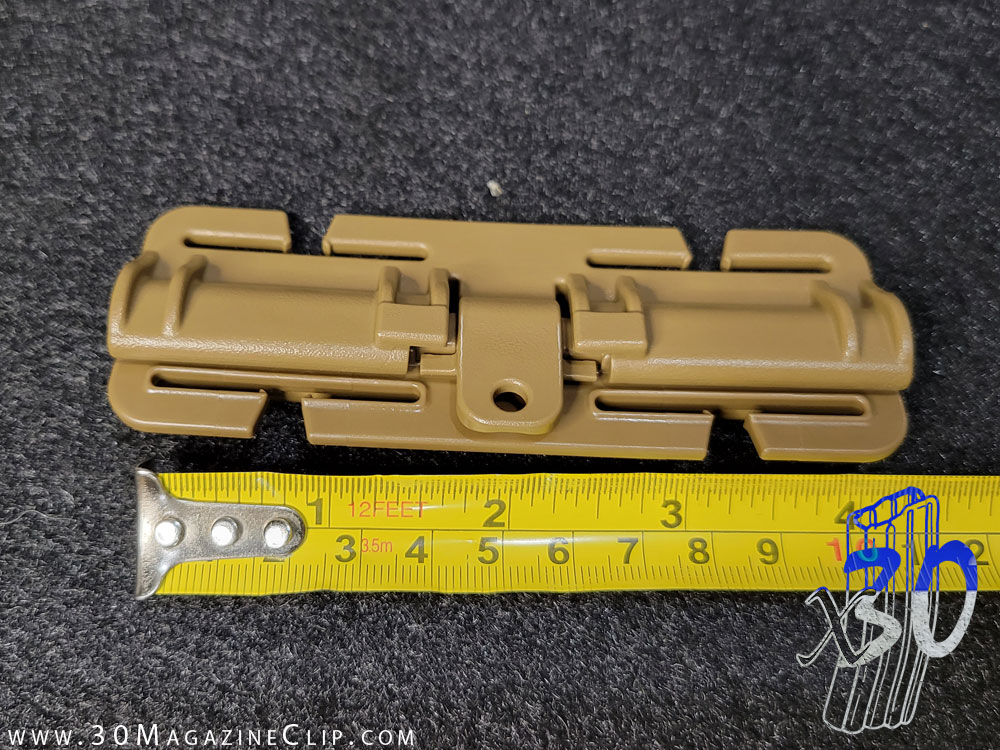
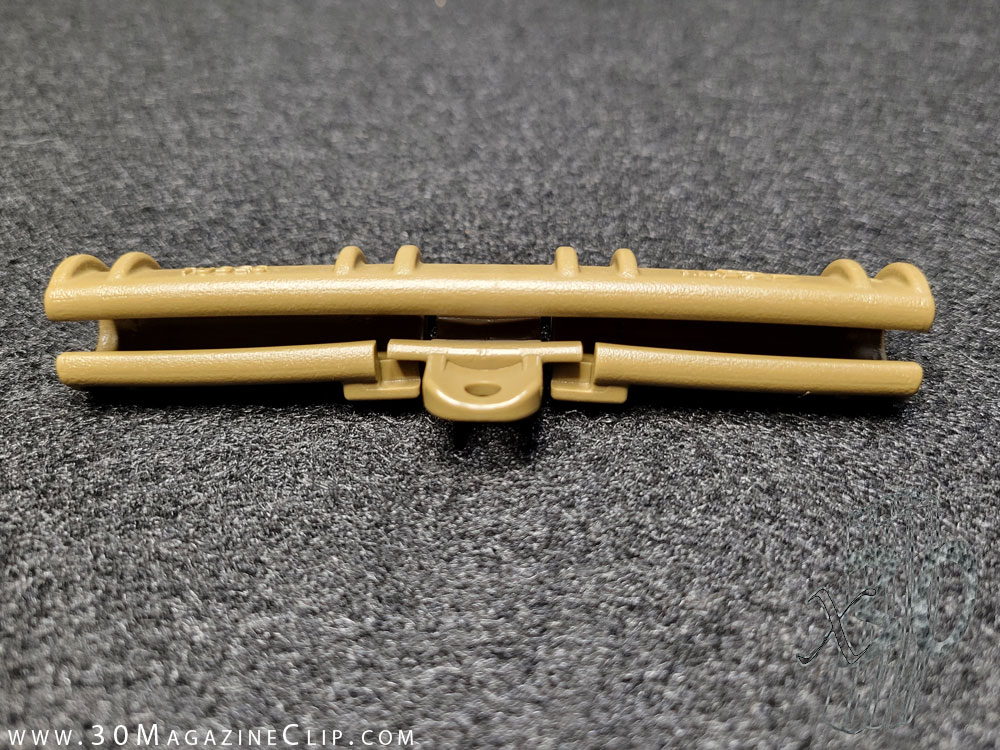
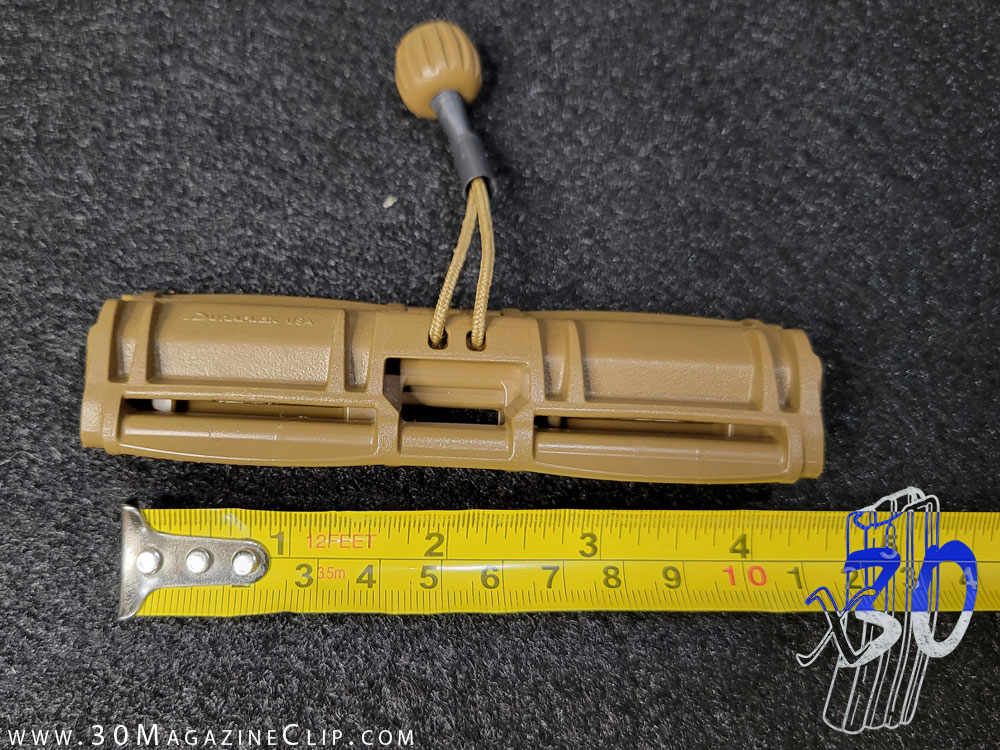
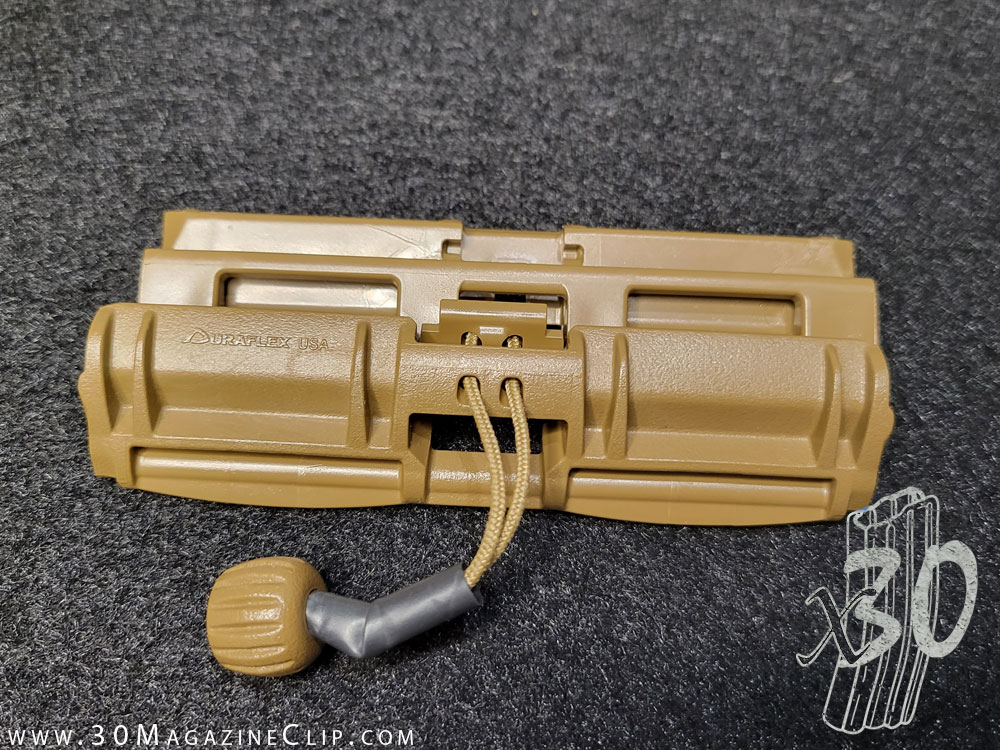
The Tactik Buckle from DuraFlex
The DuraFlex Tactik buckle first came on the scene (for me) in 2018. It was being showcased at different industry tradeshows. Originally advertised as having 1″, 1.5″, 4″ versions available. It then kind of went dark for a while. Then, all of a sudden it came available not to long ago. Well, the 4″ version anyway. We still have yet to see the 1″ or 1.5″. Like the TUBES the Tactik buckle came in two configurations (other than size) solid-bar and split-bar (for field repair or installation after production of the host piece of gear). Both pieces are 4″ tall. There are two main differences. 1) The Tactik buckles comes with the pull lanyard that is used to release the buckles. On the TUBES you normally have to make some kind of paracord pull for this function. 2) the gesture used to release is different. On the TUBES you must pull out and either up or down. This releases the locking mechanism (No springs. Everything is molded) and the up/down slides the male side out of the female. On the Tactik buckle you only pull outward on the lanyard which releases the entire buckle. One isn’t necessarily faster than the other as both releases are accomplished with a single motion. They just work a little different. I have never seen either system fail.
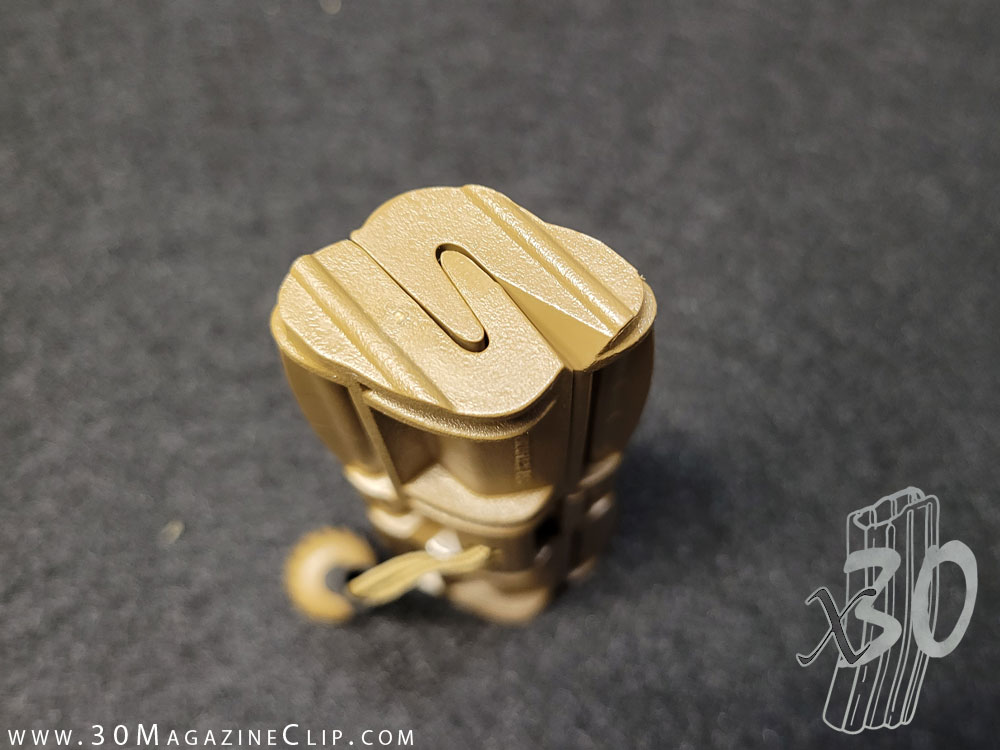
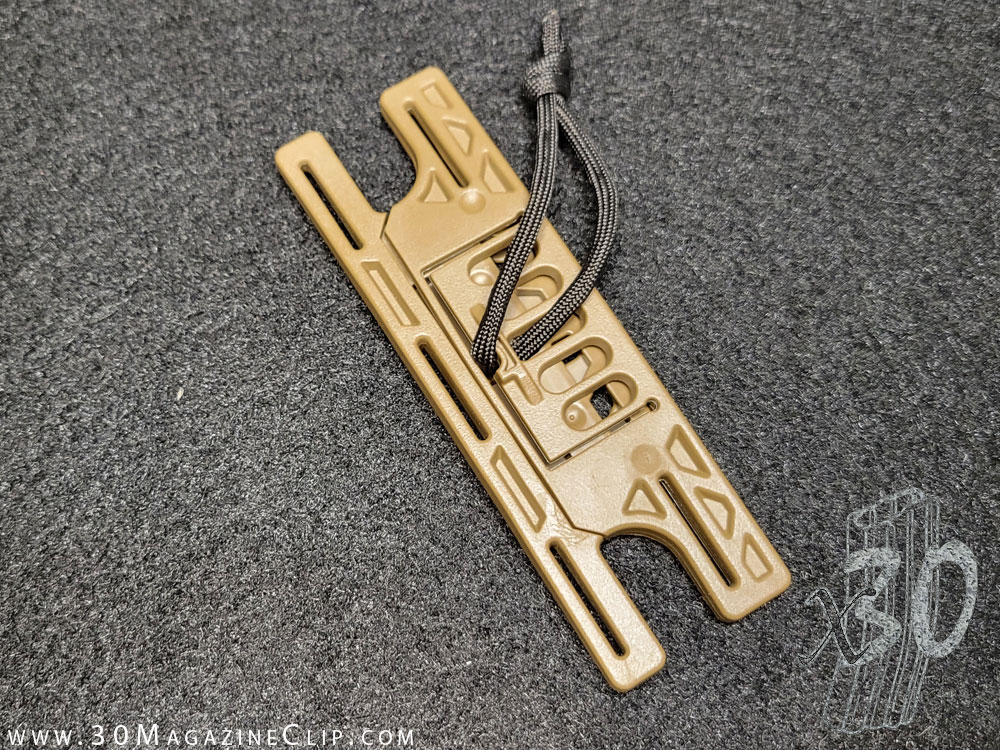
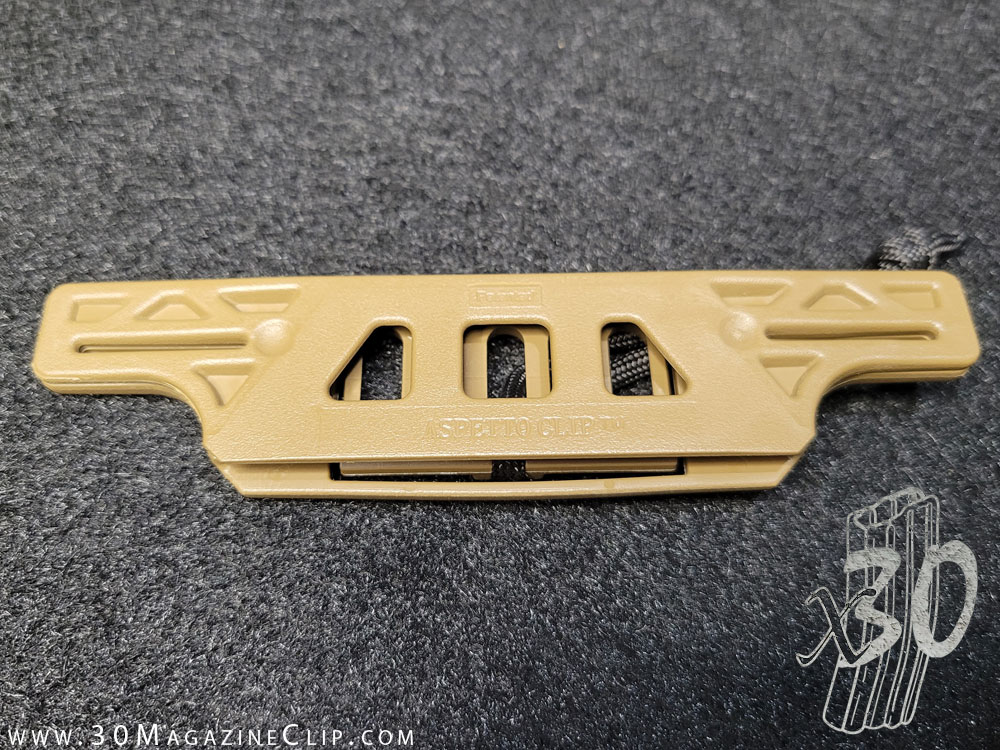
The Aspetto KWIQ-Clip
The KWIQ-Clip from Aspetto is the most different and I haven’t ever actually integrated them into a piece of gear. But I do have a few… because you never know. It also has no individual moving parts just like the others. Again, the release is managed by pulling on and deforming the acetal polymer material to release a latch. I believe you call this a “living latch”. The KWIQ-Clip is a full inch taller than the other buckles referenced in this write-up. The reason being is that it allows you to interface the buckle to the gear via 3 pieces of 1″ webbing. Each separated by 1″. Sounds perfect for a 3-row skeletonized cummerbund. With the other two you have to be a little creative in your gear design as they both interface with the gear using 1.5″ webbing. This usually isn’t what you find on a cummerbund. So, the Aspetto KWIQ-Clip has an advantage here in helping your gear stay simple but I can’t help but think a 5″ tall buckle has a great chance of jabbing you in the ribs or pelvis when you bend or lean. Is the 1″ difference really enough to matter? I don’t know. But that is something to keep in mind when planning your next build. The manufacturer claims a 300 lbs Tensile Strength.

Where can I get them?
First Spear TUBES
You can now get TUBES direct from First Spear. This is fairly new. You use to have to be an approved gear producer. Beware that most of the time TUBES are sold as their individual separate components (Male and Female). You need to purchase both sides. Not always though.
Direct link to 4″ Female Split-Bar on First-Spear.com
4″ TUBES Male/Female Split Bar on Agelitegear.com
DuraFlex Tactik Buckle
4″ Tactik Buckle Split-Bar at WTFIdea.com
4″ Tactik Buckle Split-Bar at 8492Nylonworks.com
4″ Tactik Buckle Solid-Bar at StratusArmament.com
Aspetto KWIQ-Clip
This buckle is sometimes sold as Male/Female or Male/Male. Make sure you get what you need.
Aspetto KWIQ-Clip on QorePerformance.com
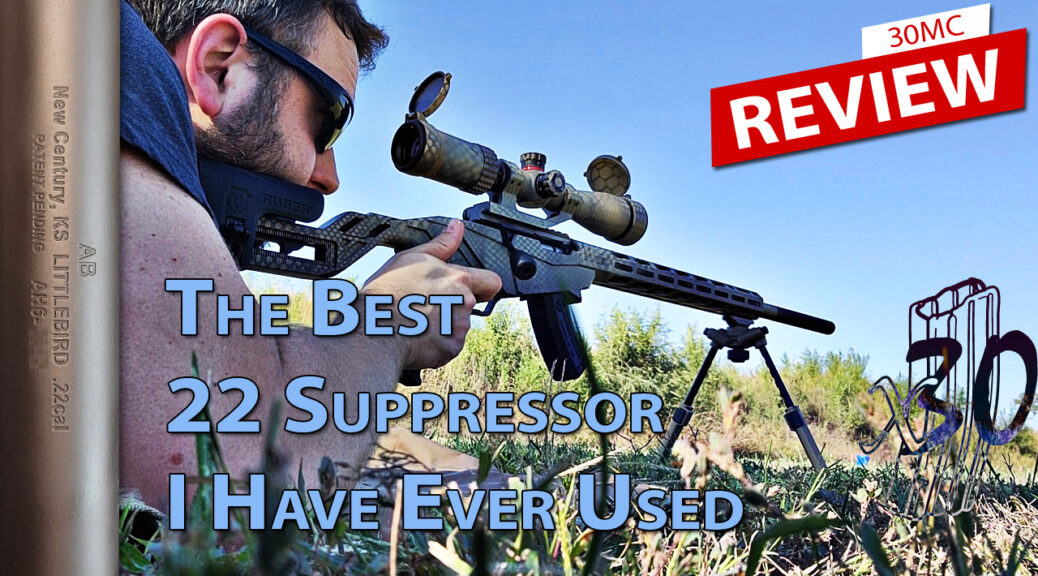
A Suppressor quieter than a BB Gun
The AB Suppressor AH6-Littlebird 22 can. There is a good chance you haven’t heard of this one. But you are going to be glad that you did. This can has a very unique and interesting design. If there are any downsides I sure haven’t found them.
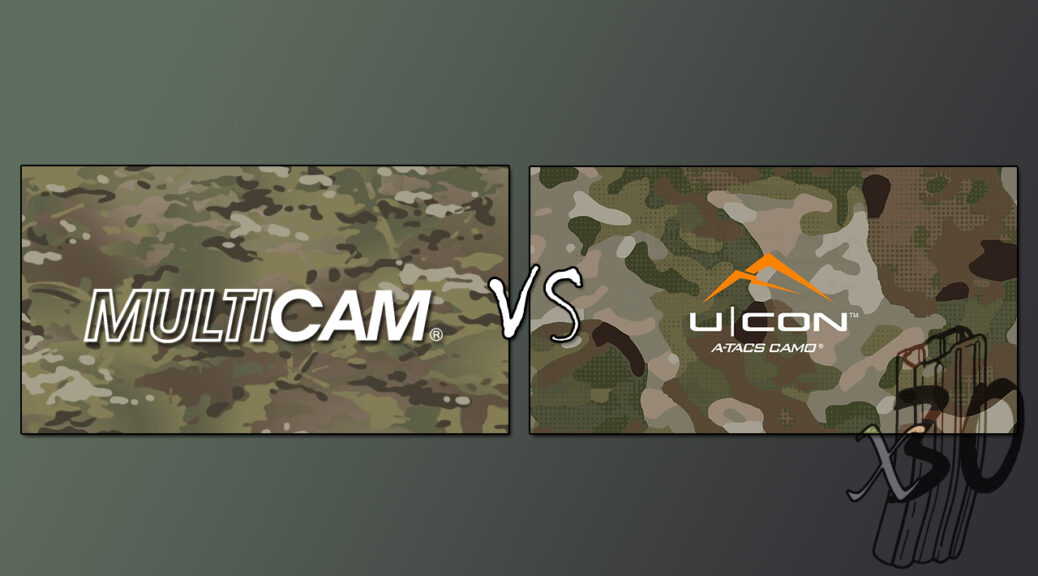
MultiCam vs ATACS U|CON camo patterns
I have received a few message from some of you DIY gear makers about how the new(ish) ATACS U|CON pattern compares to traditional MultiCam. Here is a quick look that includes a piece of fabric, webbing, and chest rig of each. I plan on getting some NIR testing done here soon and will add that to the list of patterns in the “Is It NIR” section.
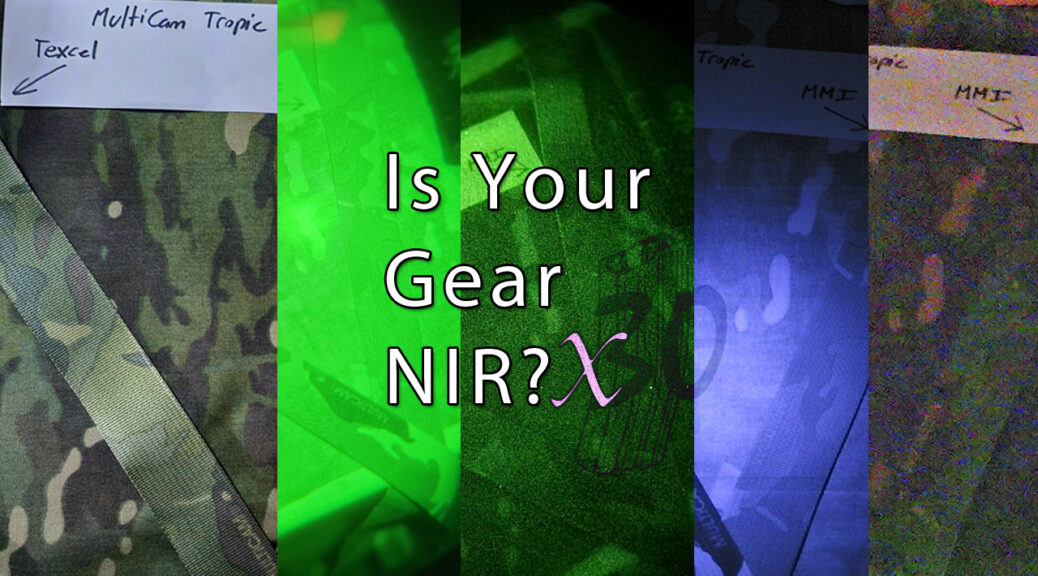
Is Your Gear NIR?
If you follow me at all you have seen these posts before about individual patterns and fabrics (yes, even DogeCam [MultiDoge]). I figured it would be a better resource for all your gear builders to have it compiled in one place. Well, here you go. I will be adding more and more to this as I have time to take more pictures in the dark.
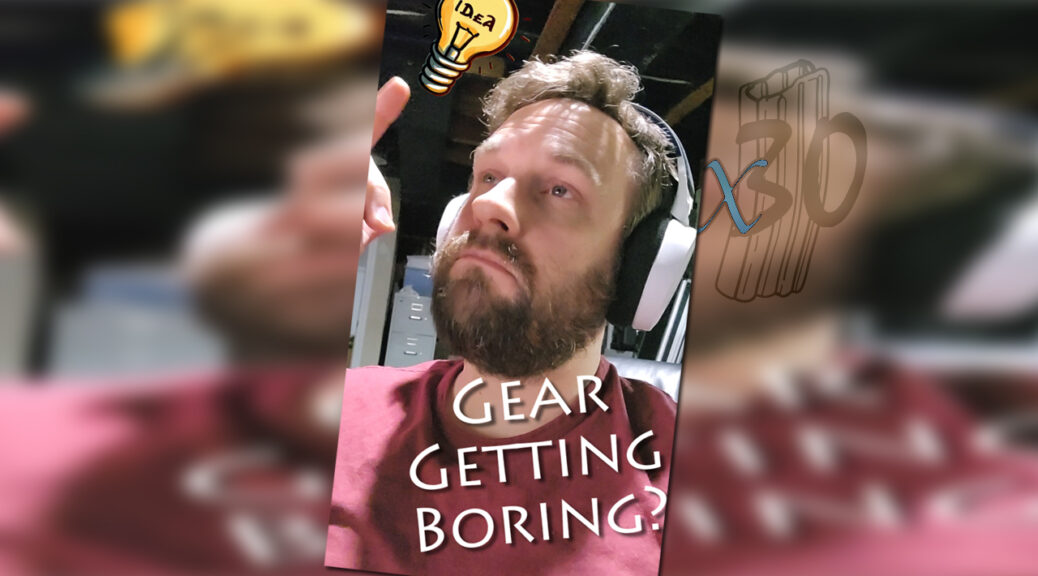
Building your own tactical gear
Not a tutorial but a look at what you can output when you put your creativity to it. This is a one-piece custom MultiCam Tropic chest rig that I put together a few weeks back. As I state in the video description. There isn’t really anything hard about sewing your own gear. The machine can be intimidating and yes it can hurt you. But it is really all technique. You just need to put in some hours to start getting awesome results. There are resources here on 30MC that can help you. Look in the nav bar under “Tactical DIY”.
Rumble backup link: https://rumble.com/v39heaf-building-your-own-tactical-gear-30-magazine-clip.html